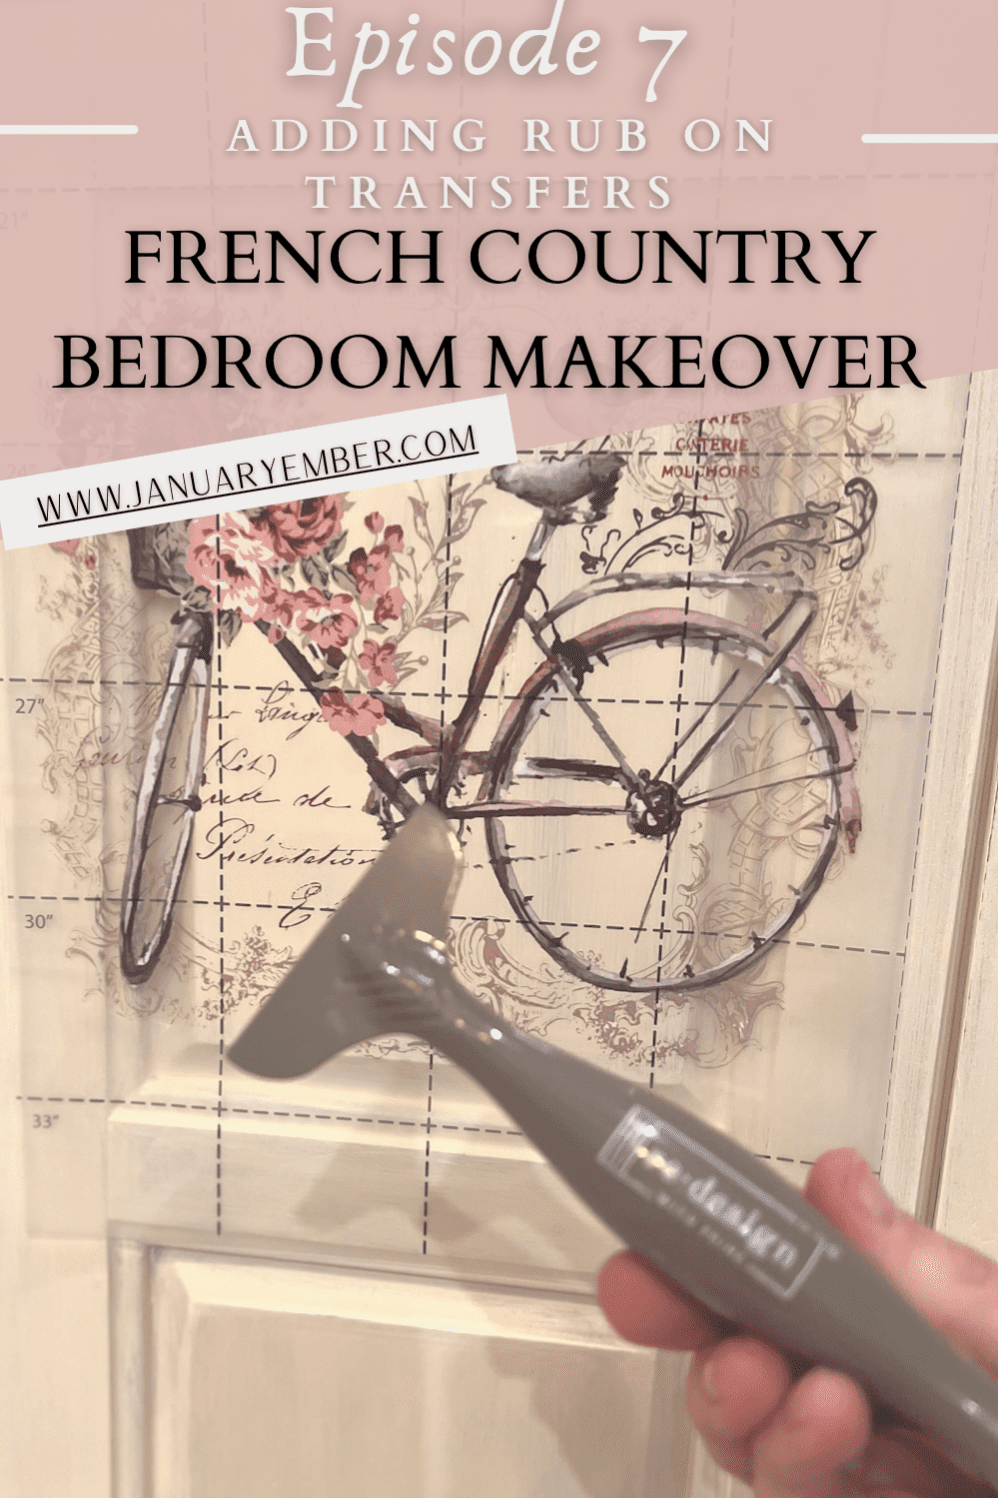
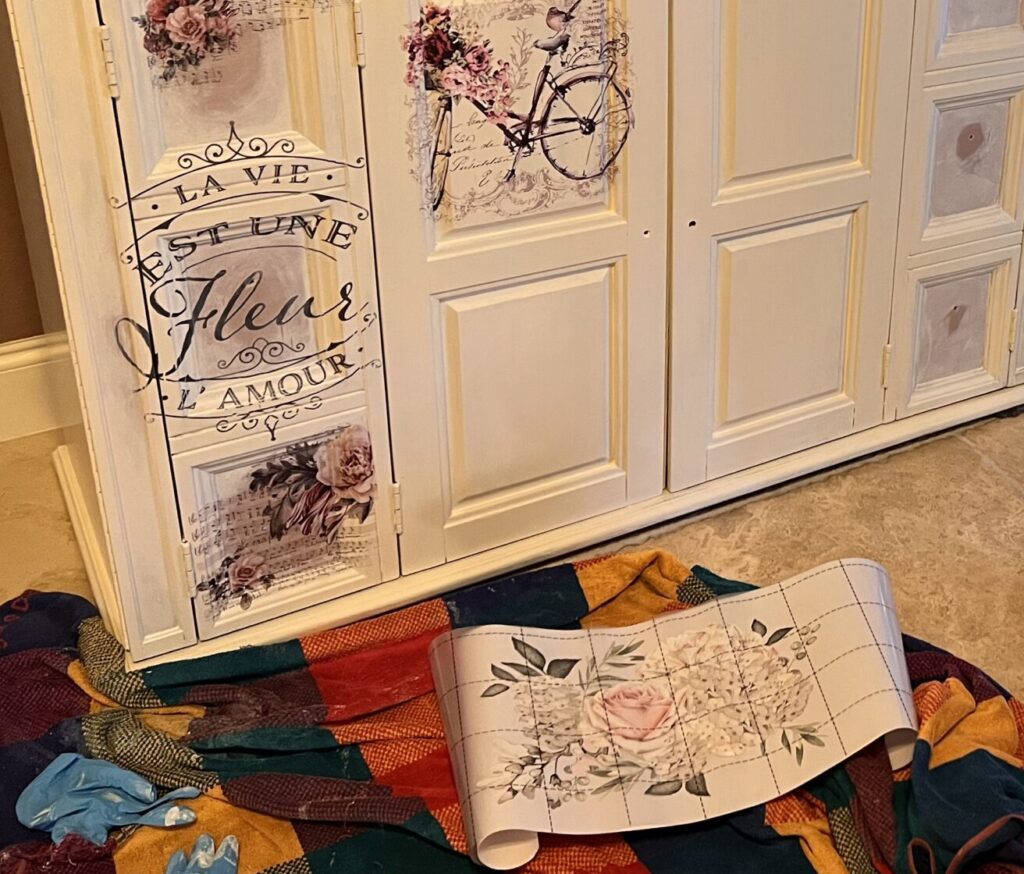
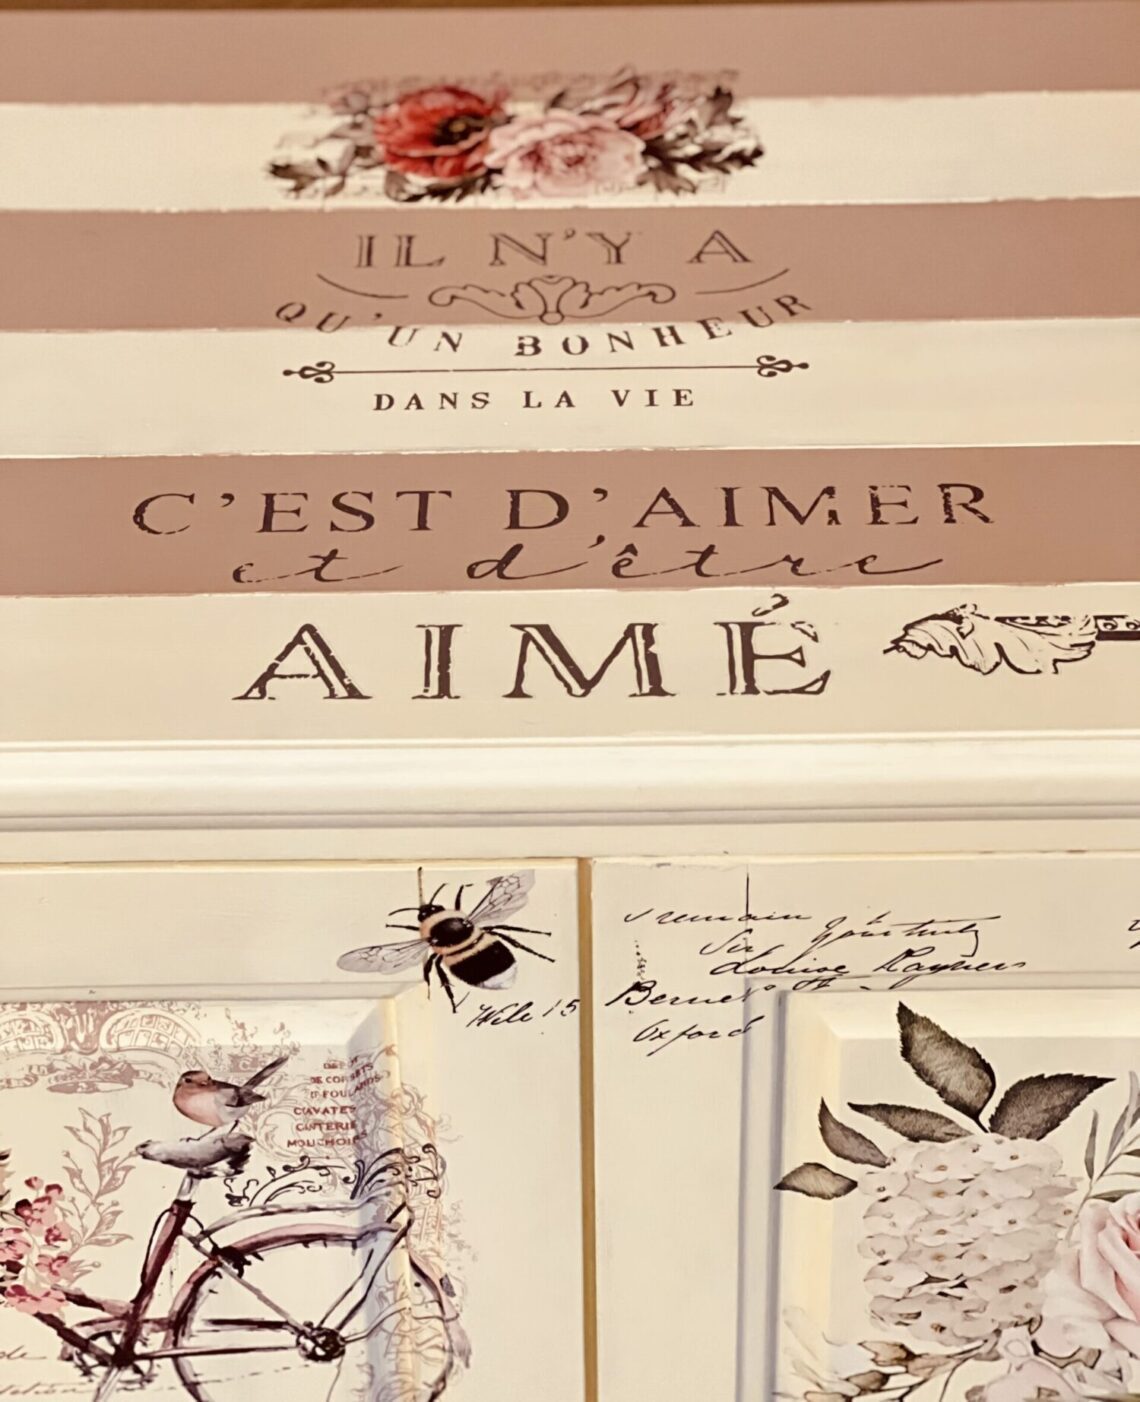
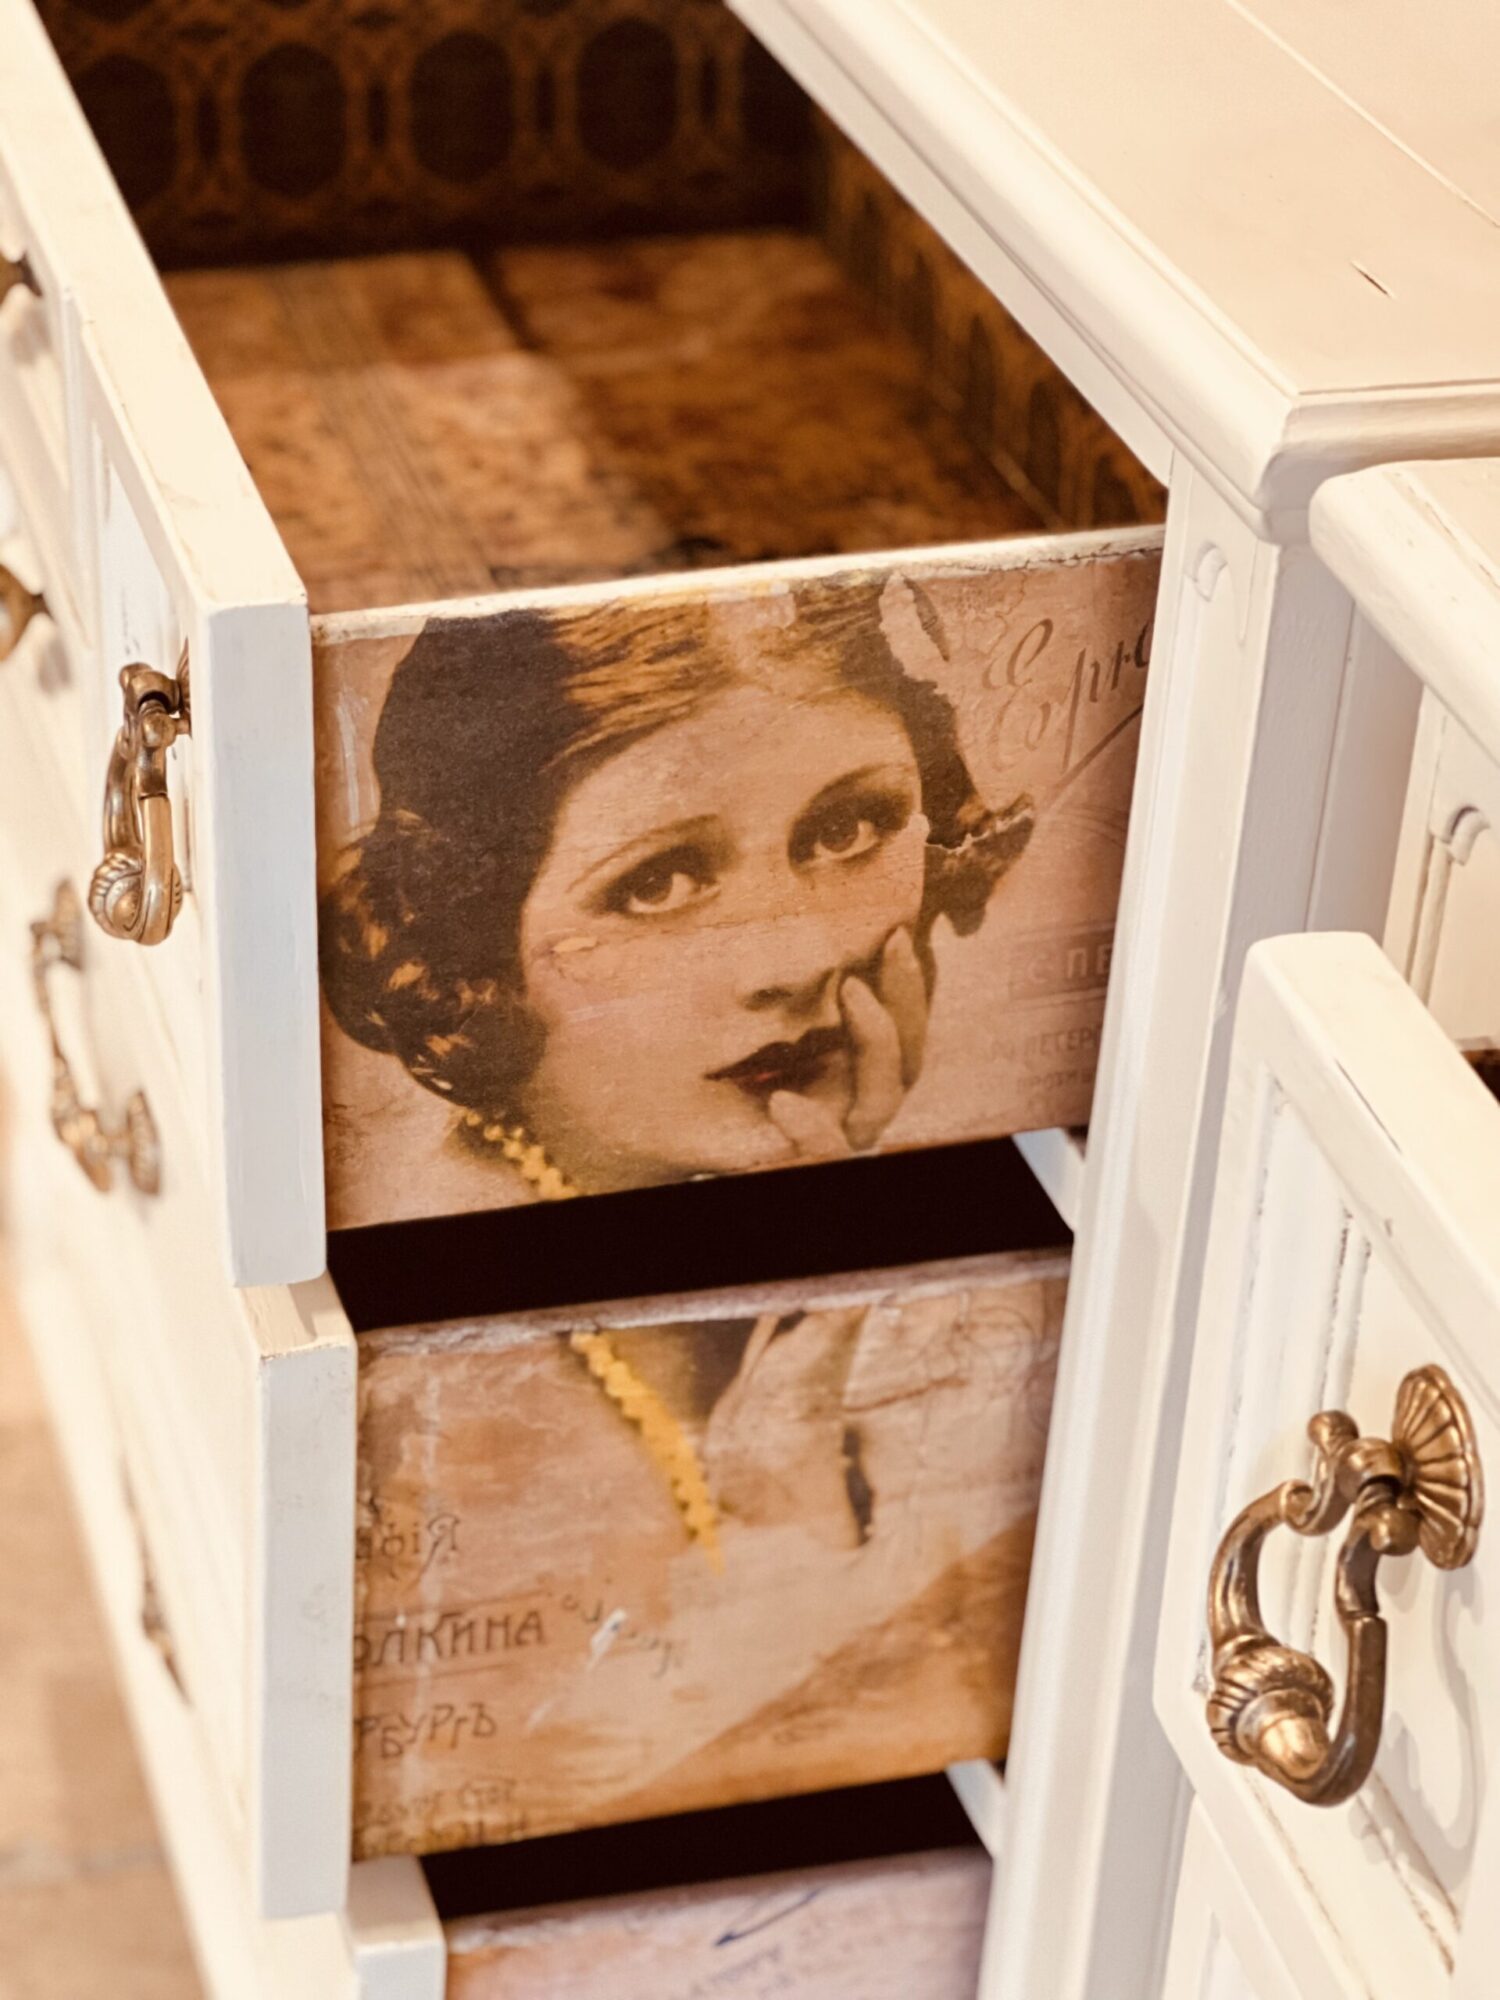
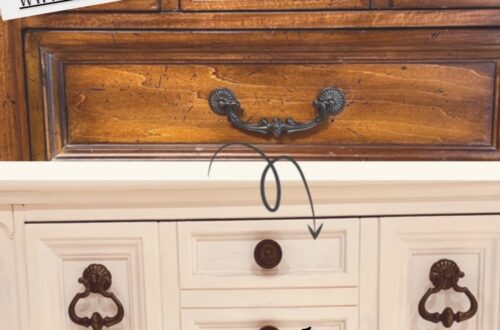
Bedroom Makeover: Episode 7 – Adding rub on transfers
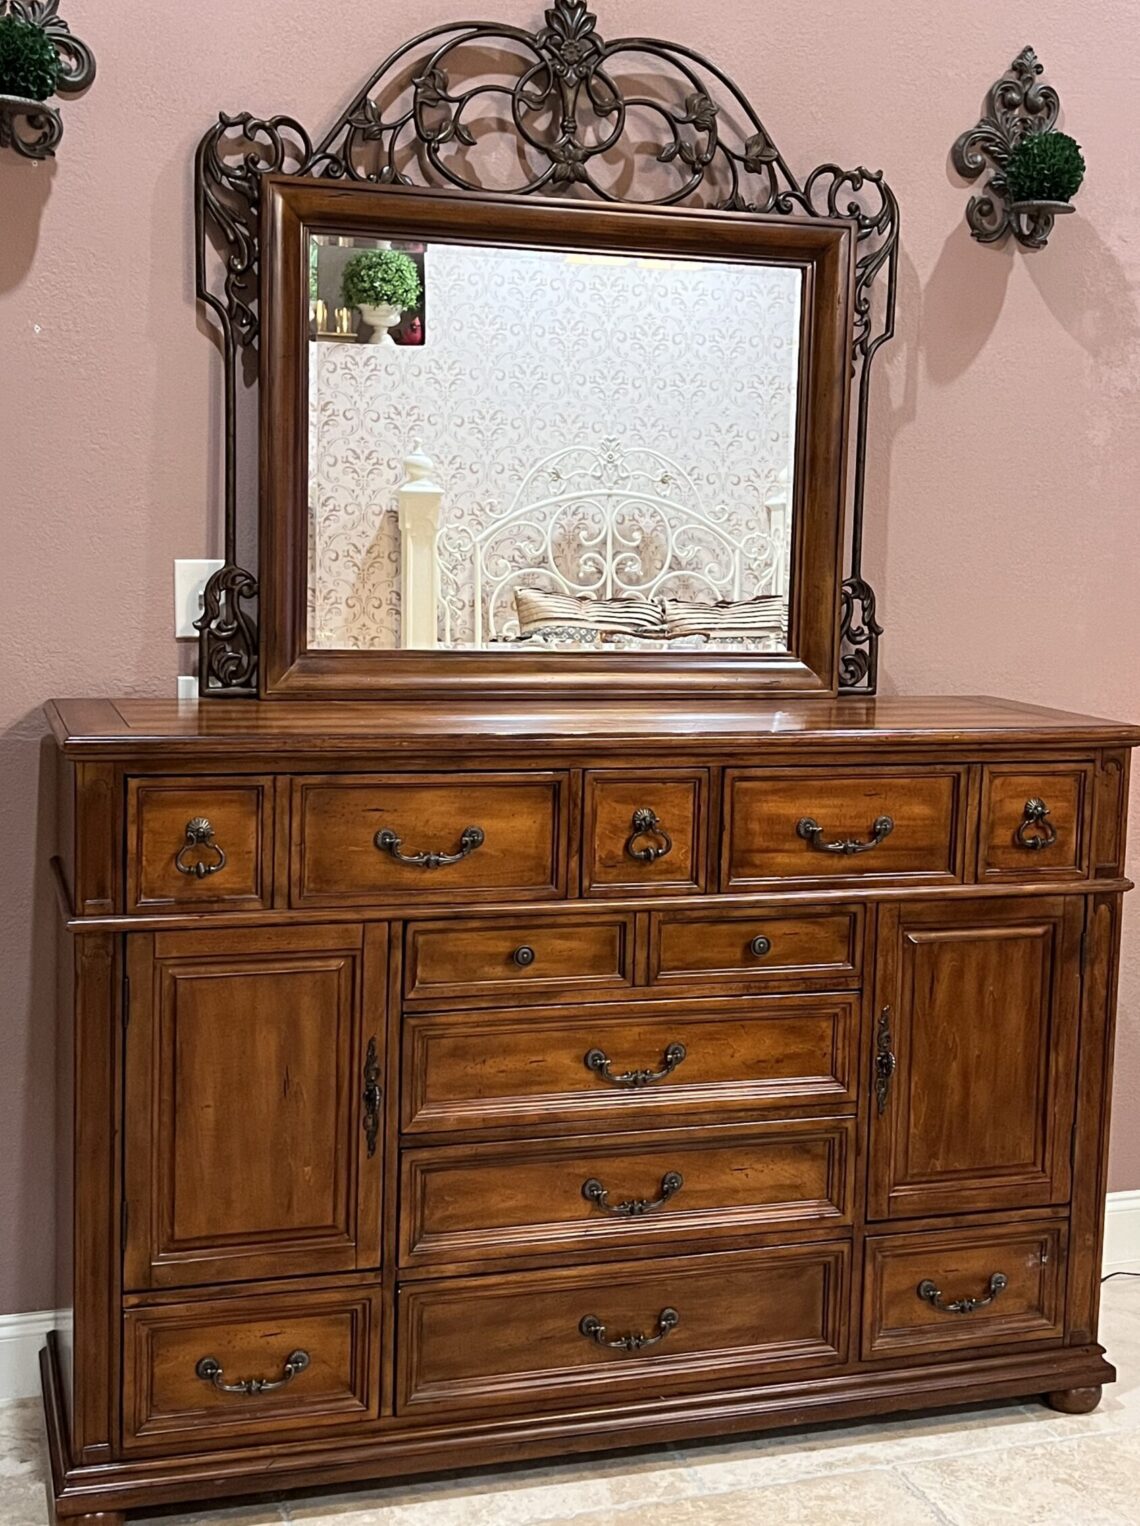

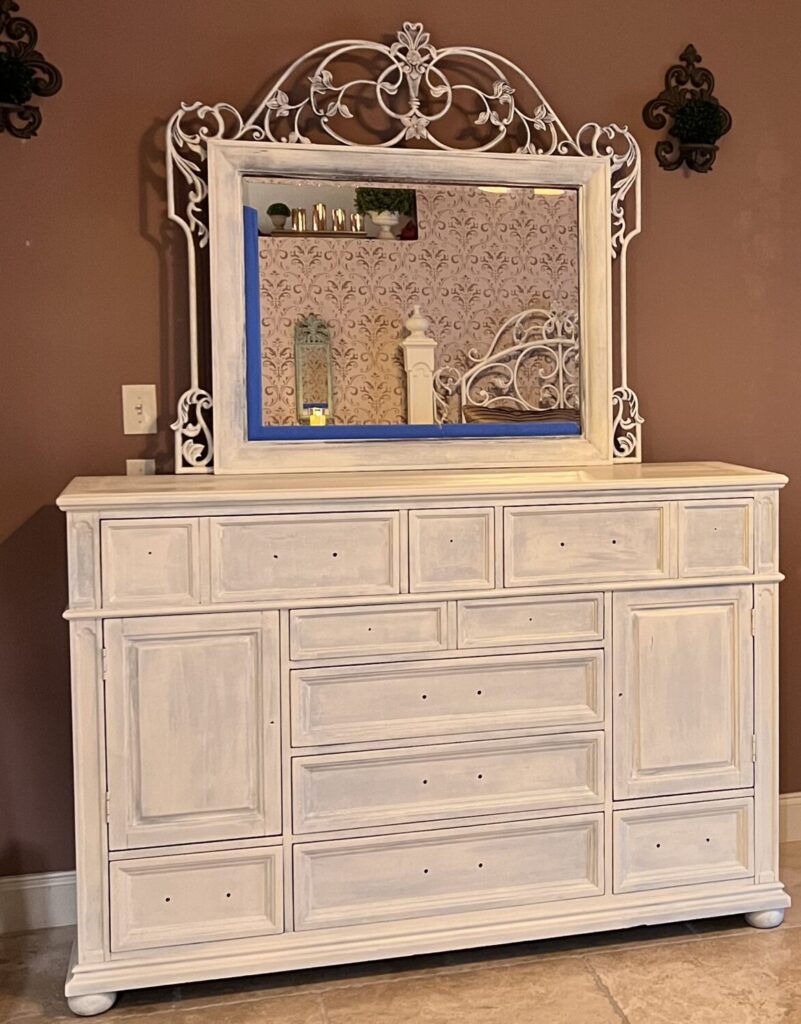
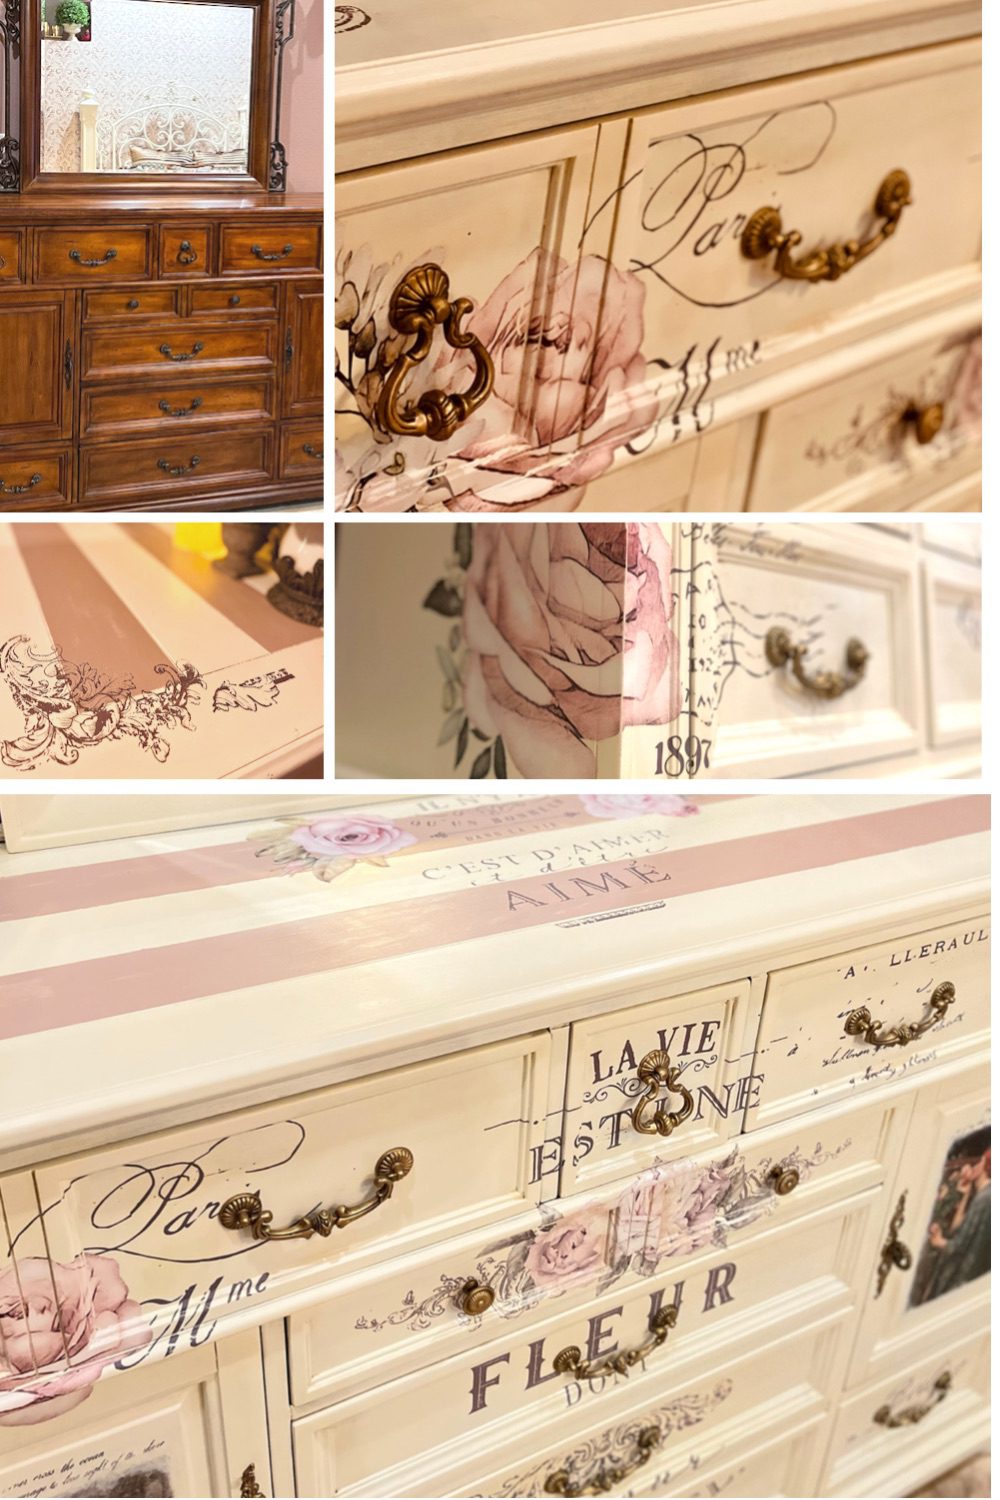
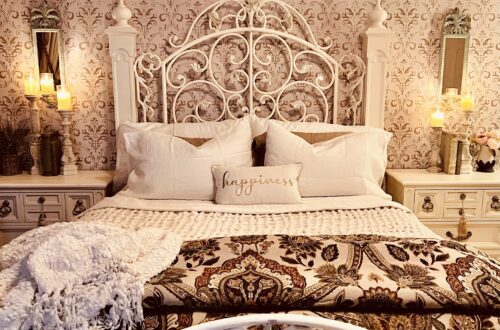
Before
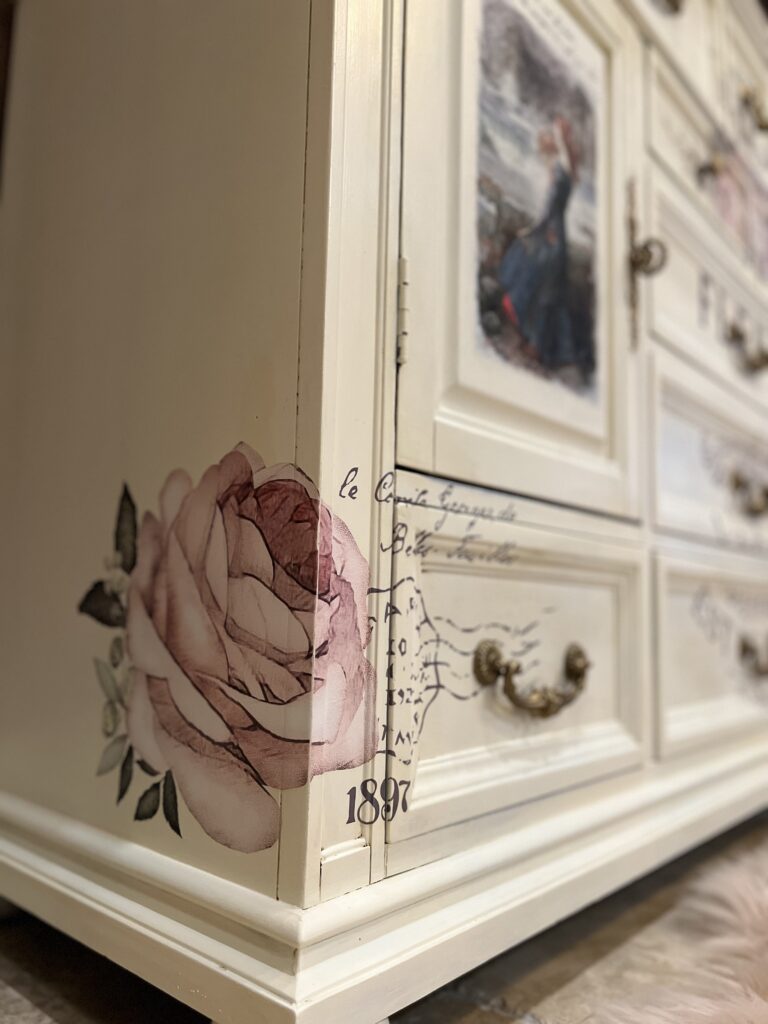
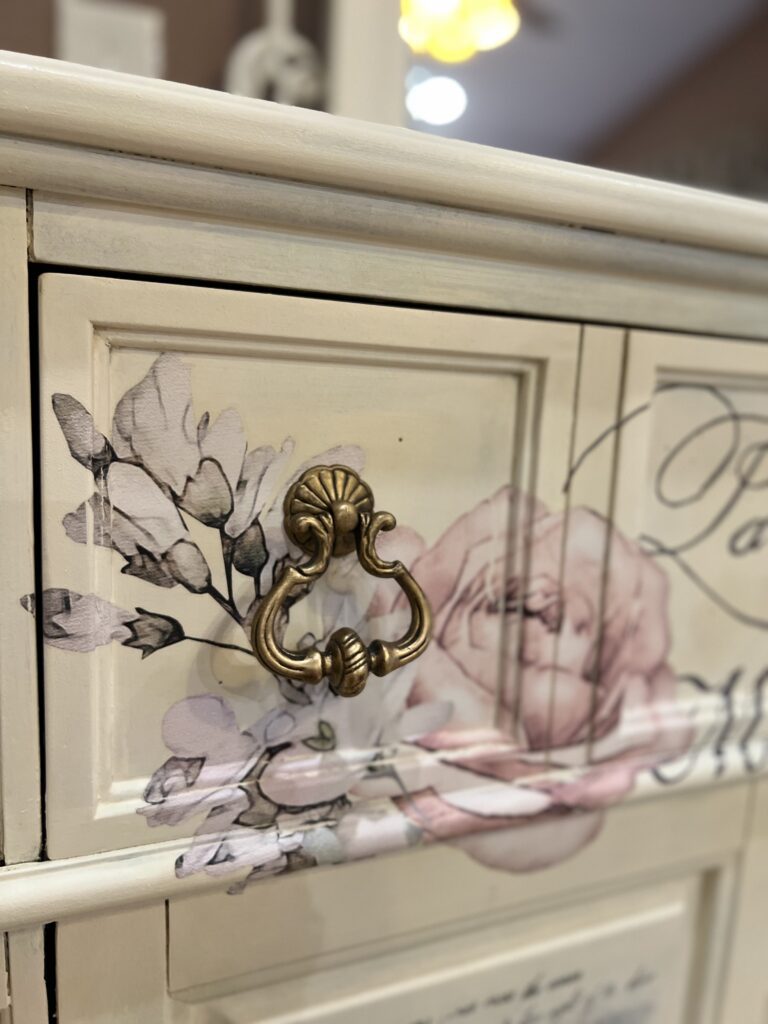
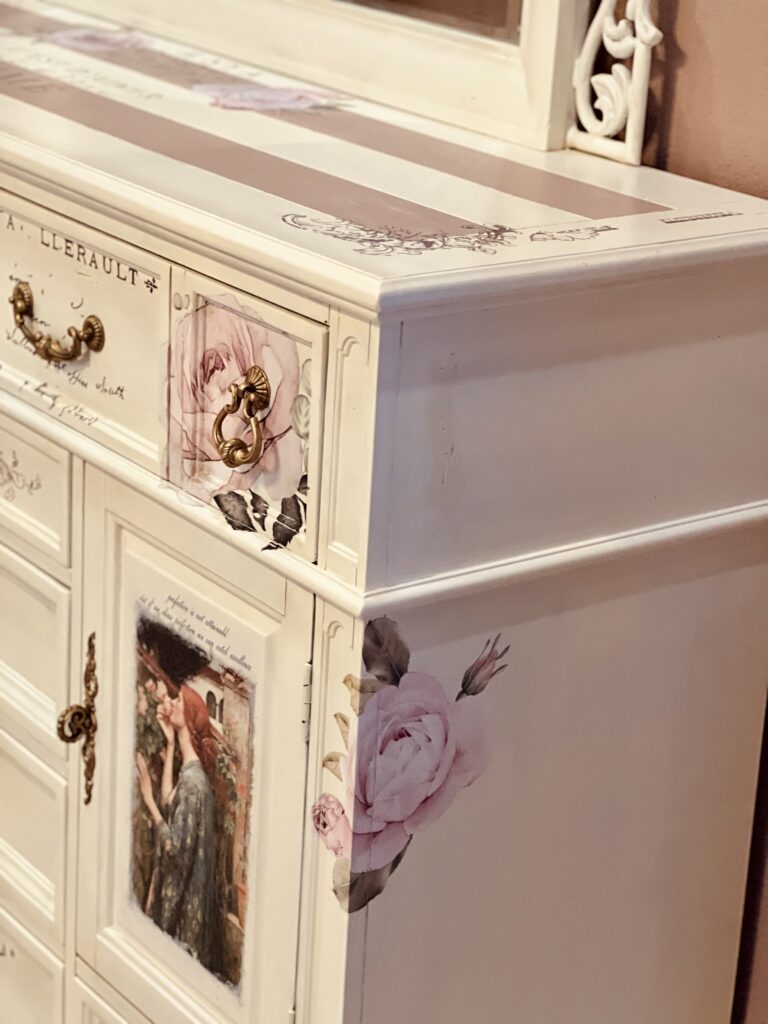
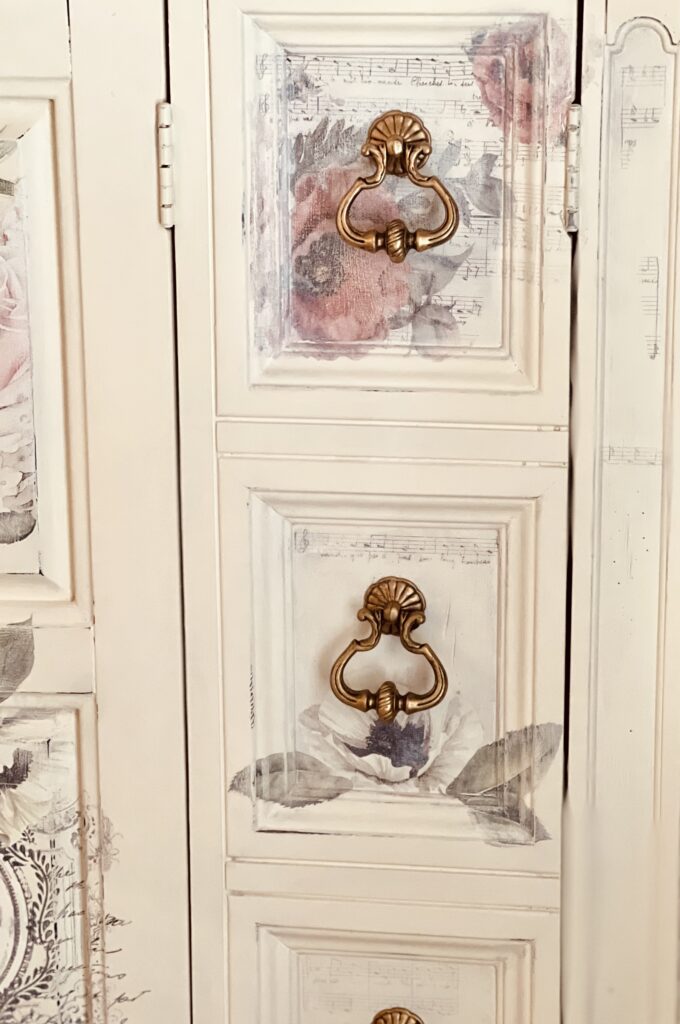
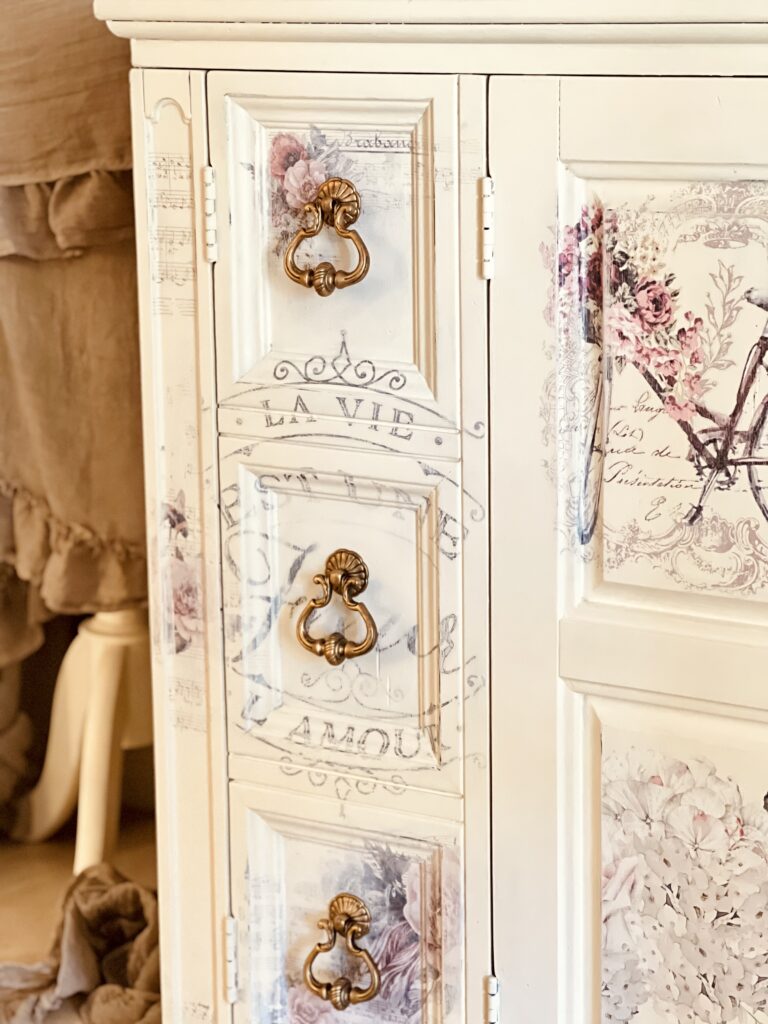
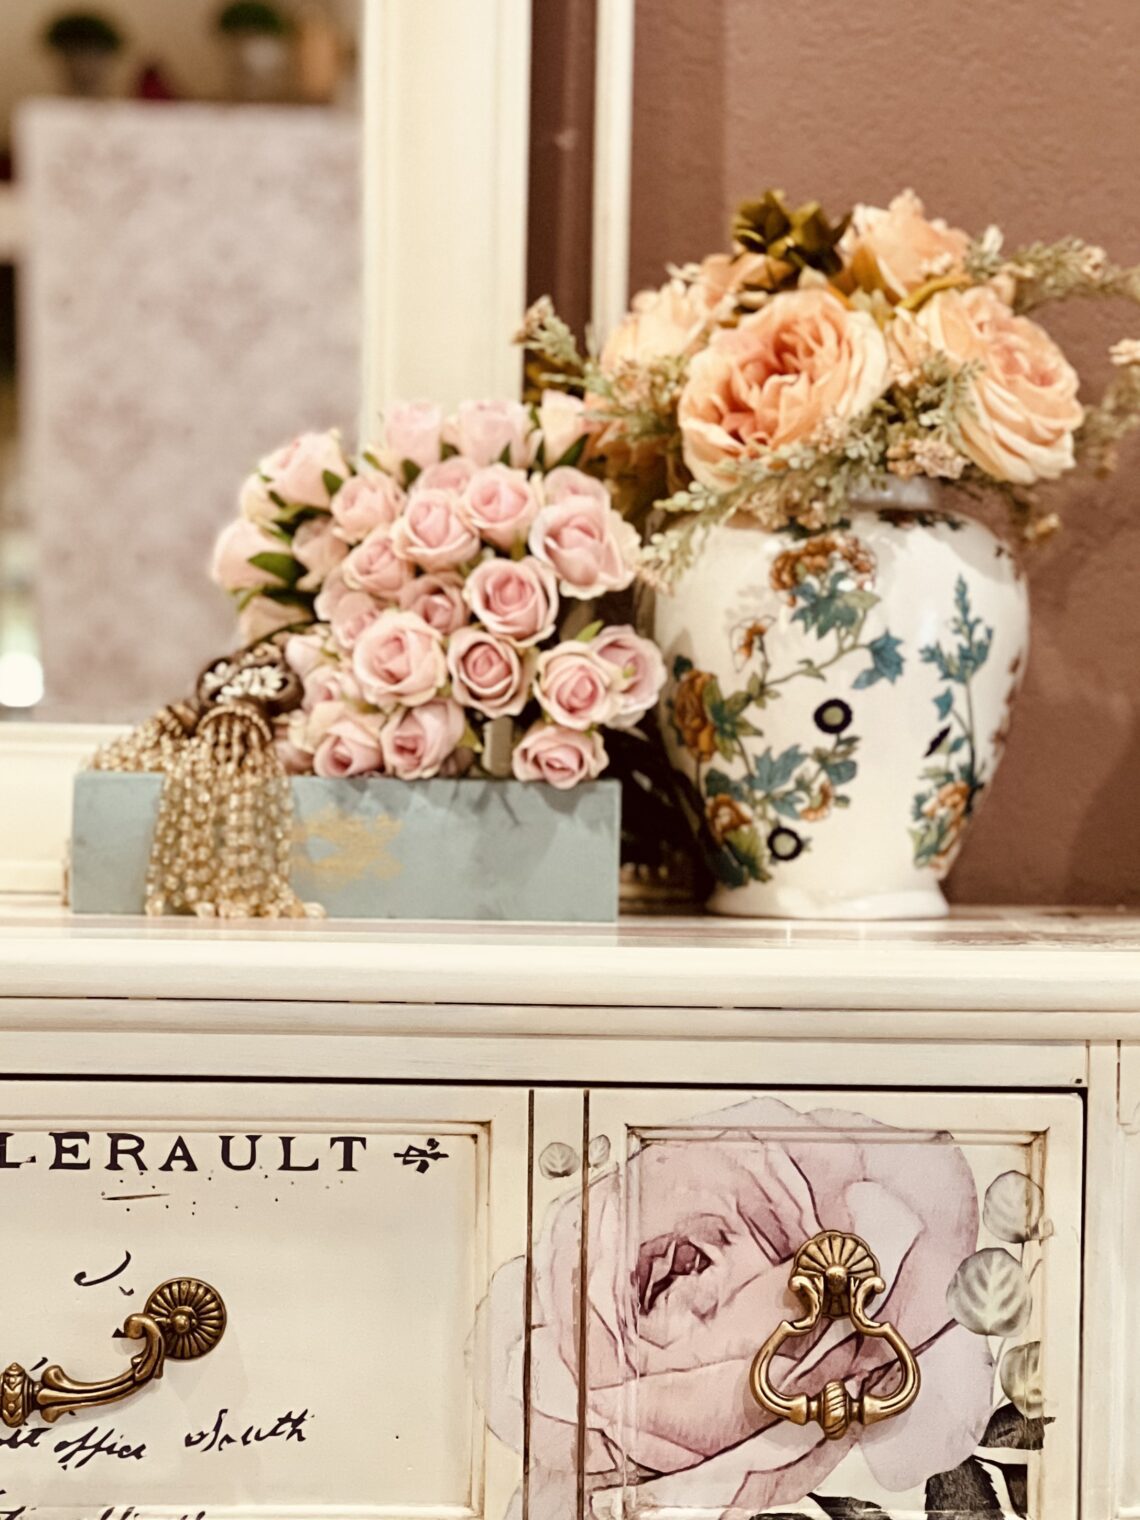
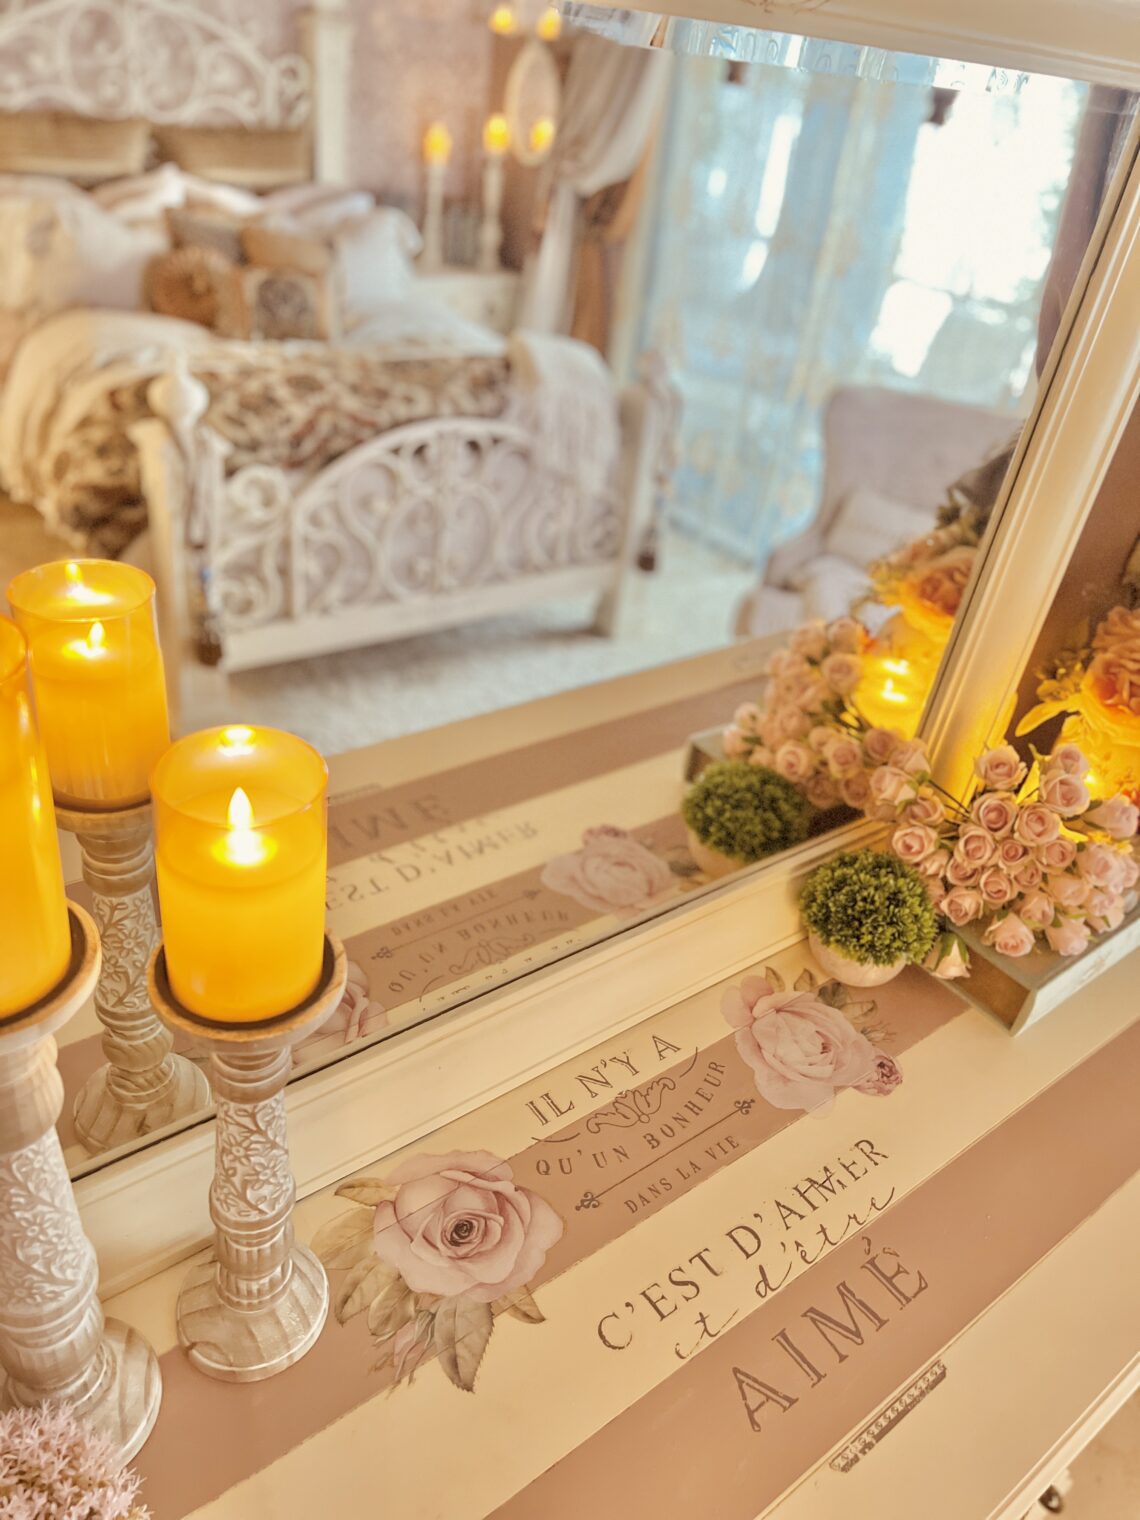
After
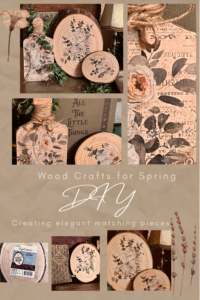
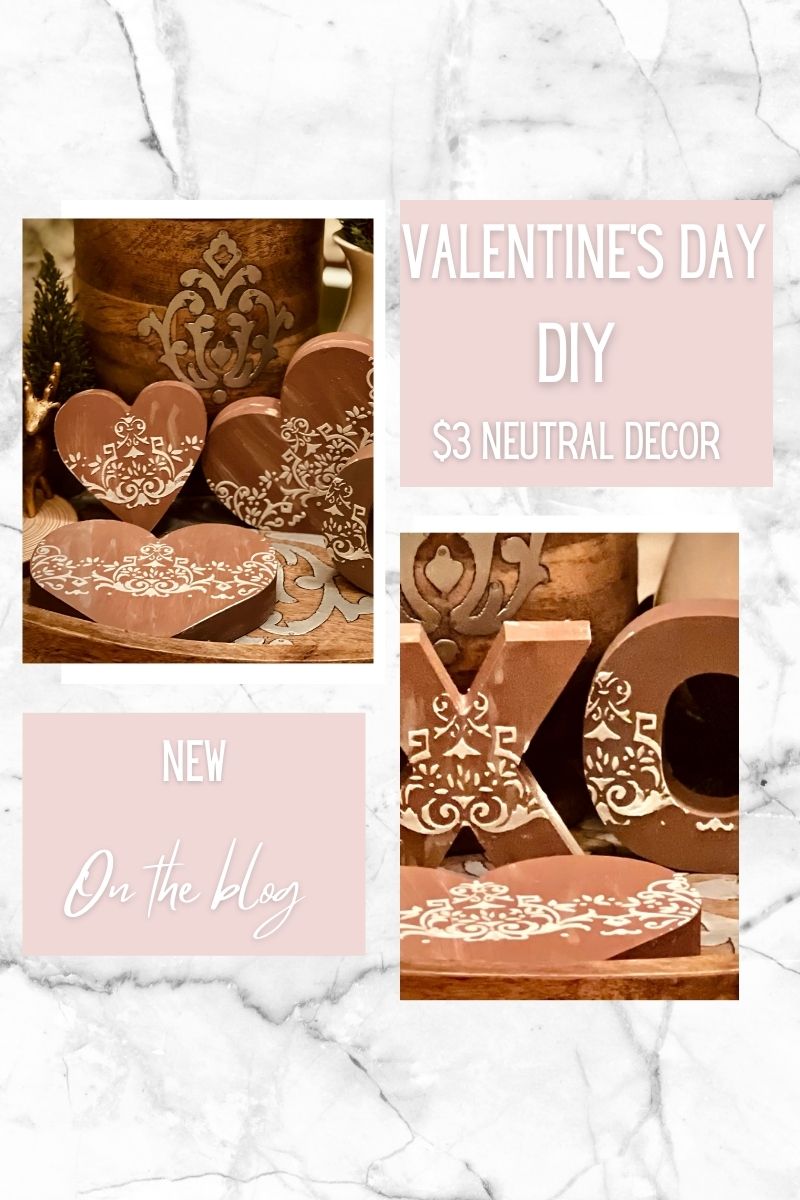
I like to get wood slice coasters, and wood slices for art crafts and use those for practice. This year I made some beautiful wood slice coasters and décor using a ‘Eucalyptus Dreams’ rub on transfer. I LOVED IT! This was great for practice, and it made something really lovely too! Take a look at my post on 7 Easy Neutral Spring Décor Ideas that are Charming and Elegant.

NEW


You May Also Like
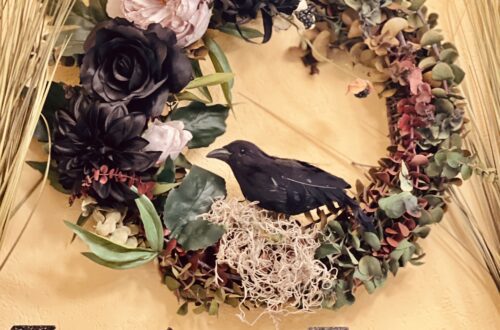
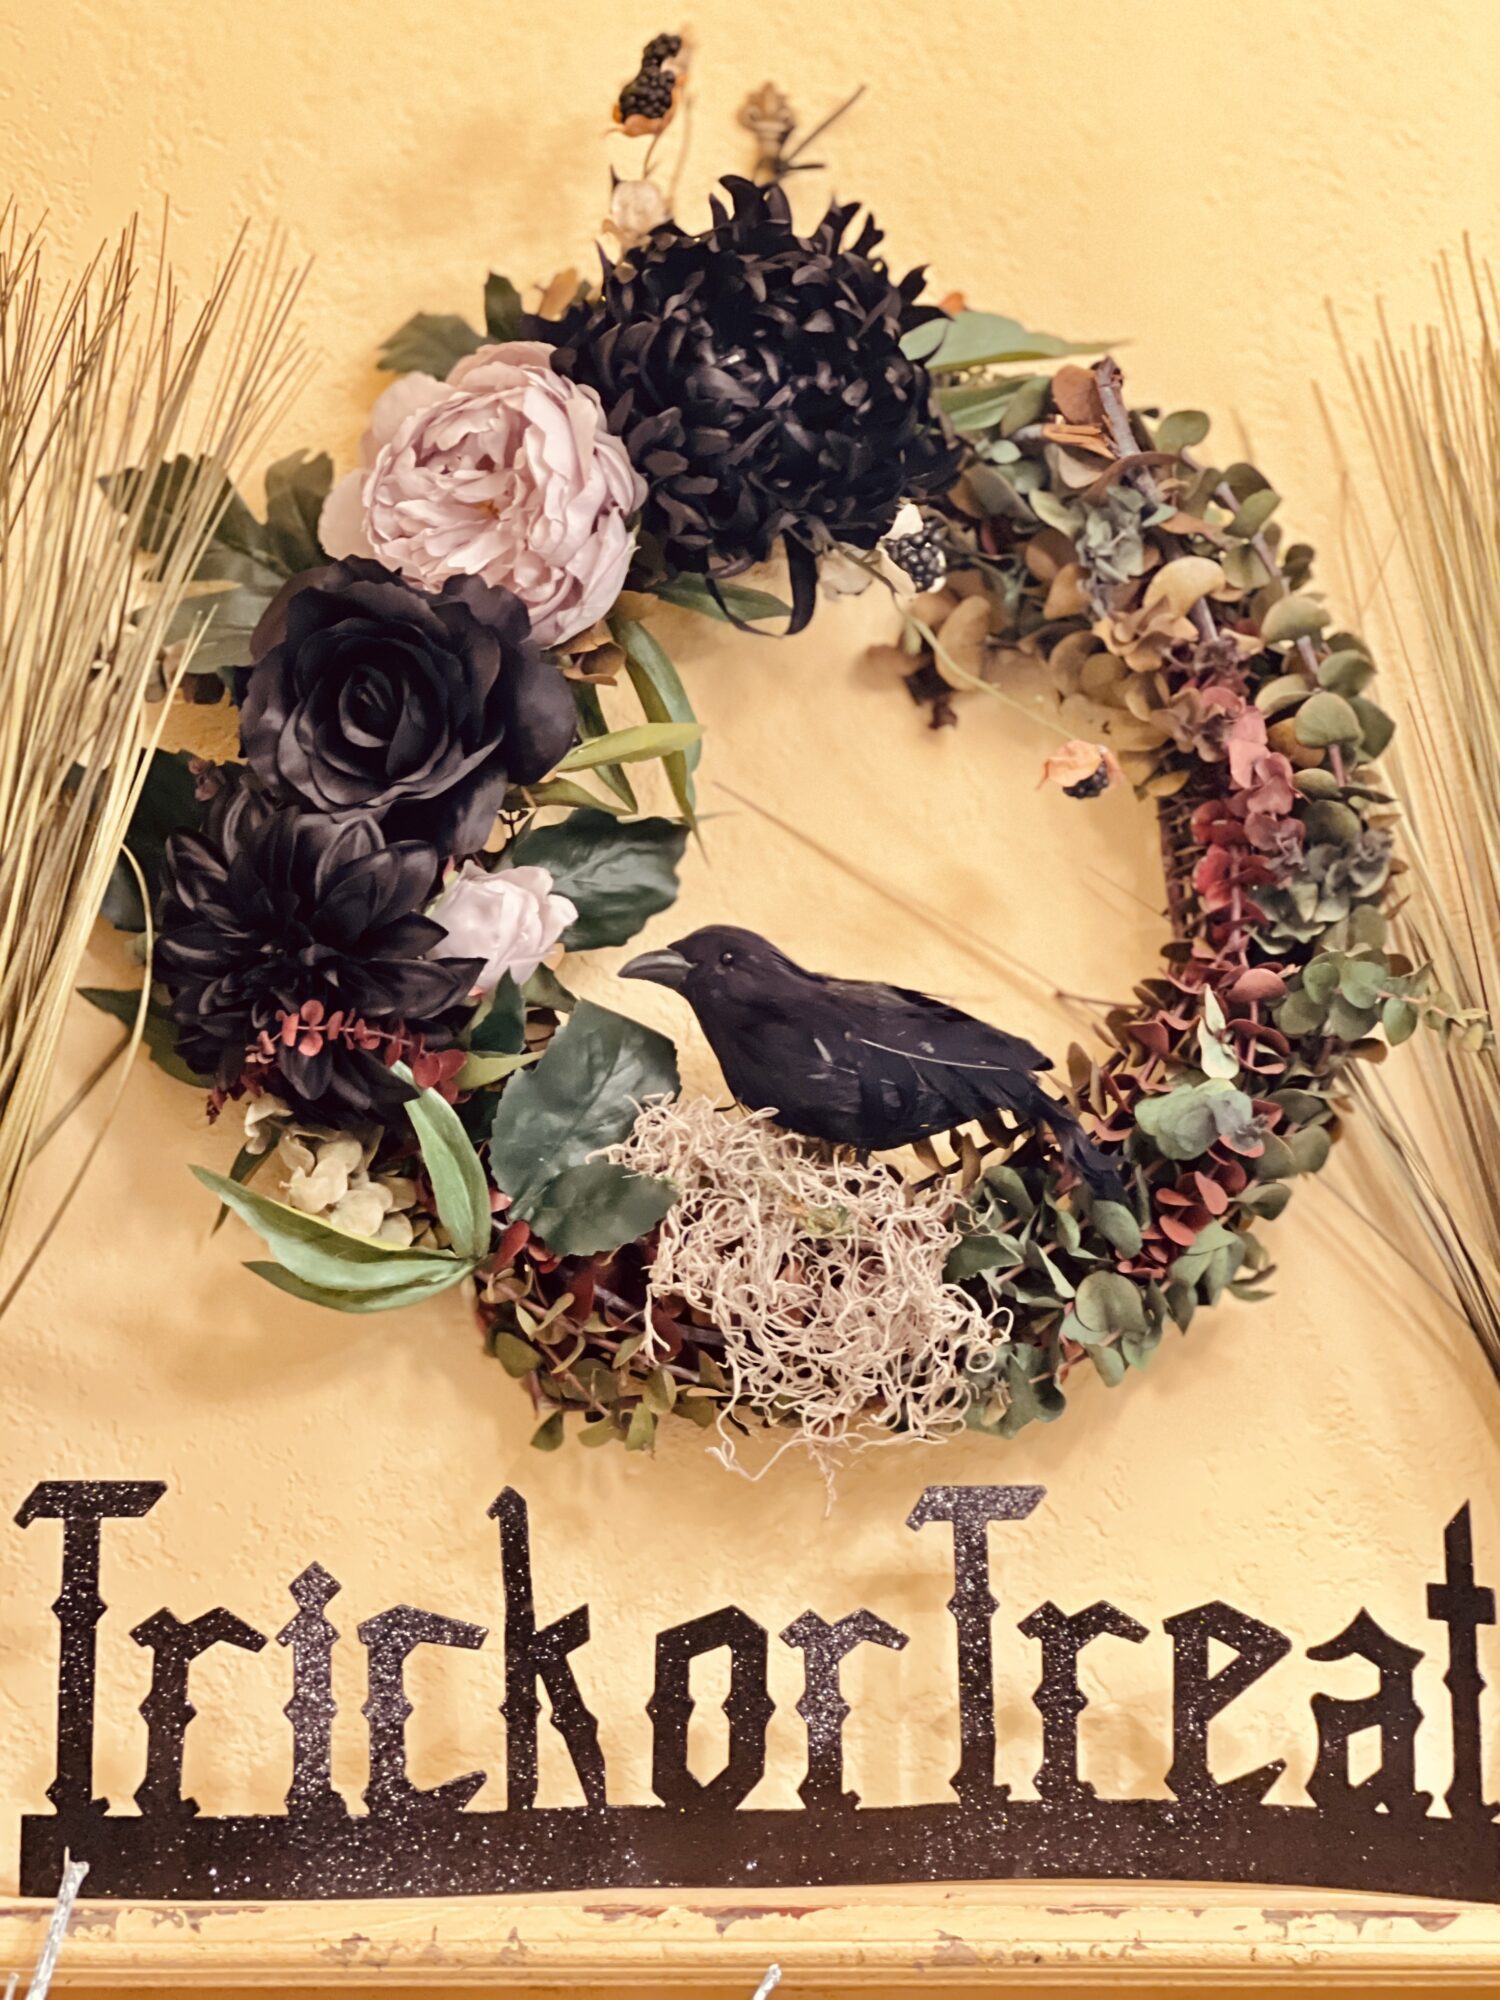
Halloween Decor Ideas that are Elegant NOT Cheesy!
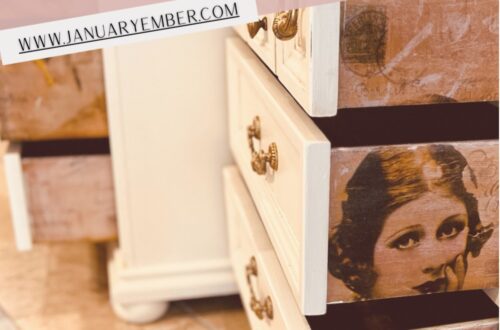
French Country Bedroom Makeover Series: Episode 1 – Brightening Nightstand Experiment