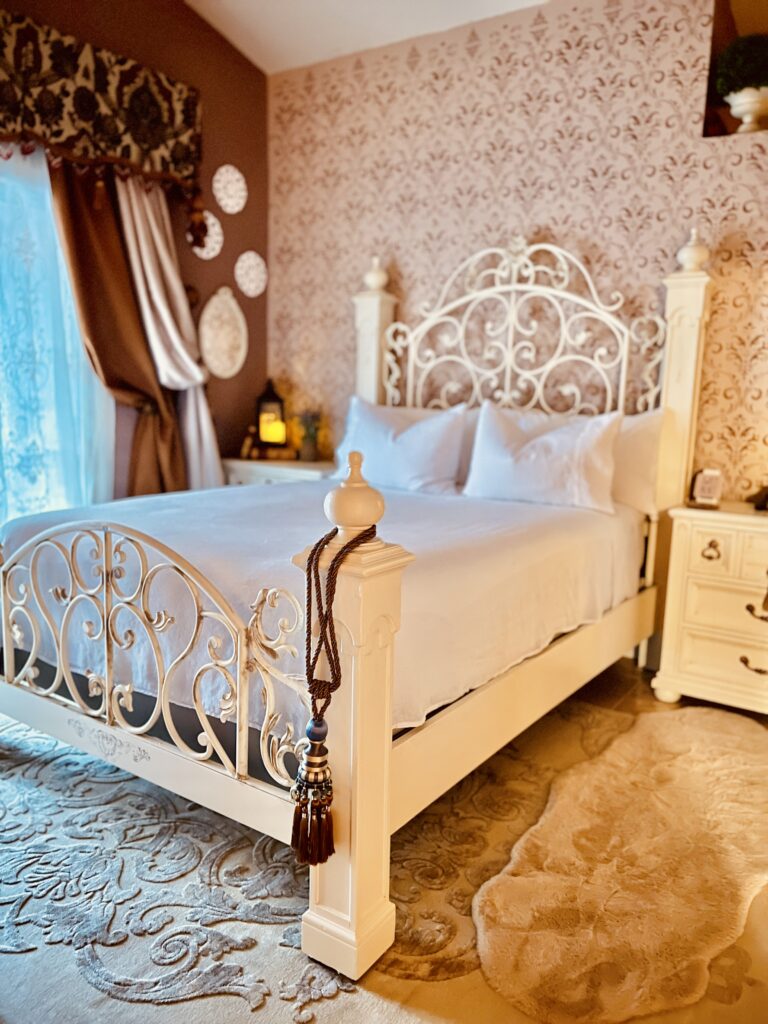
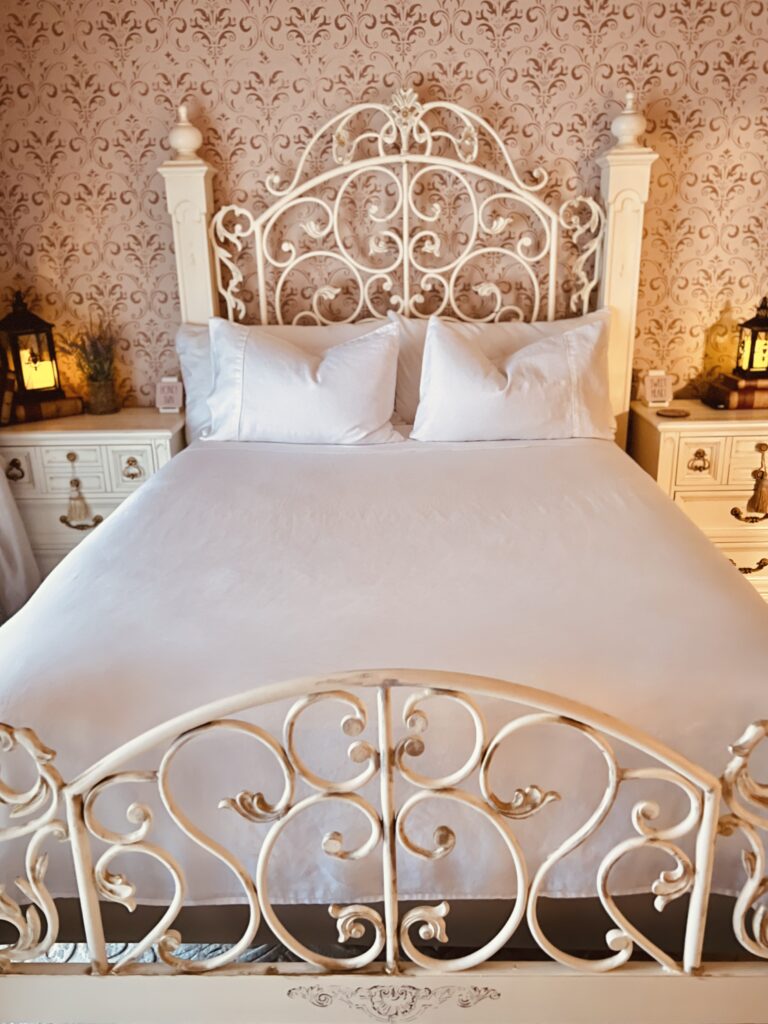
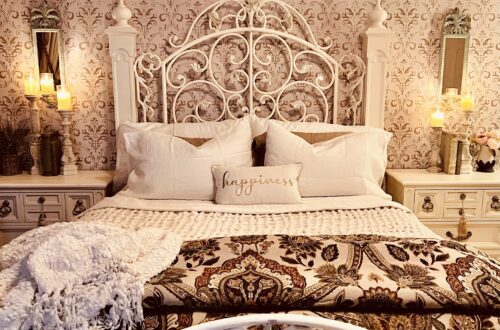
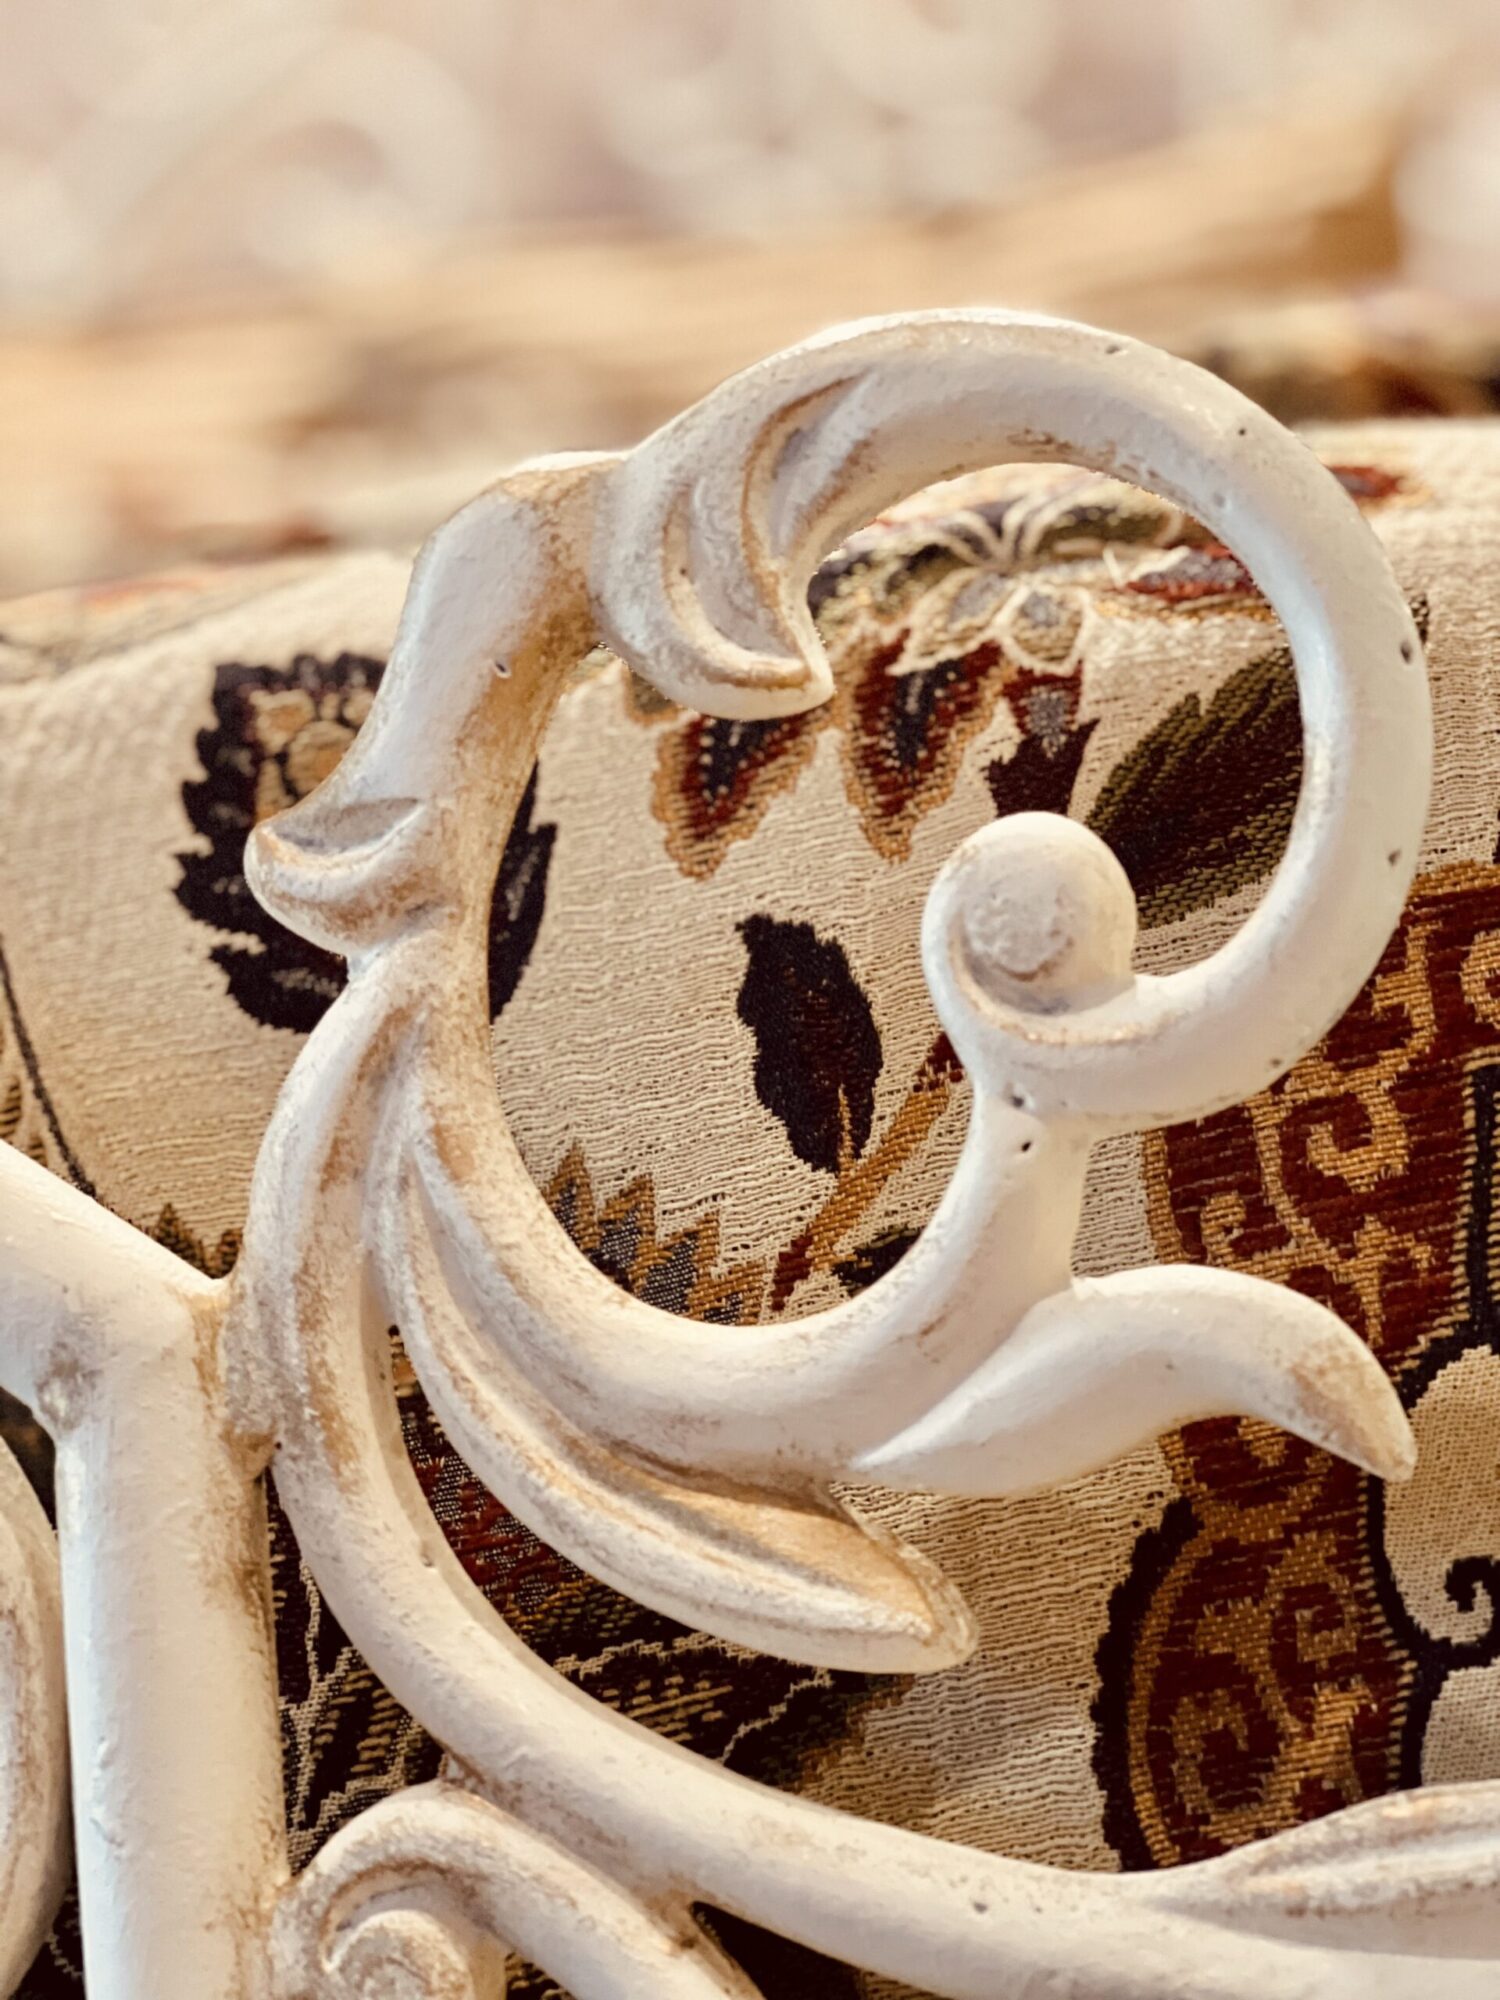
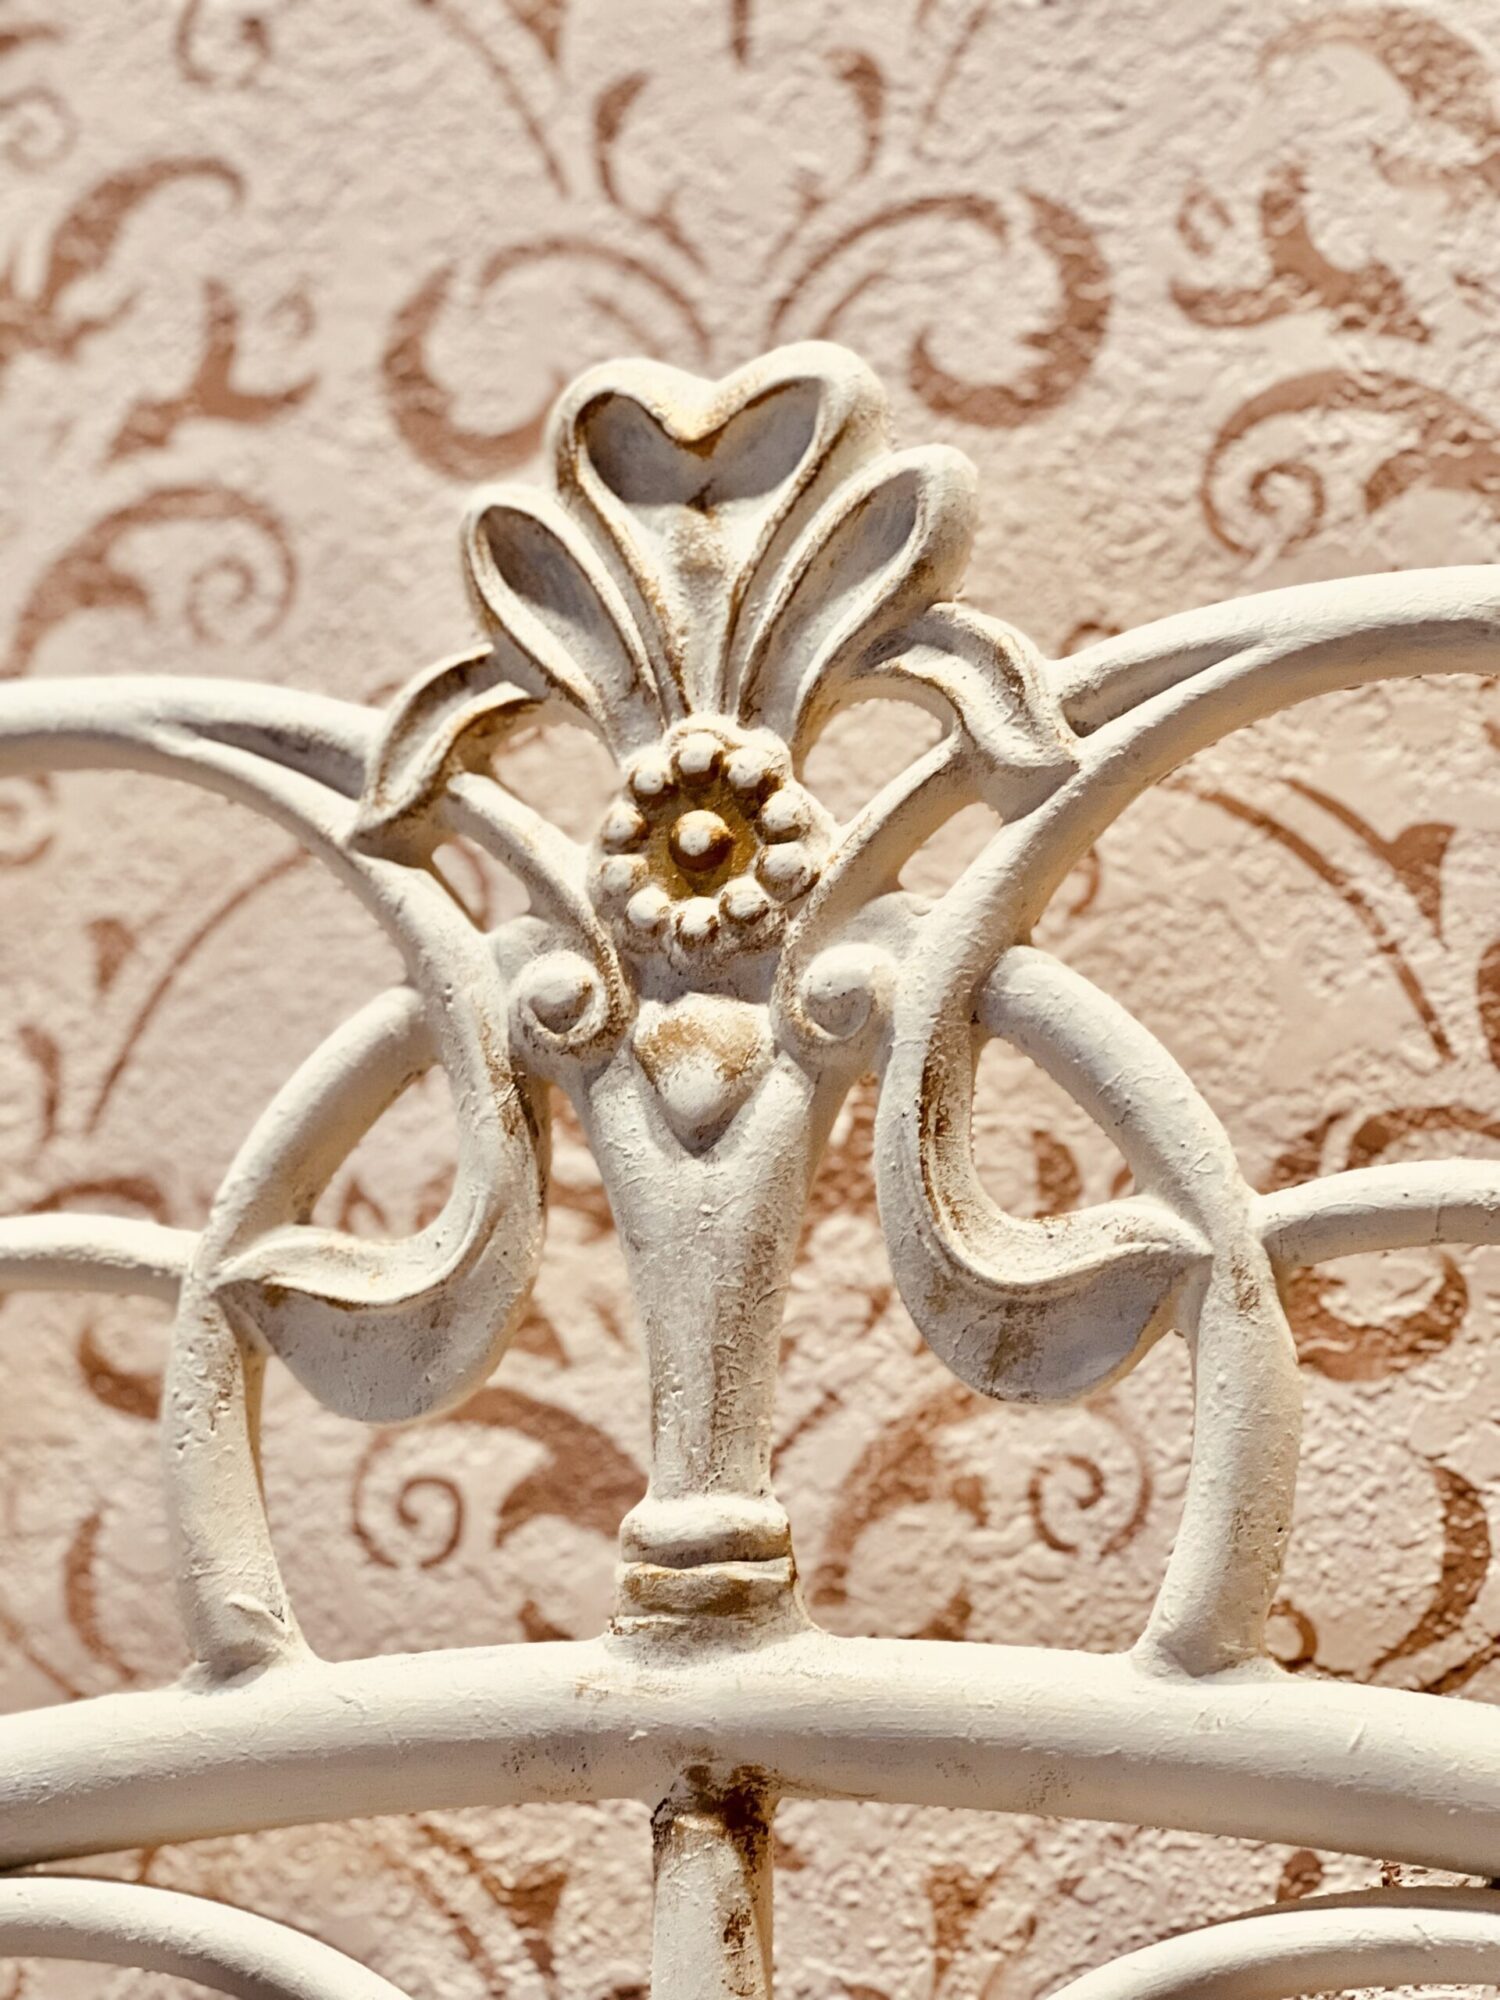
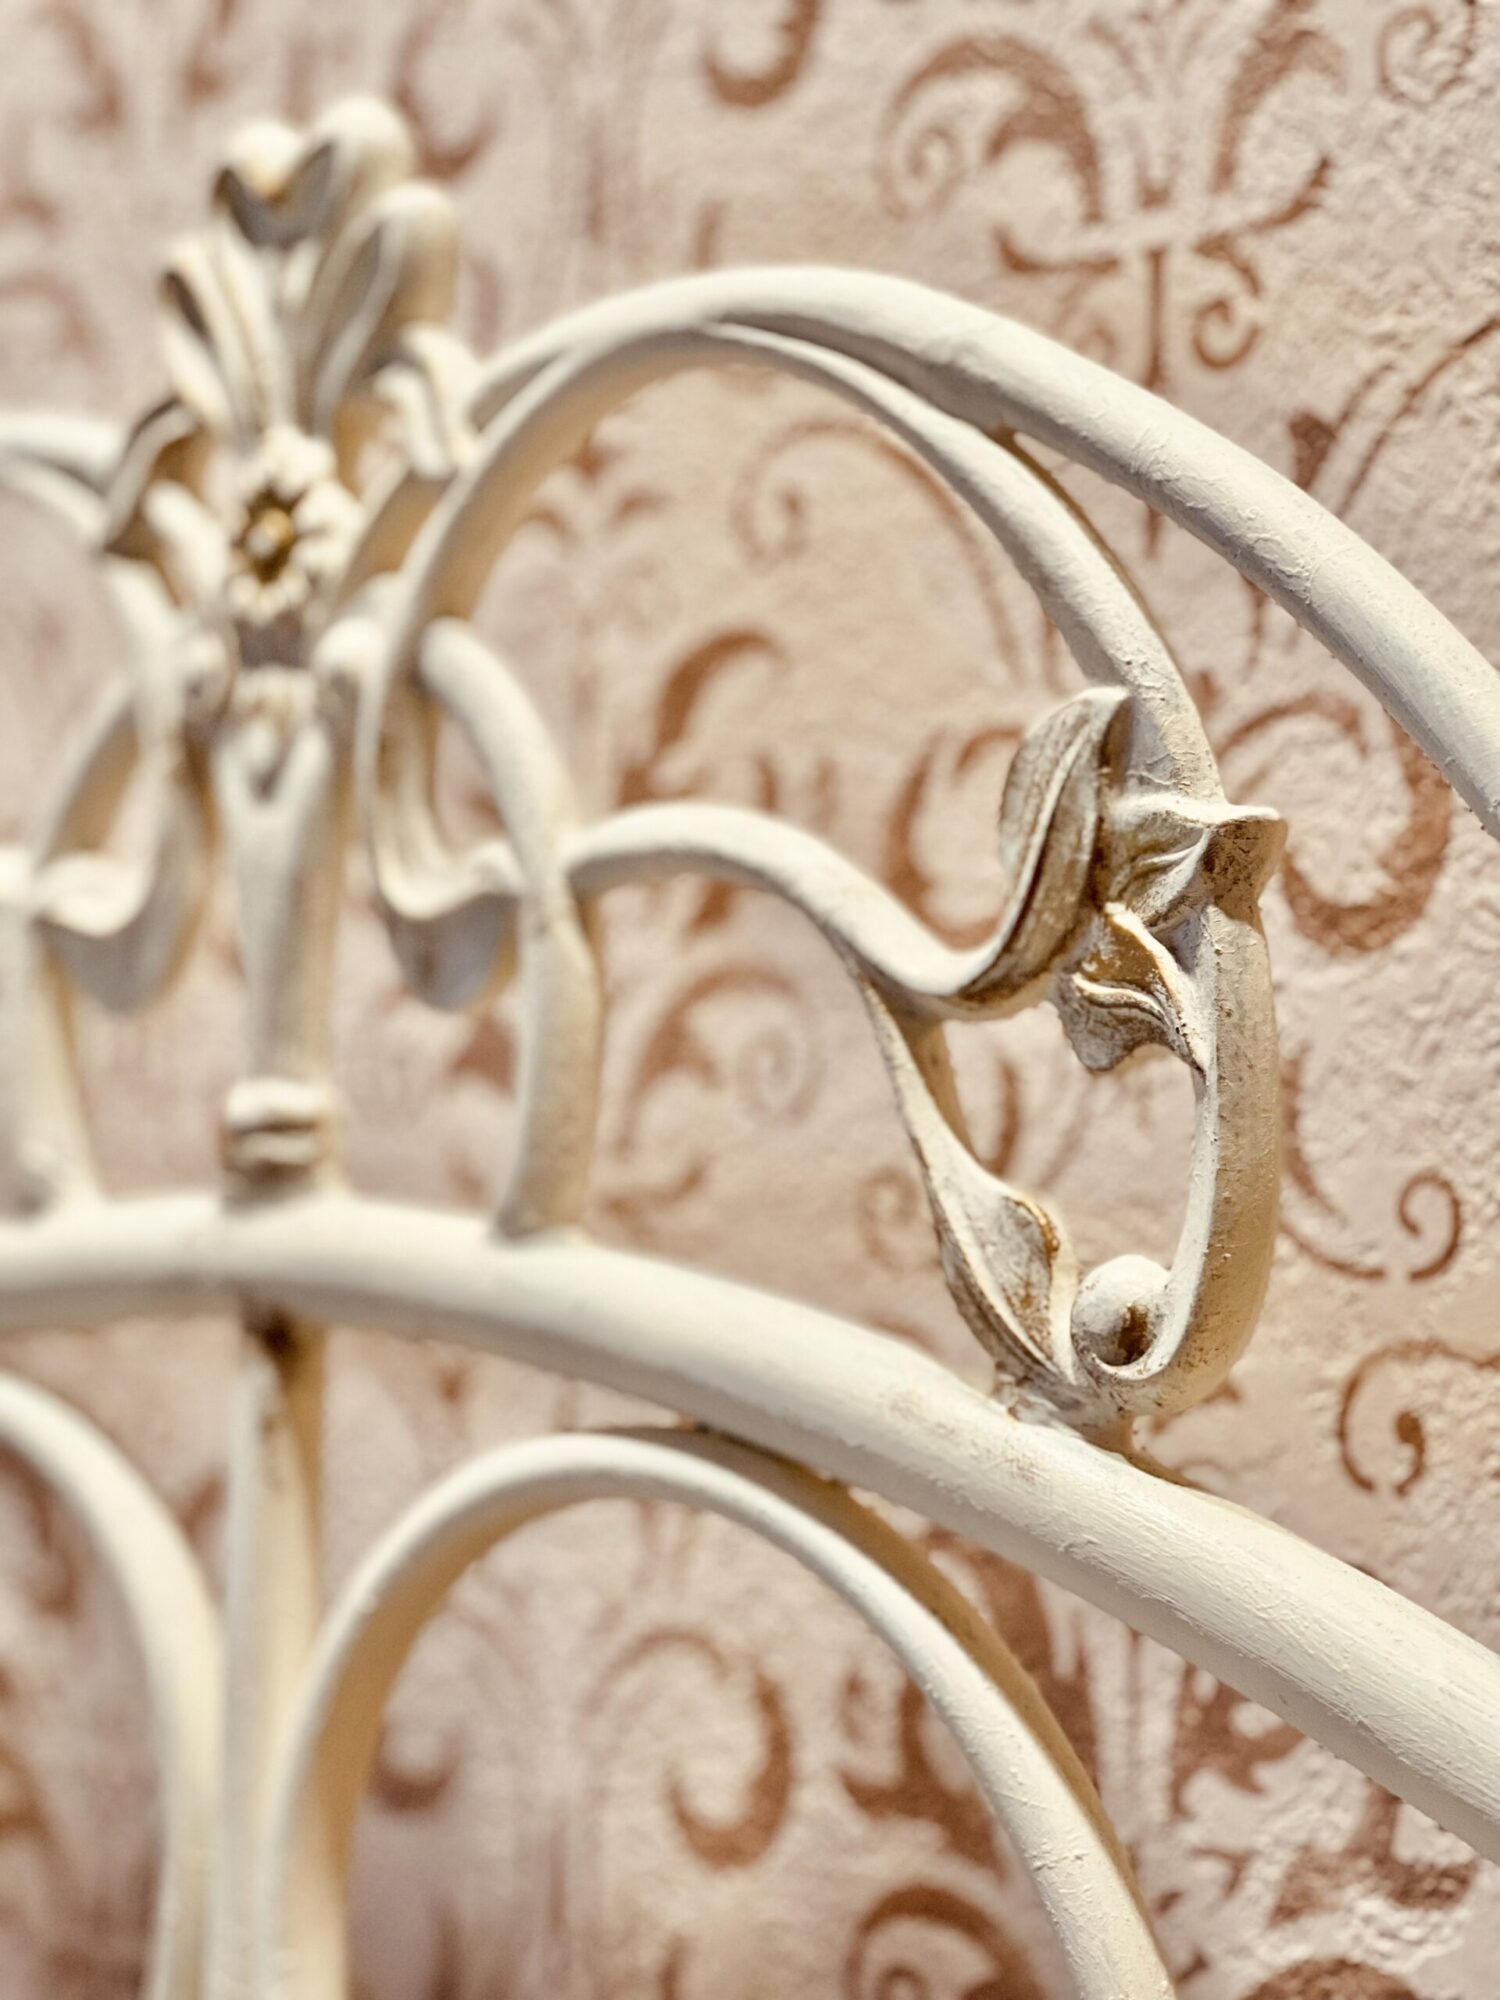
French Country Bedroom Makeover Ep 5 Cozy Wrought Iron Bed
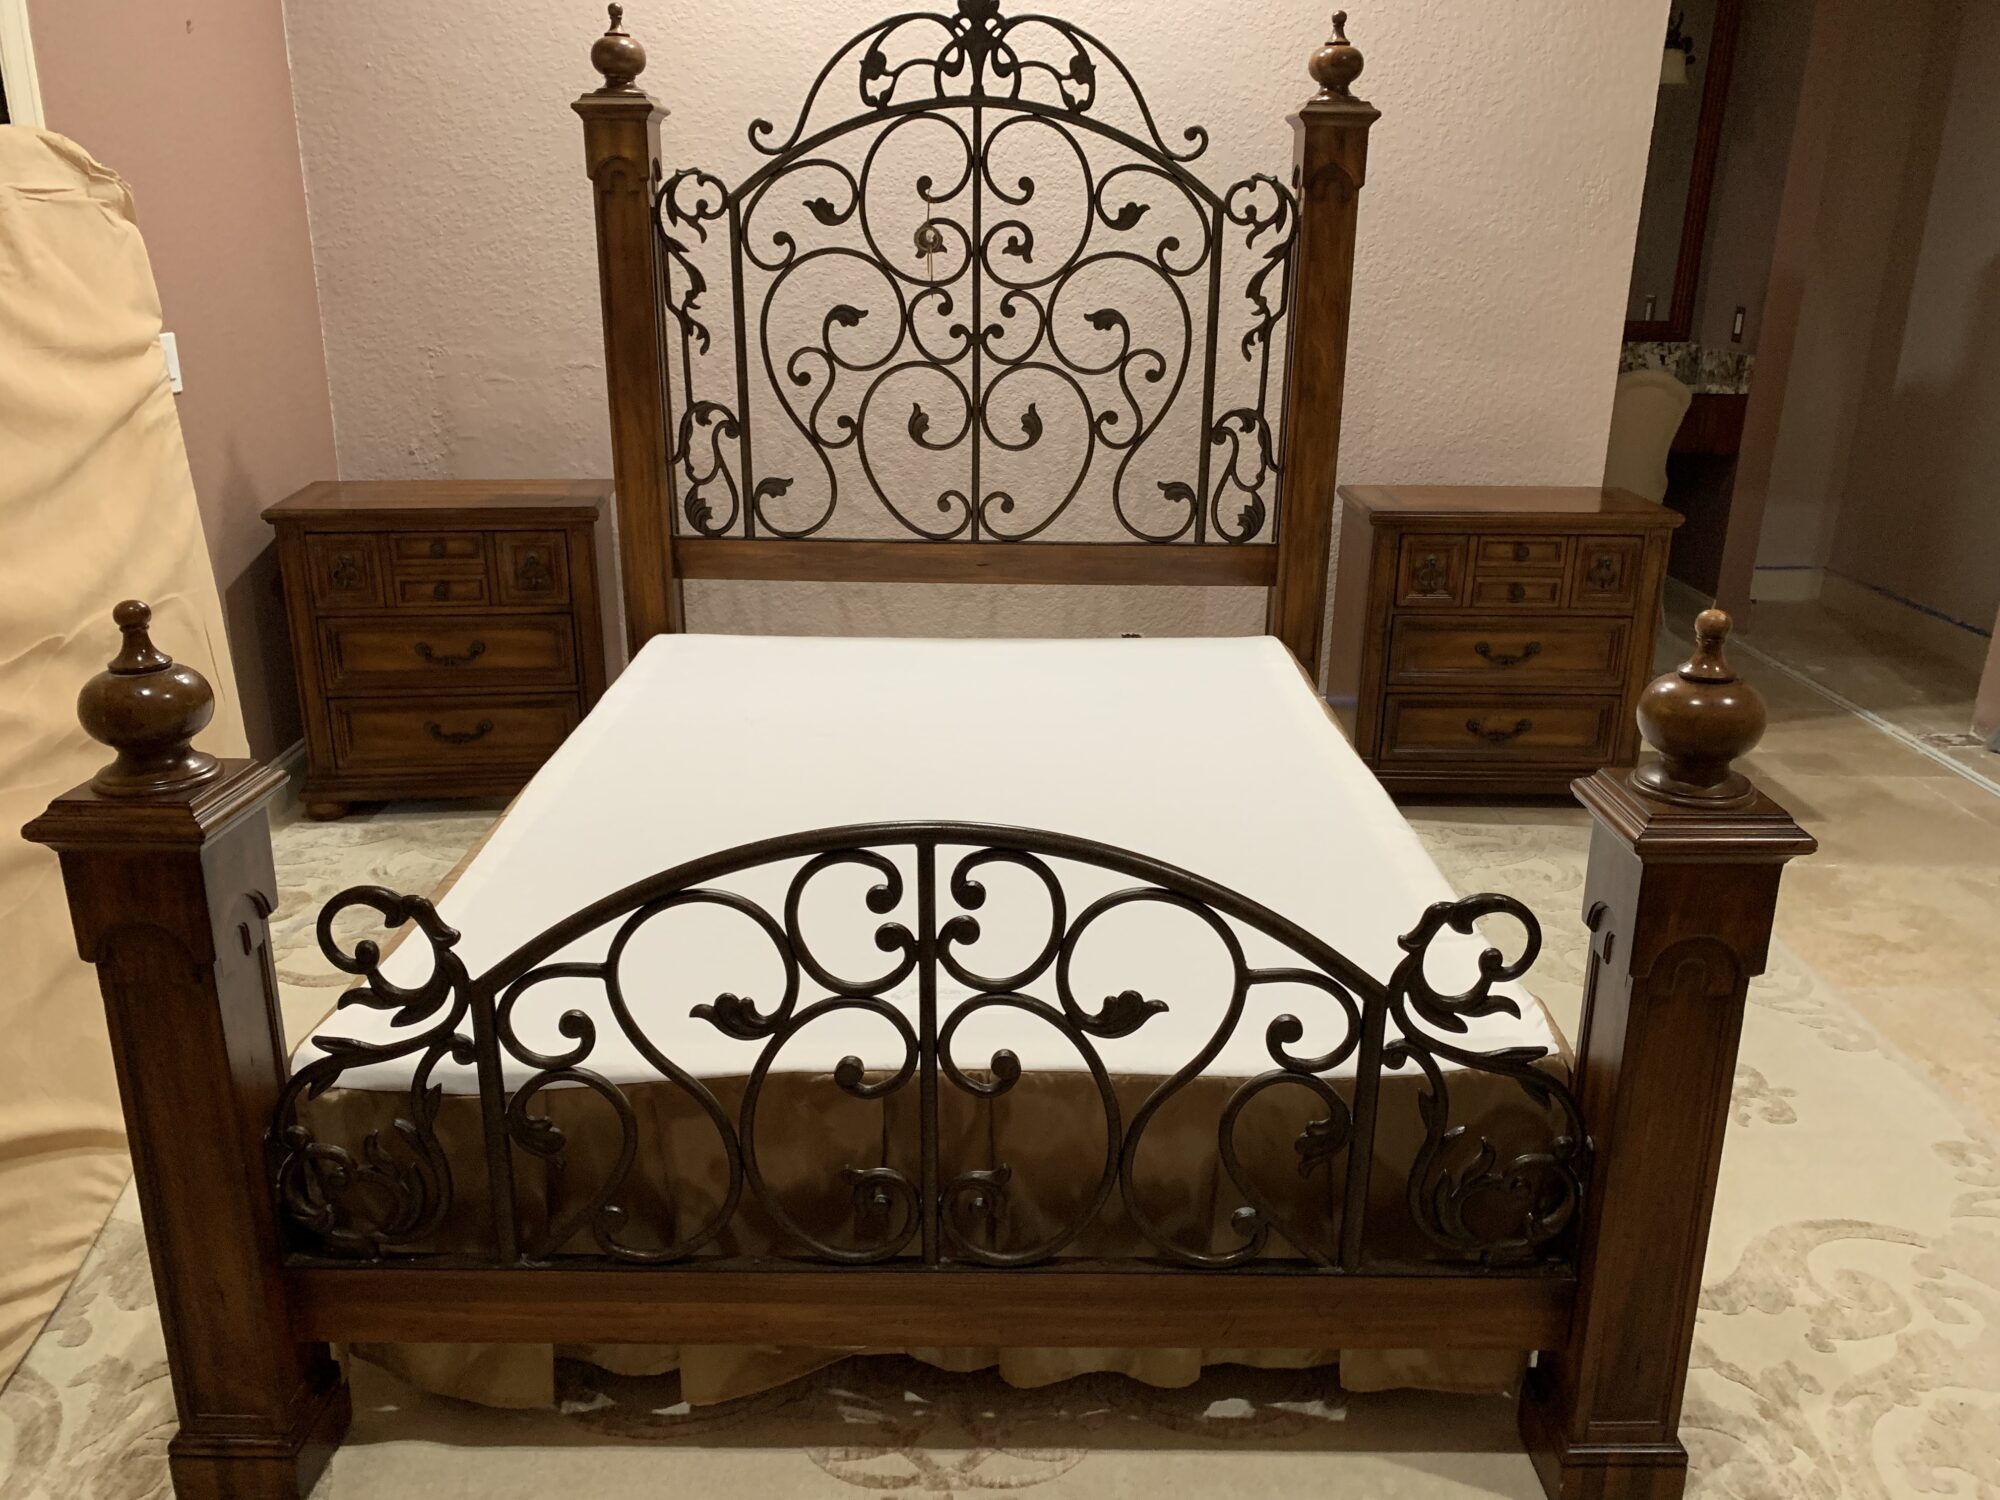

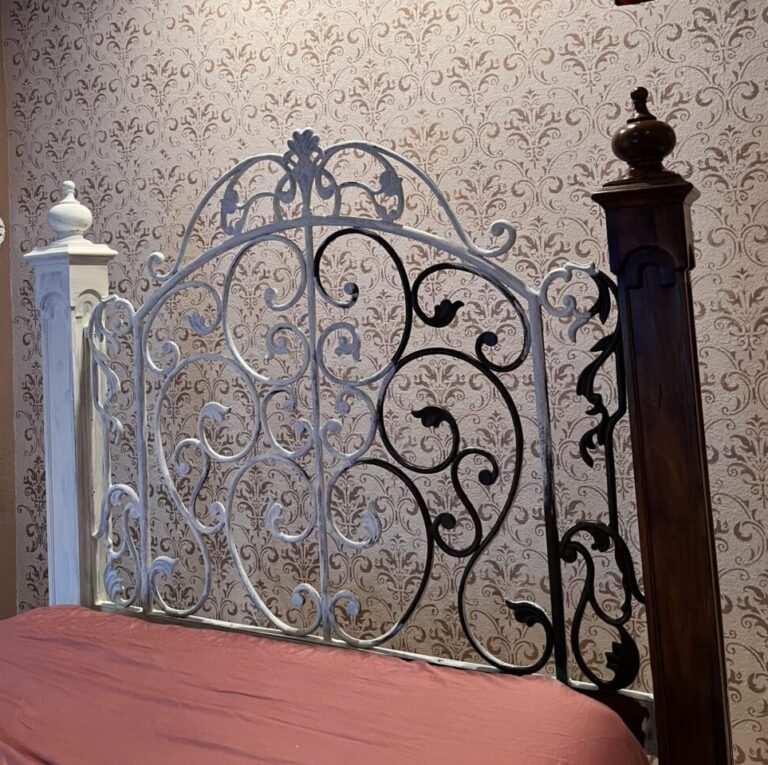


Before
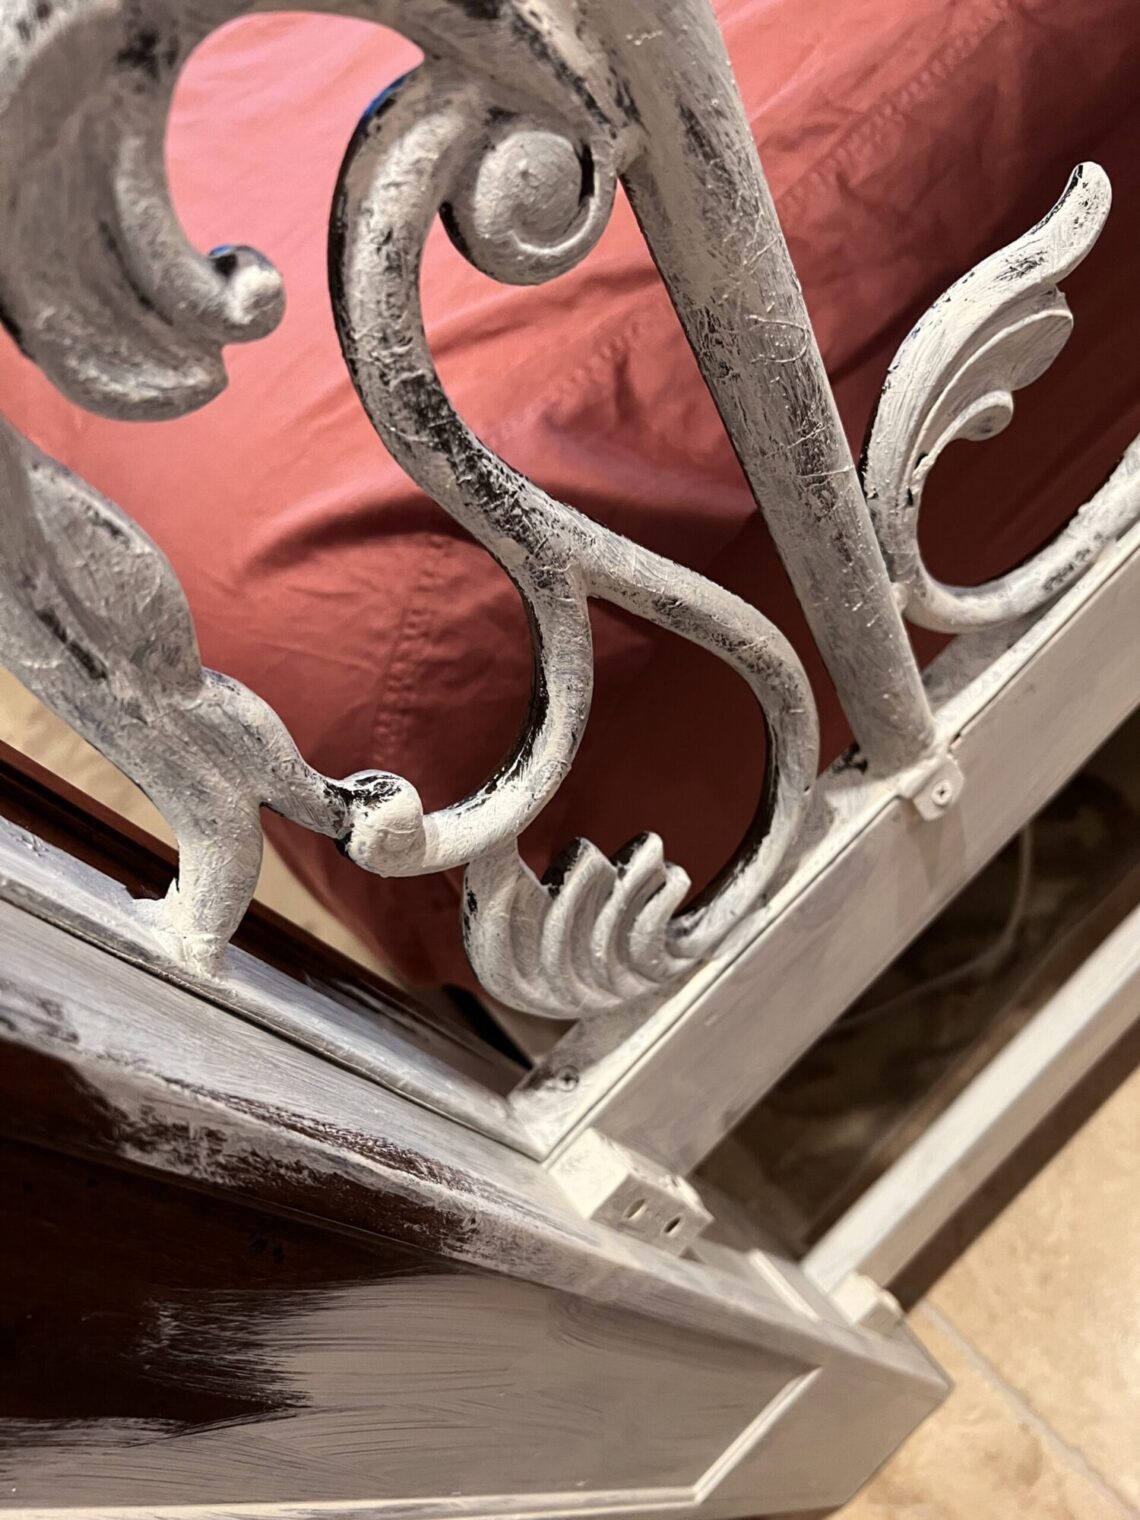
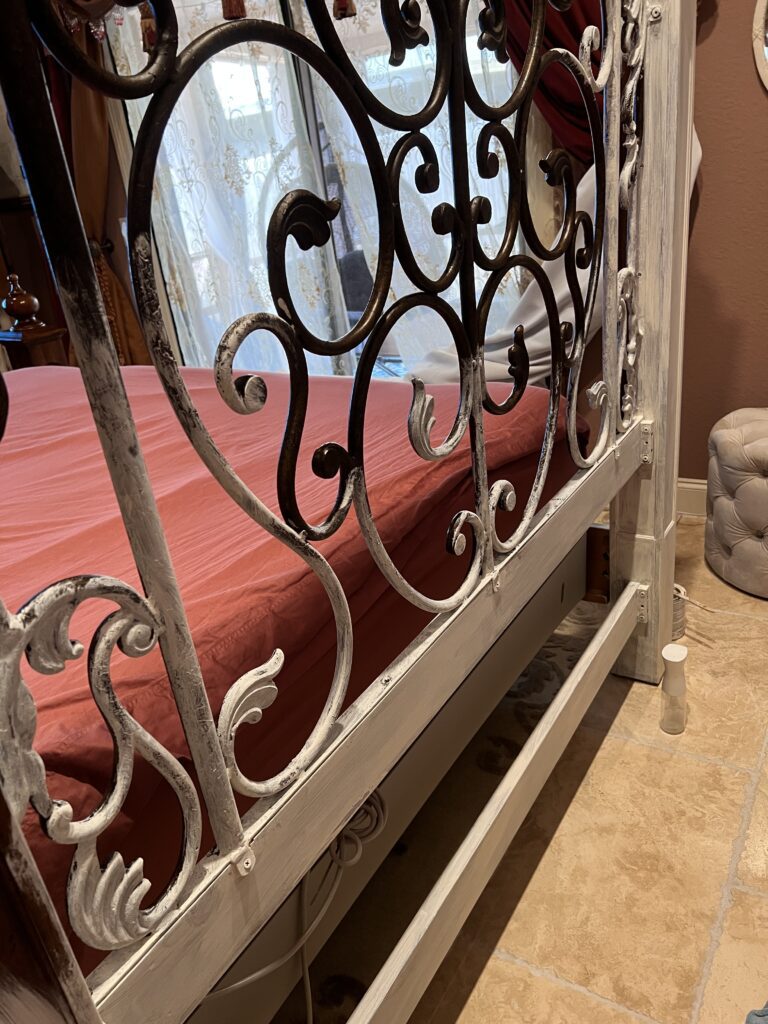
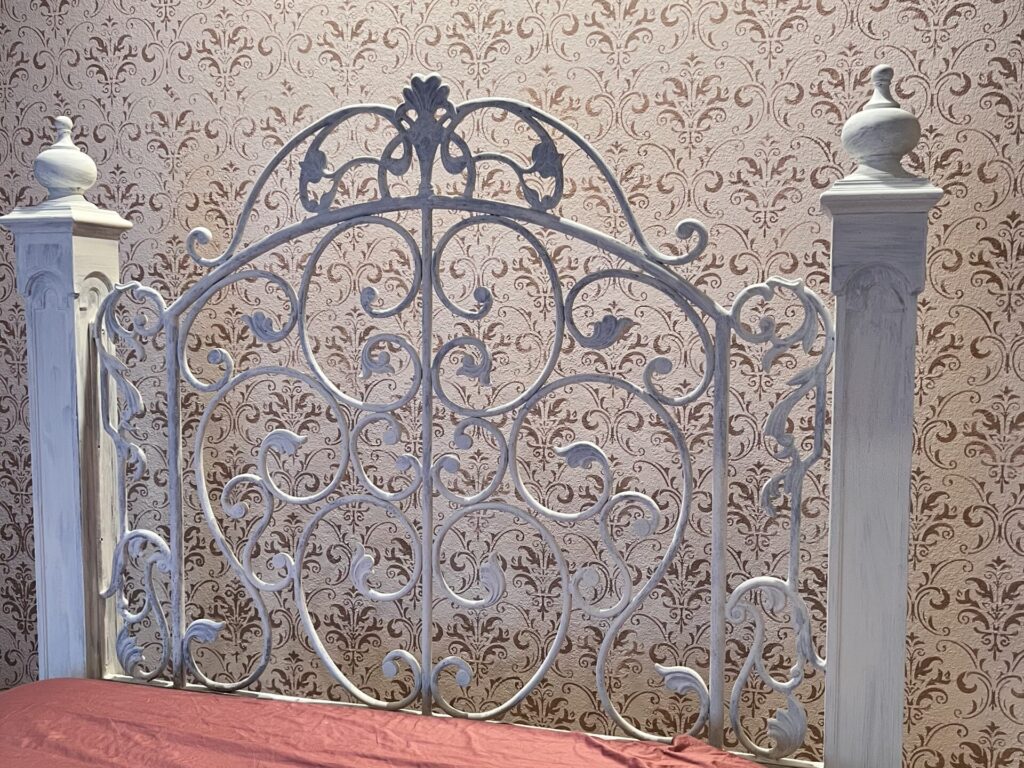
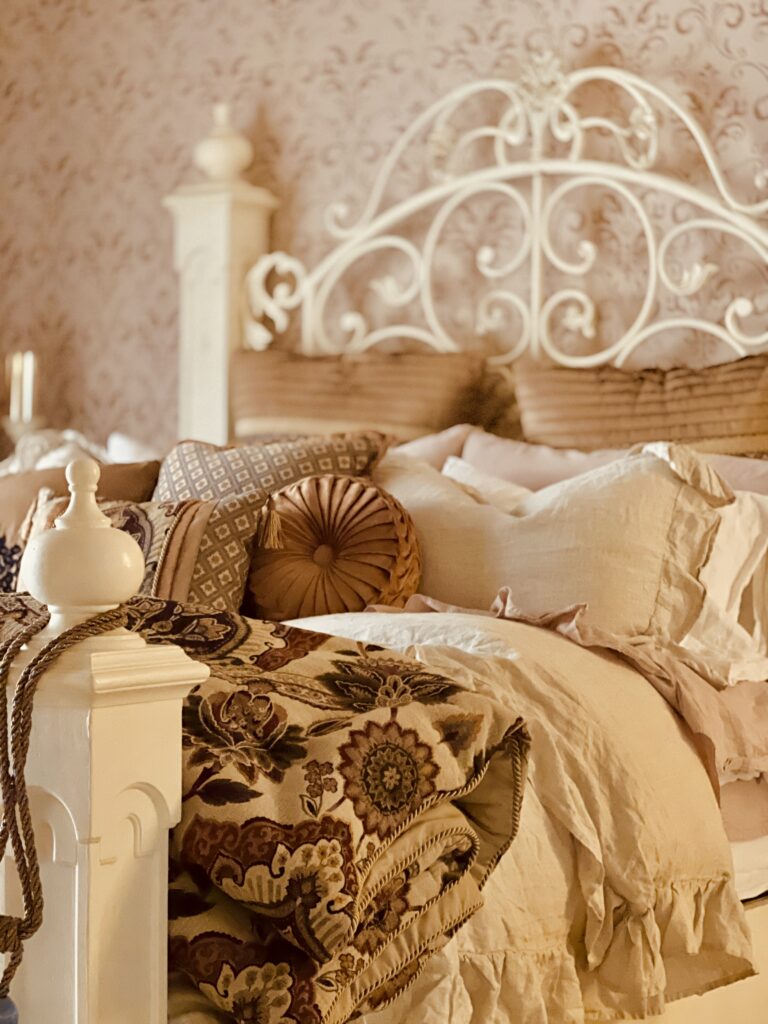
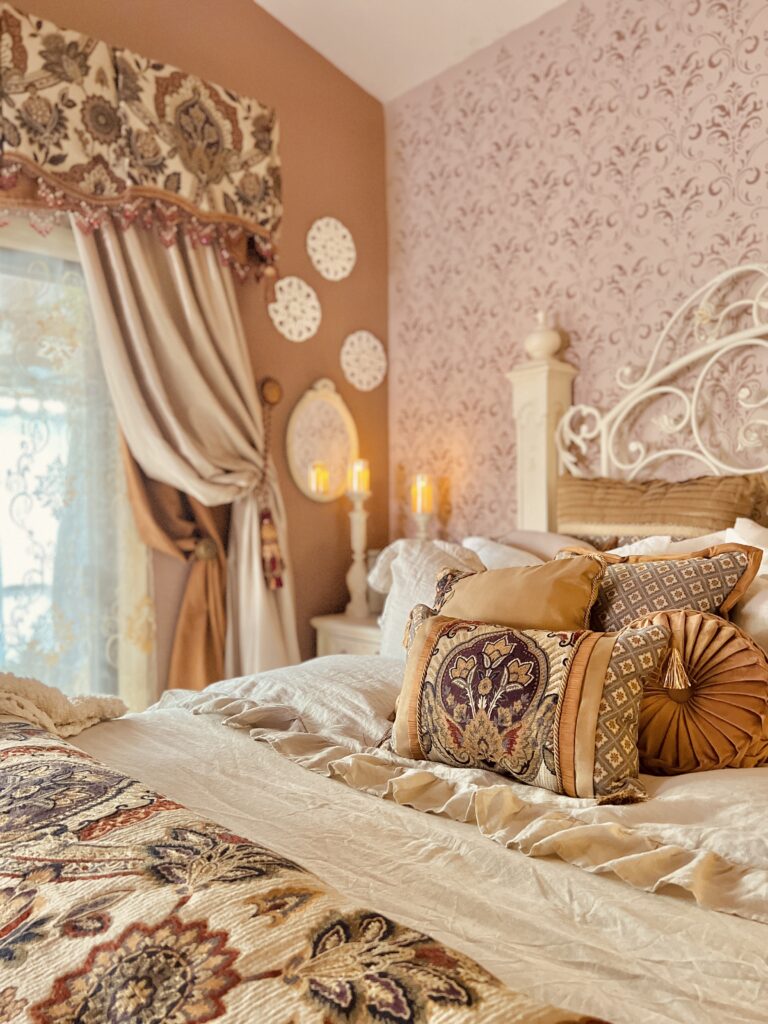
Midpoint


You May Also Like

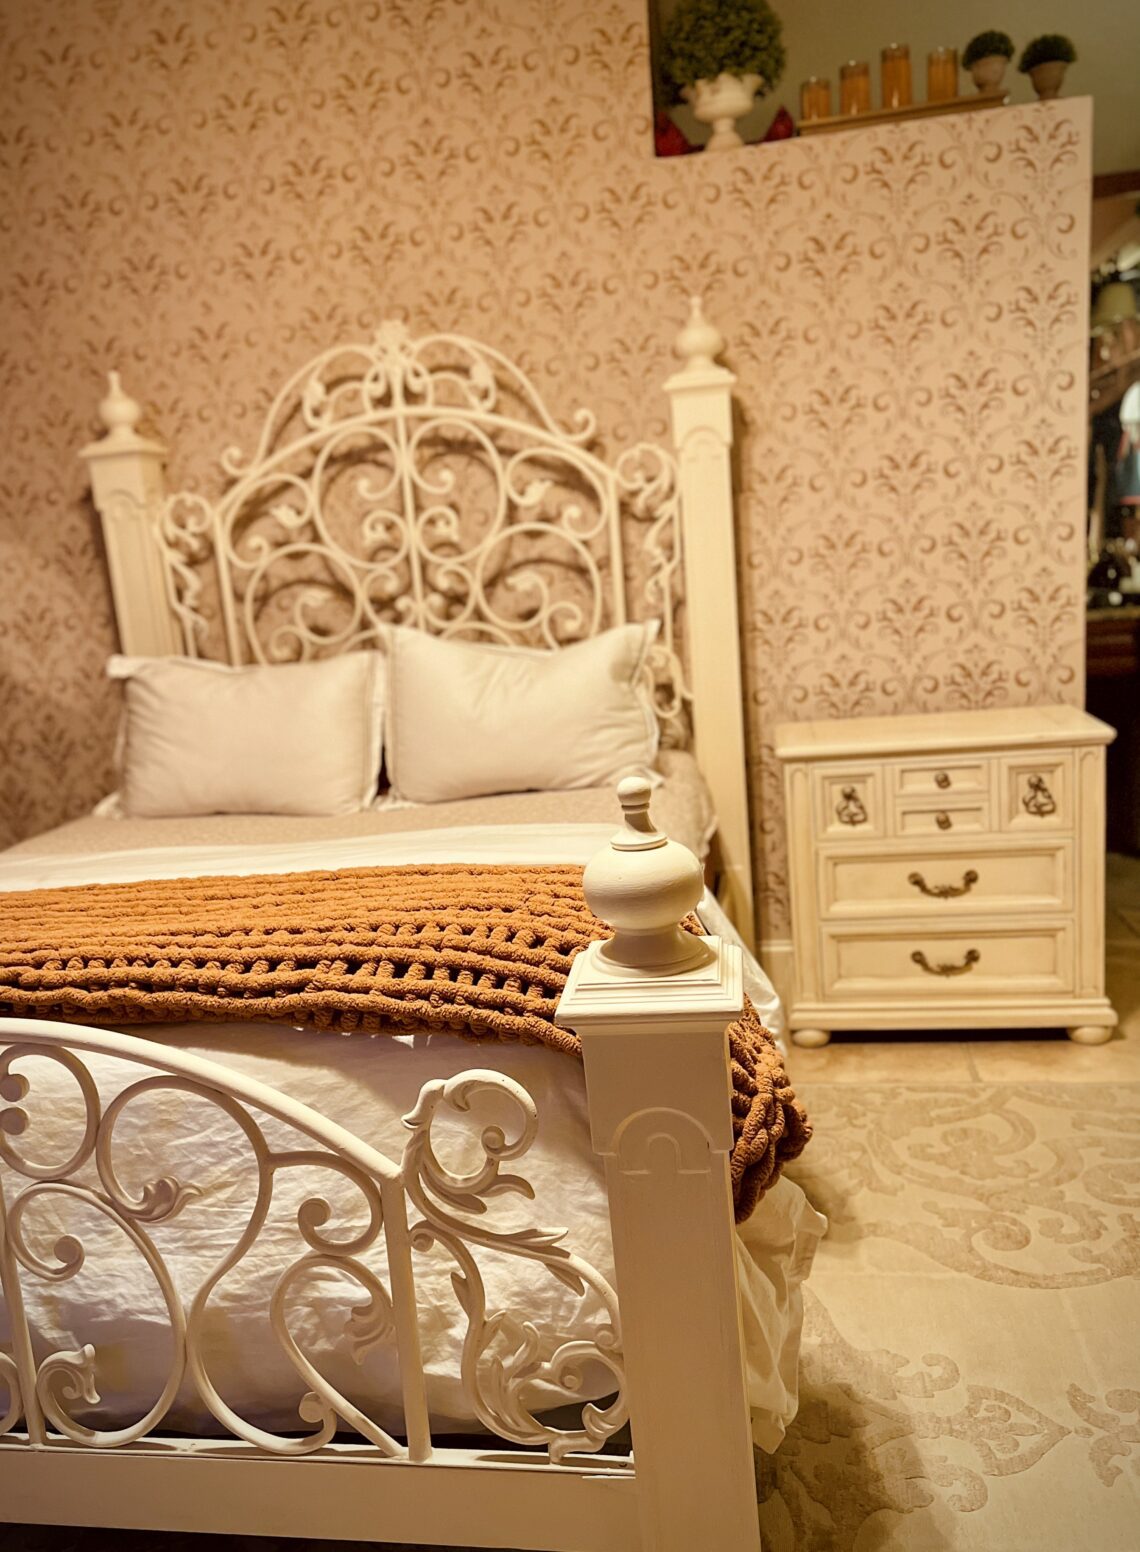
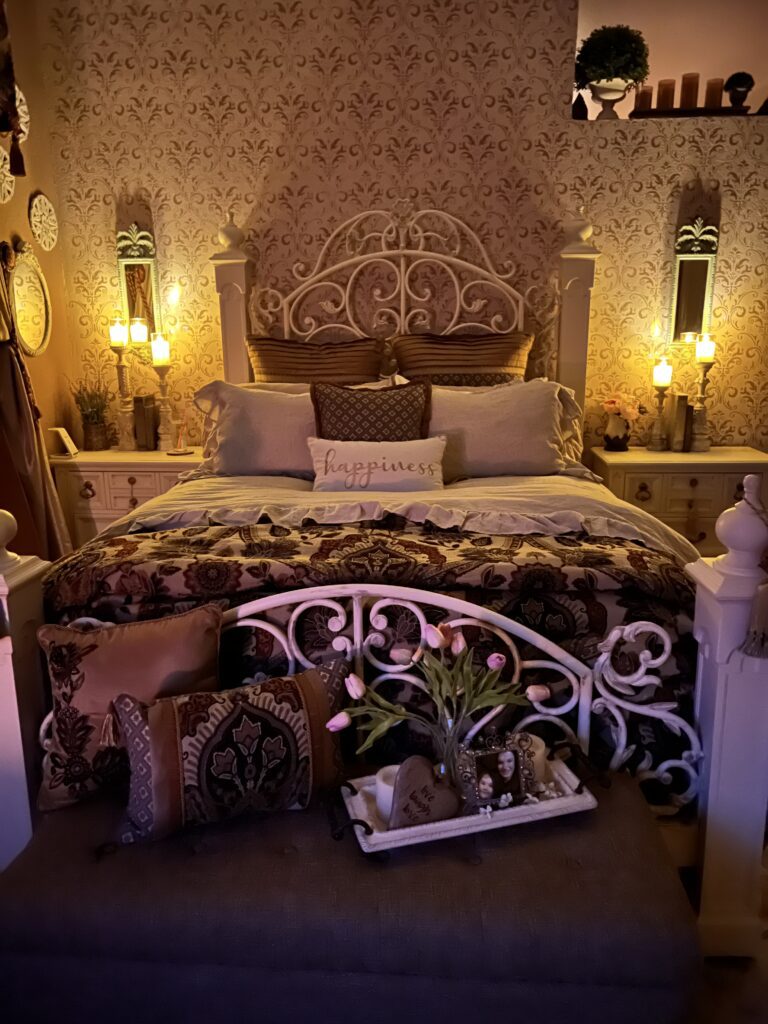
Creating a Cozy French Country Bedroom

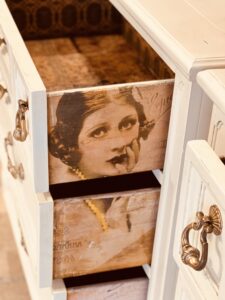
French Country Bedroom Makeover Episode 8 decoupage artwork