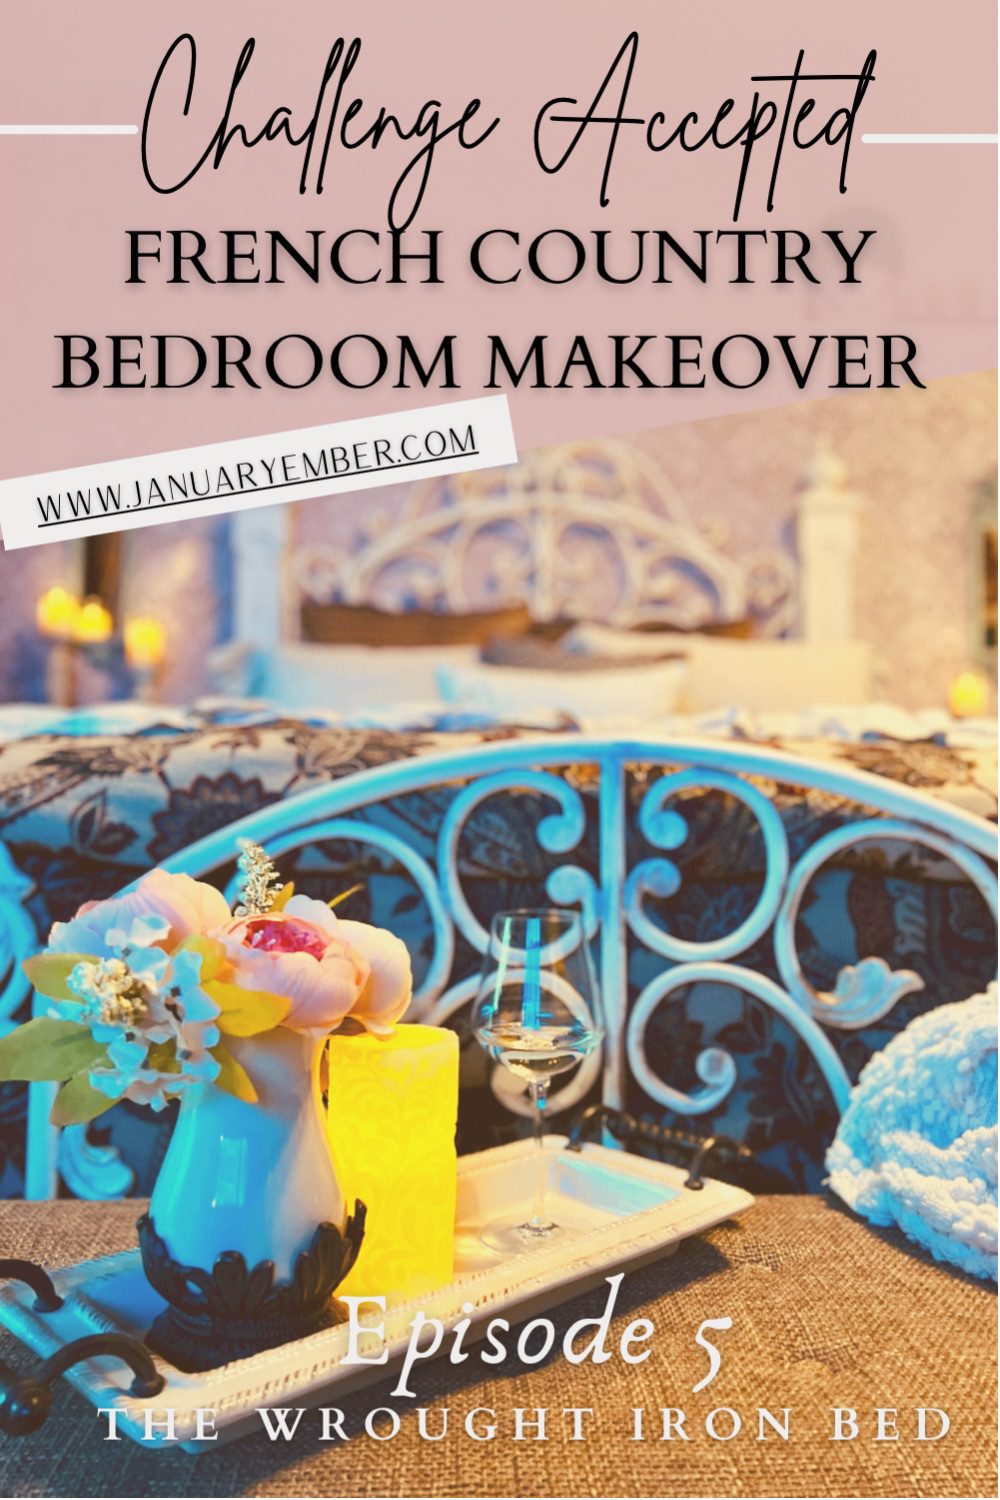
French Country Bedroom Makeover Ep 5 Cozy Wrought Iron Bed
Welcome back for Episode 5 of my French country bedroom makeover DIY "Projecting" project!
I have this theory that in every "project", there is some emotion I am "projecting". Painting is a great way to clear your mind and be productive! 🙂
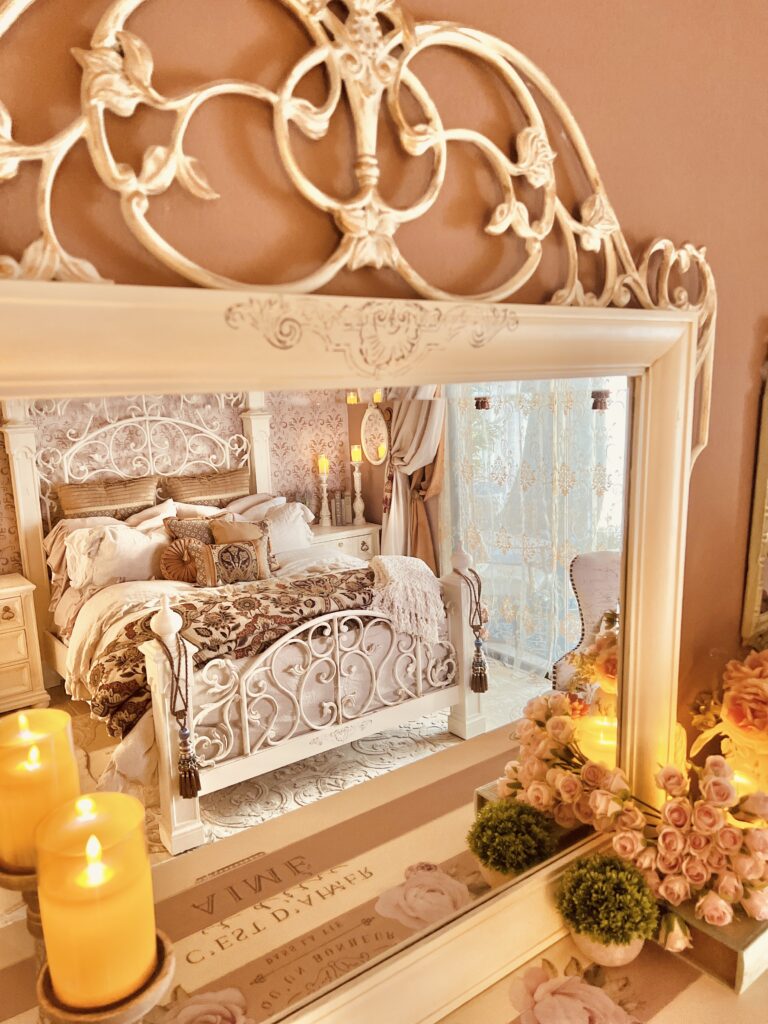
In this episode I'll give you a look at how I transformed my 15 year old dark antique wood, wrought iron, headboard and footboard, 4 poster bed.
BEFORE: DARK WOOD
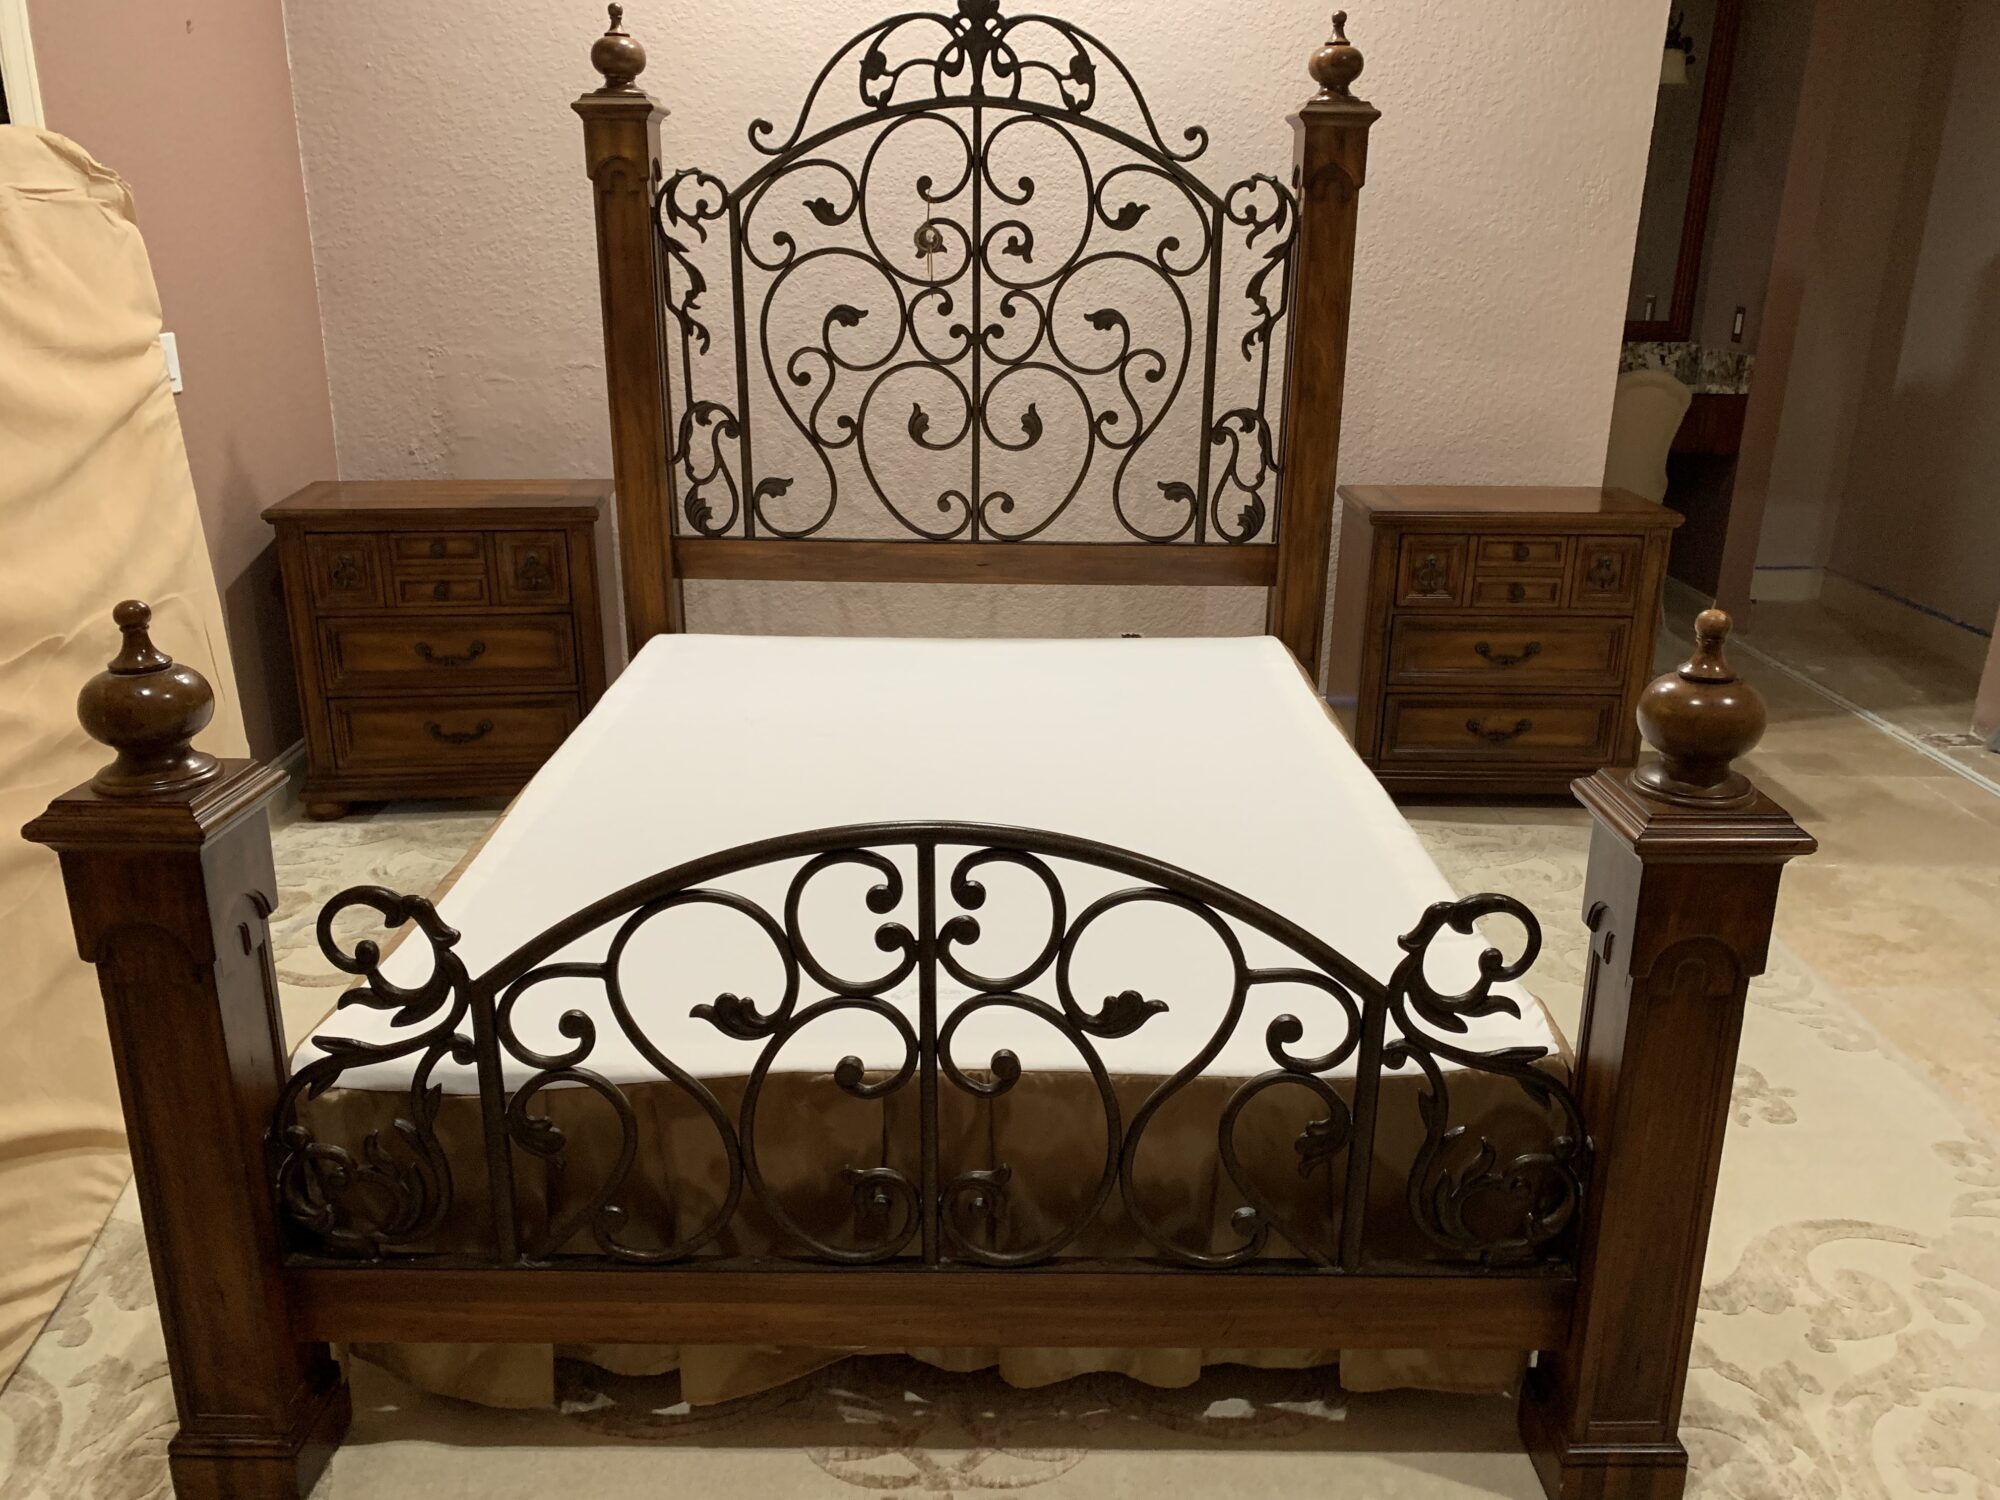
Since this is my bedroom set, I figured I could experiment. It’s 15 years old, how bad can I hurt it.
Let’s just say, I found little guidance to make me think ‘Oh Yeah, I got this’, I was convinced I’d mess it up and be mad at myself.
TOOLS I USED:
- Chalk Paint
- All-In-One Paint
- All-In-One Painting kit: sponge, brush, and mini roller
- Mini roller plastic paint roller pan
- Mister Spray Bottle
- Chip edge paint brushes
EXPERIMENT STAGE: Painting on the back side
EXPERIMENT PAINTING WROUGHT IRON:
- Paint a few spots on the back of the bed
- that no one will ever see
- Use with chalk paint,
- “wash it off” -worst case!
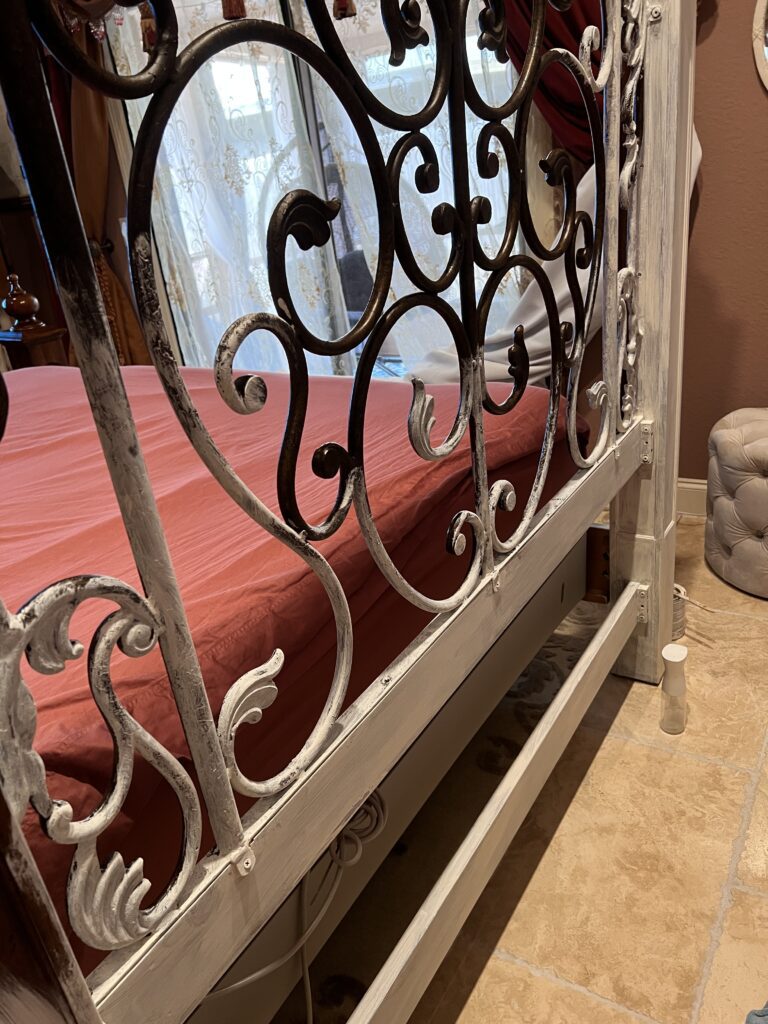
Test painting the wrought iron on the back of the bed using this chalk paint was my BEST DECISION!
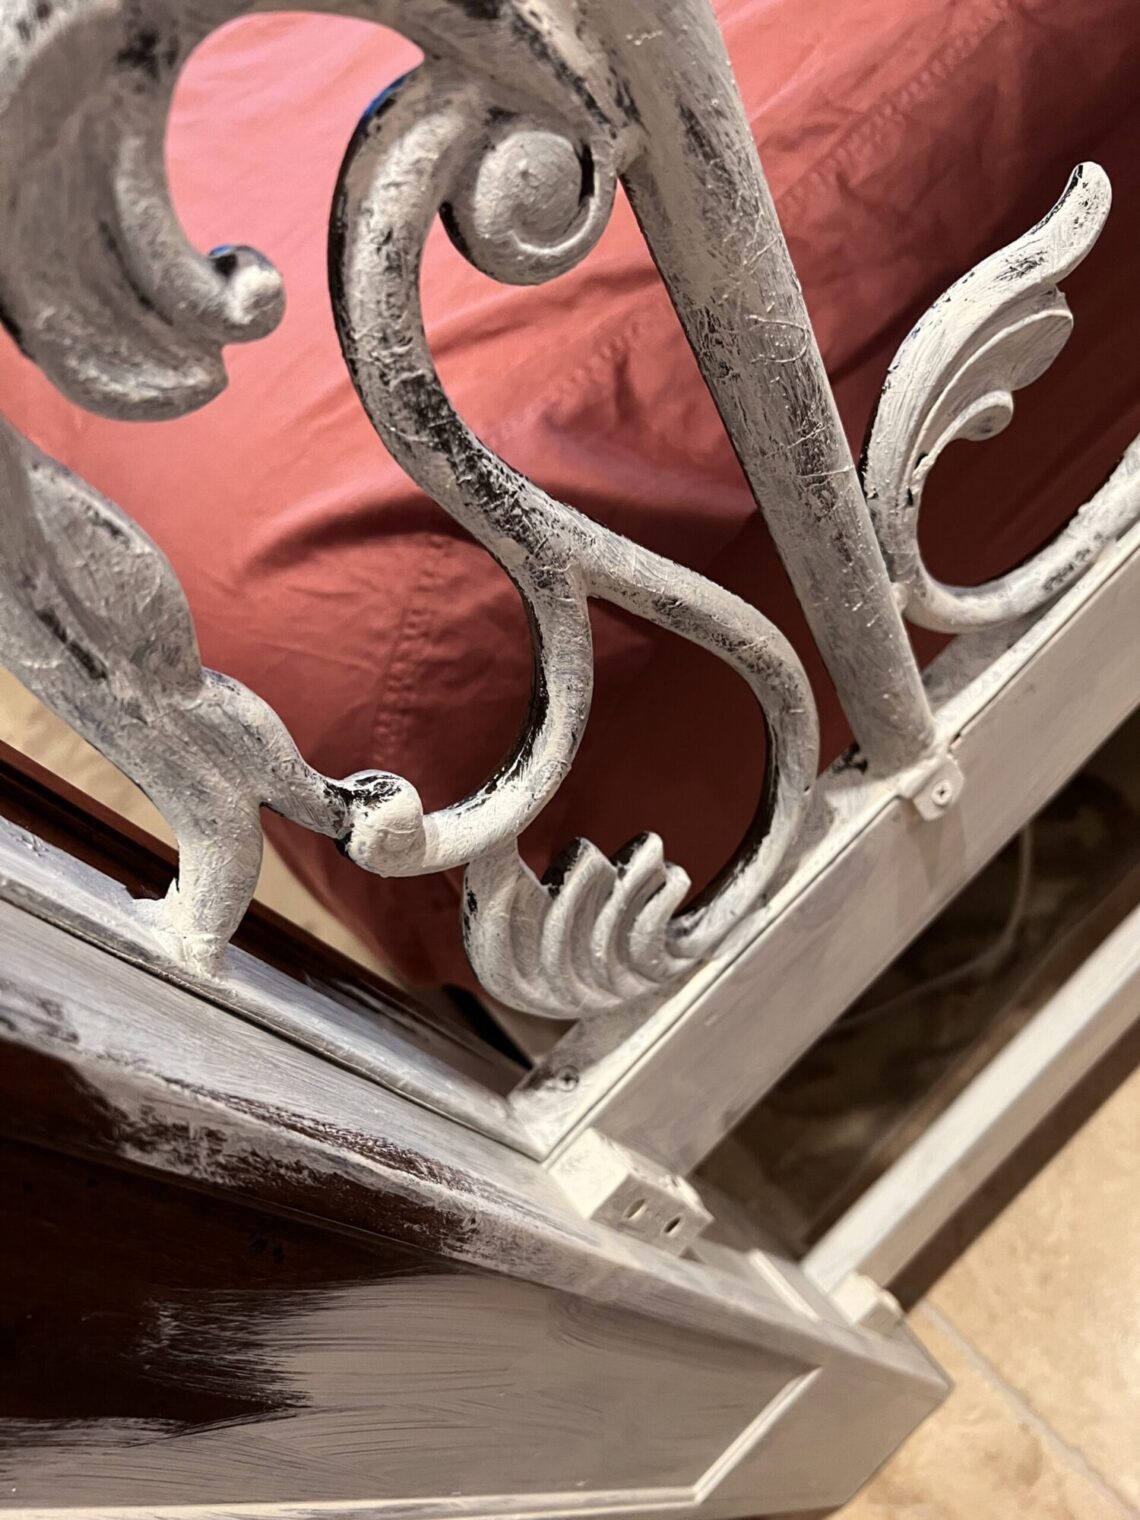
My little experiment gave me a chance to see how different it would look without truly committing!
Once I tested a few spots, I realized I would love it, so the wrought iron bed makeover commenced!
As I painted the iron on the back of the bed, I became more comfortable with my technique.
When I started I was using the Rustoleum chalk paint in Chiffon Cream, it is a lovely color, you can see more of it in the night stand makeover episodes).
You’ll see my trusty sidekick spray bottle floating around in the pictures. That is your secret weapon when it comes to chalk painting! It helps keep the paint moist. not wet.
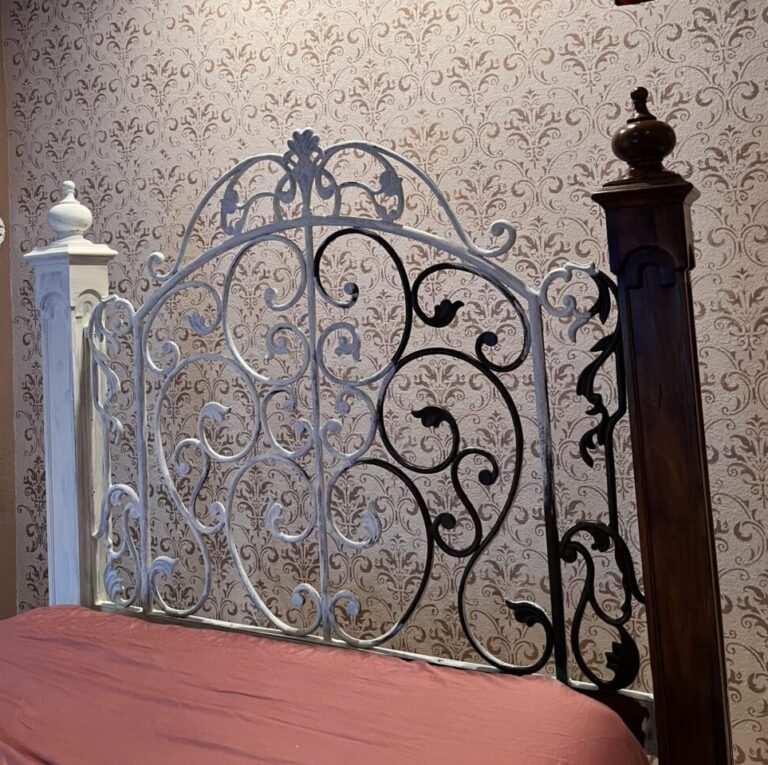
It was really fun to watch the bed transforming from darkness to light! That was my goal all along…I wanted to brighten my room. I can feel it happening…
Painting the wrought iron on the bed made me nervous, I am not going to lie. I didn’t want to cover up all the pretty iron, and stage 1 with chalk paint never makes you feel warm and cozy…HANG IN THERE!
The first “primer” coat is always FUGLY, but the next one gets better! Then BETTER!
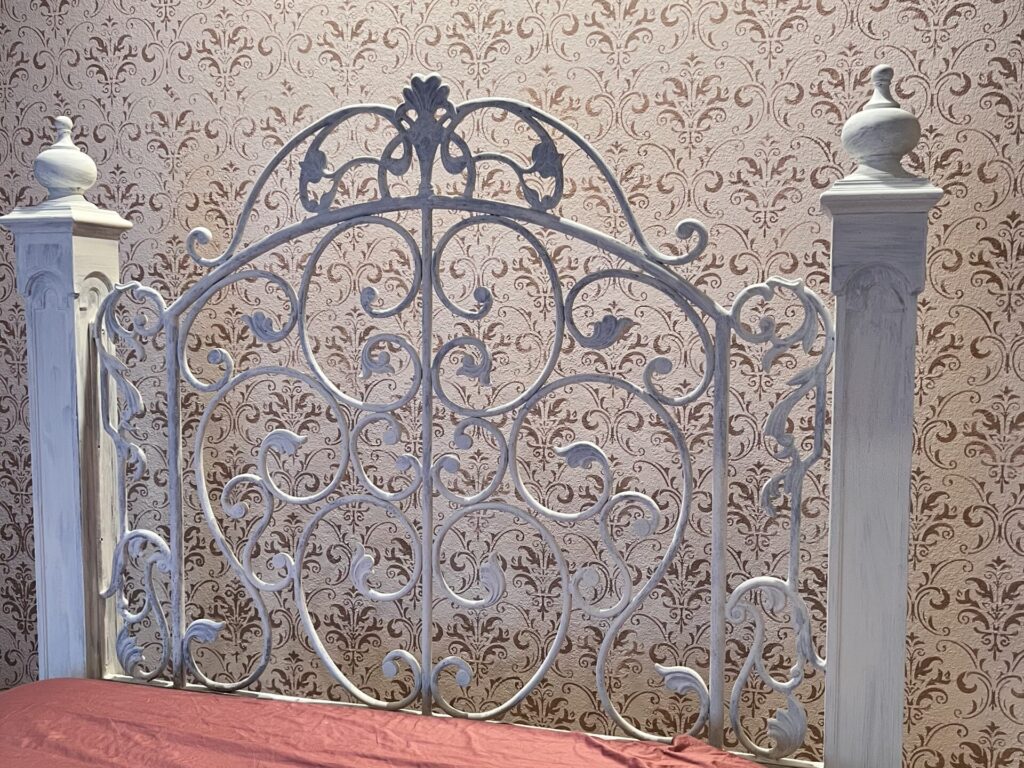
Here's a look at the how the first stage of painting the wrought iron headboard went. Once I did my first layer with the chalk paint, I moved on to the next layer.
This bedroom makeover project was the first time I had used this “All-in-one-paint by Heirloom Traditions”, or any all in one paint for that matter.
I learned some things (likely because I didn’t read directions…blah…blah…blah…). Who needs directions? HA!
Things I learned The HARD WAY:
This All-in-one paint I used:
- stains sheets
- it does not wash off like chalk paint
- hard to get off skin
- use gloves
- it goes on thick
- keep it moist with mister bottle
- use the mini sponge roller to catch drips
- the round sponge recommended to use with it is a great tool, but can get messy
- this tool works great to “grab” the wrought iron (best for full coverage)
Don't want to take your mattress off either? Read on!
Something to know about me, I am crazy busy and just seem to add more and more to my plate on a daily basis…why?
Perhaps the psychology of writing this blog, the search for my inner self, will reveal the elusive “why”…stay tuned.
Having said that, I am all about sharing some of my insider info on how I take “shortcuts” to save time. I can’t say I’m lazy, because God knows I never stop.
Technically, I call them efficiency shortcuts. I decided I was not taking the entire bed apart to paint it, as likely one “should”.
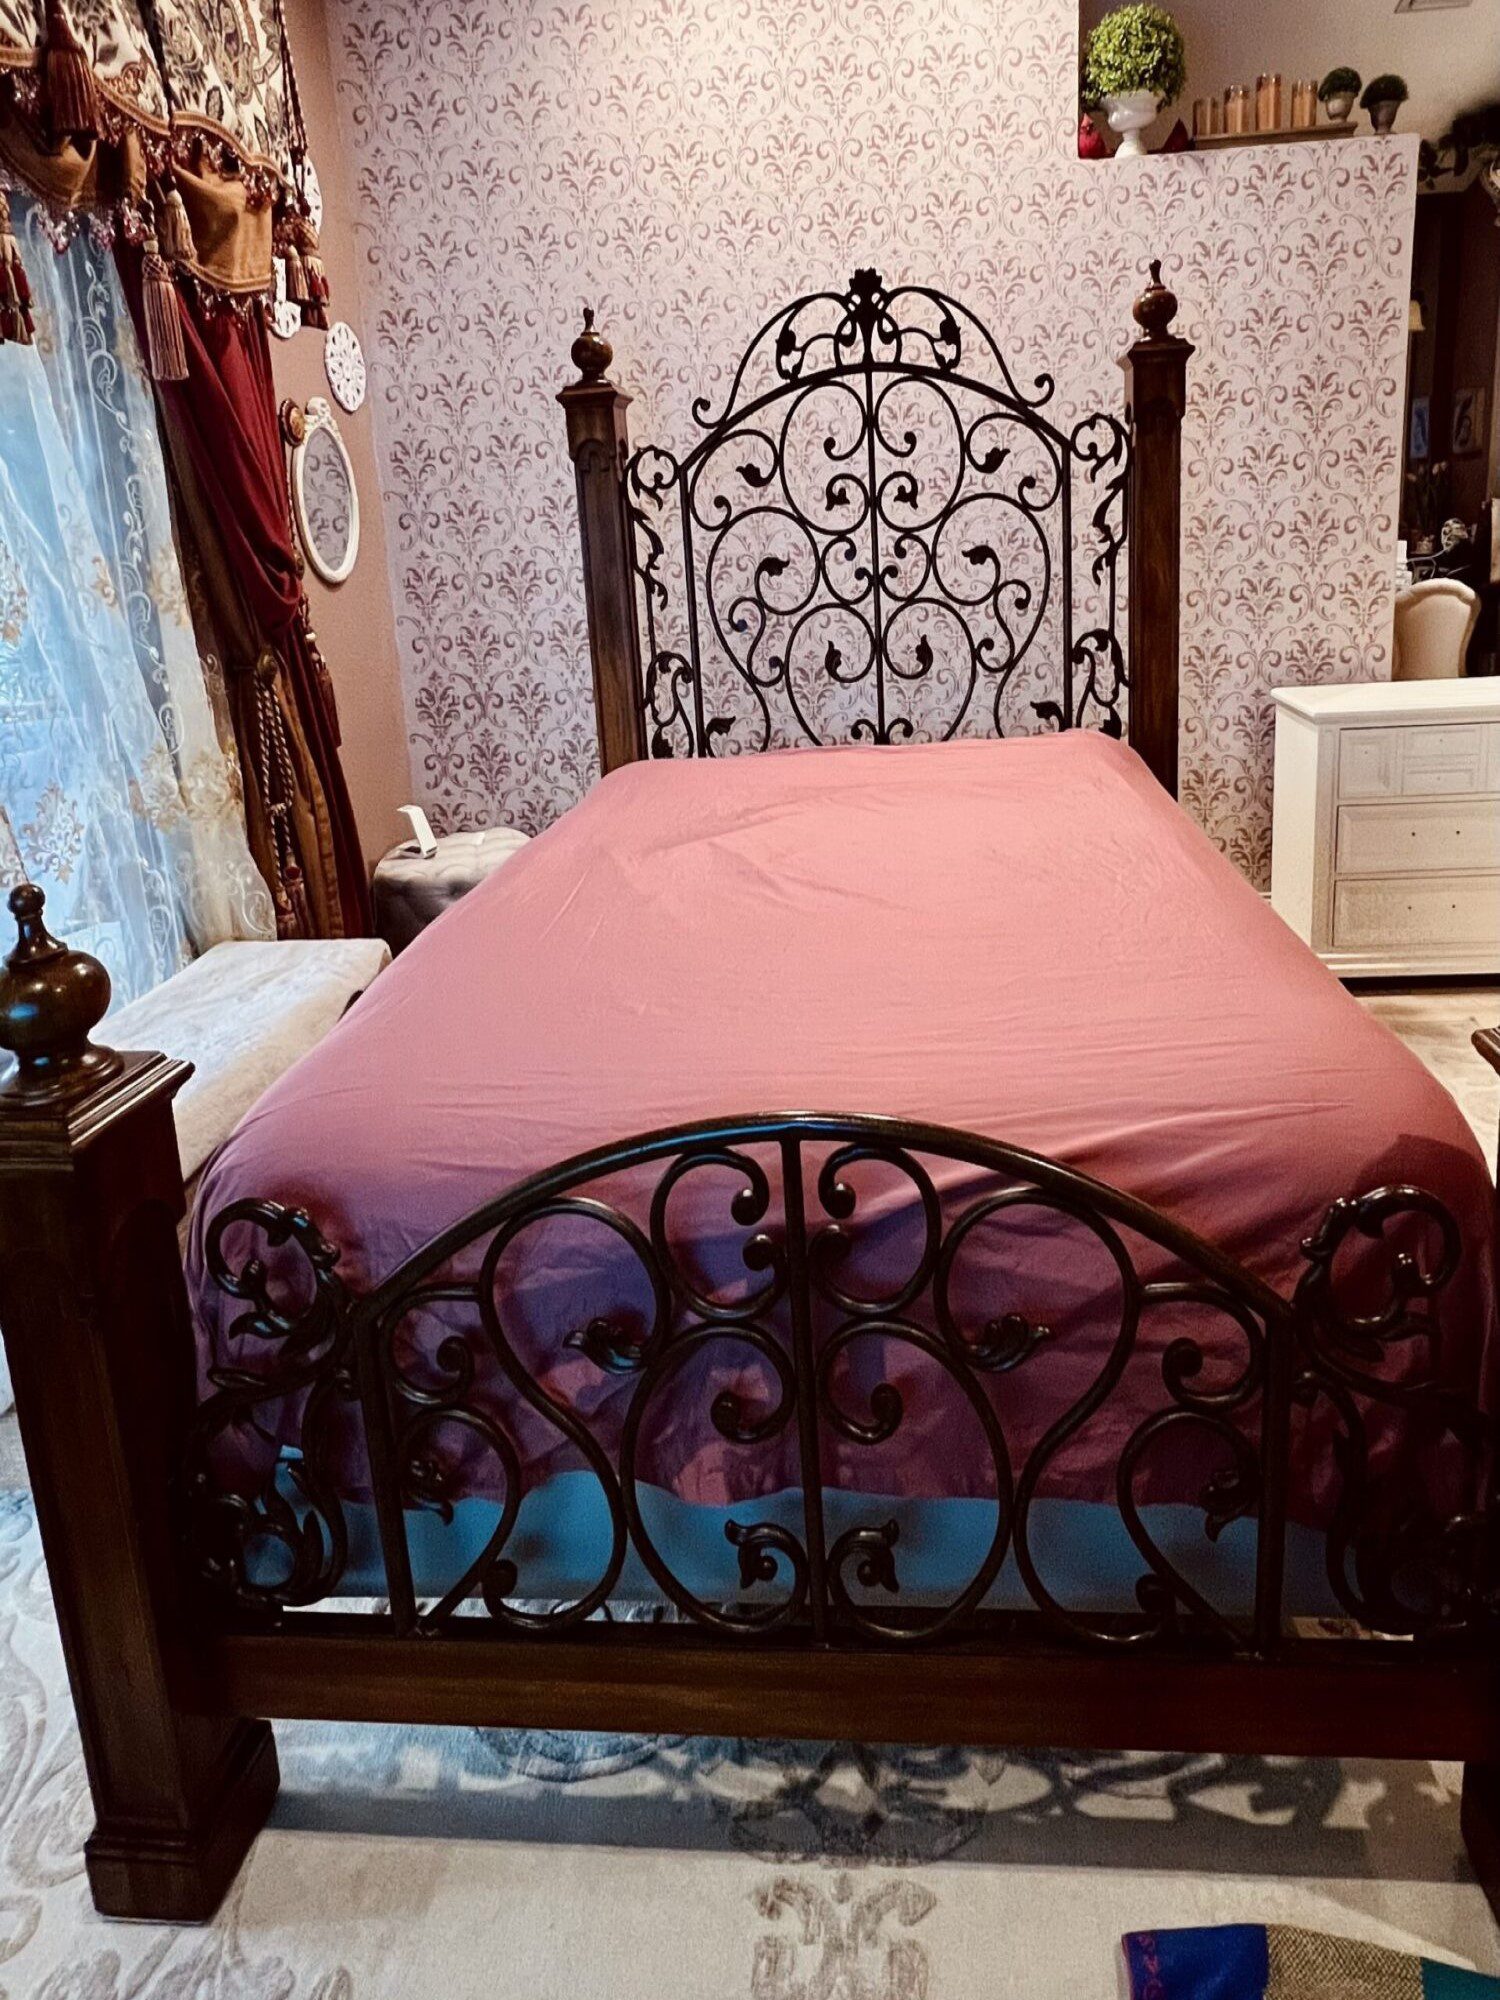
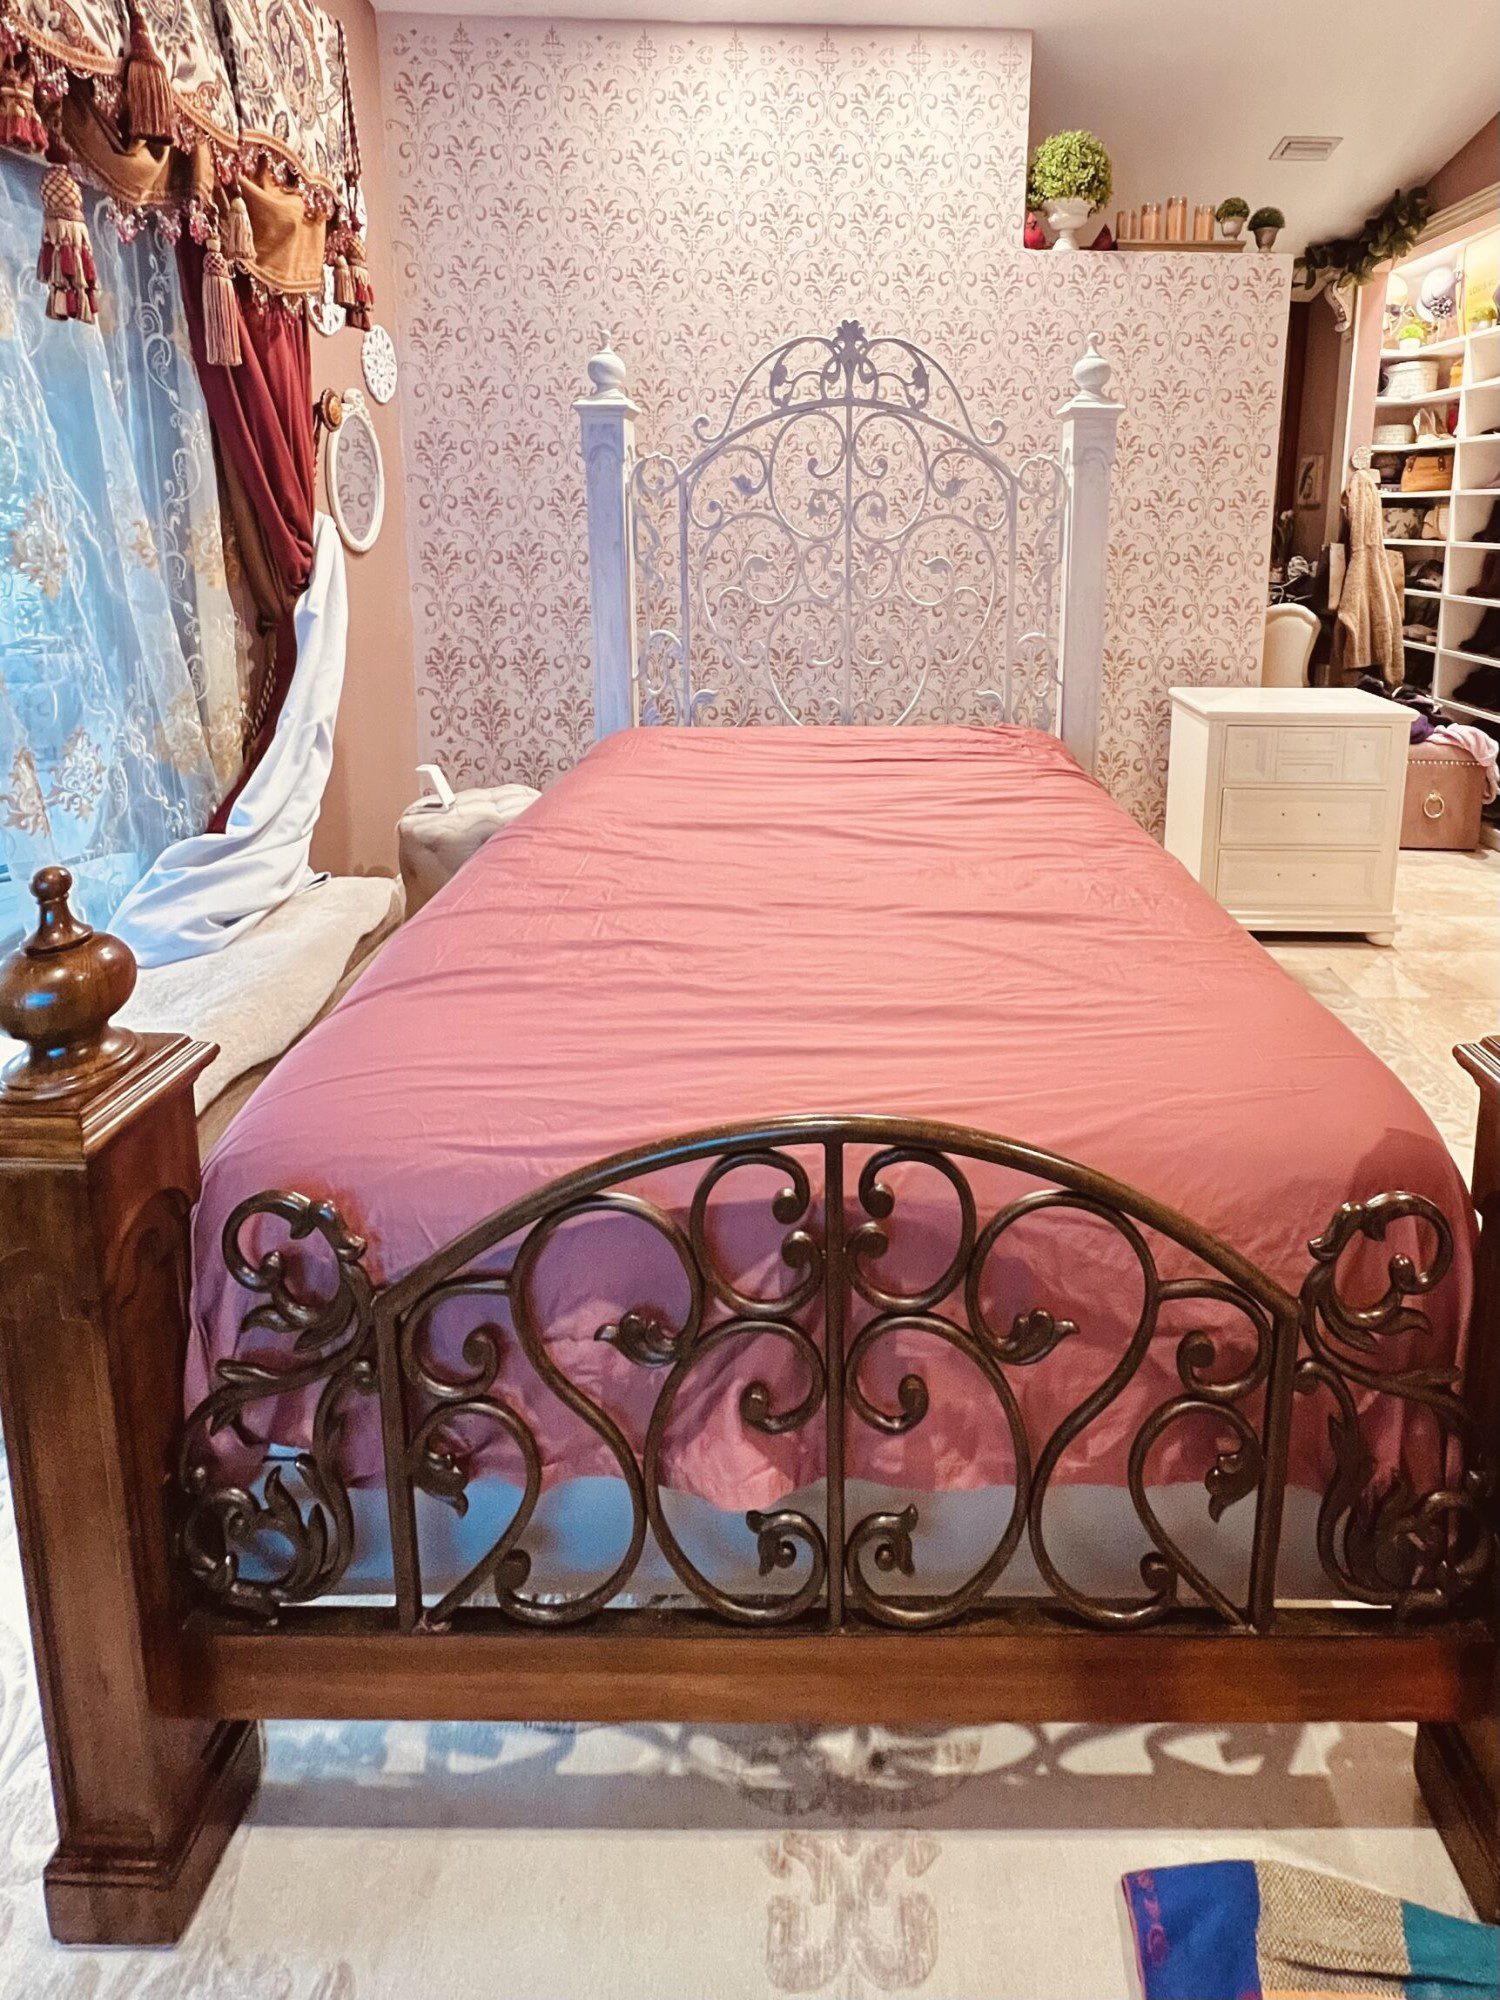
My mattress on my bed is a Sleep Number bed (yes, it’s amazing and I love, love, love it), however, it basically “sits inside my bed frame and just “floats” there.
I did not want to risk messing anything up and I honestly just thought, why even bother?! I figured I could cover everything that mattered!
Wish I had covered the sheets with old towels! Lesson learned!
There is about a 5″ gap you can slide the bed around in, so I was able to get into the footboard area with a small chip brush. There are some videos on this technique on my YouTube channel if you want to see how it looks.
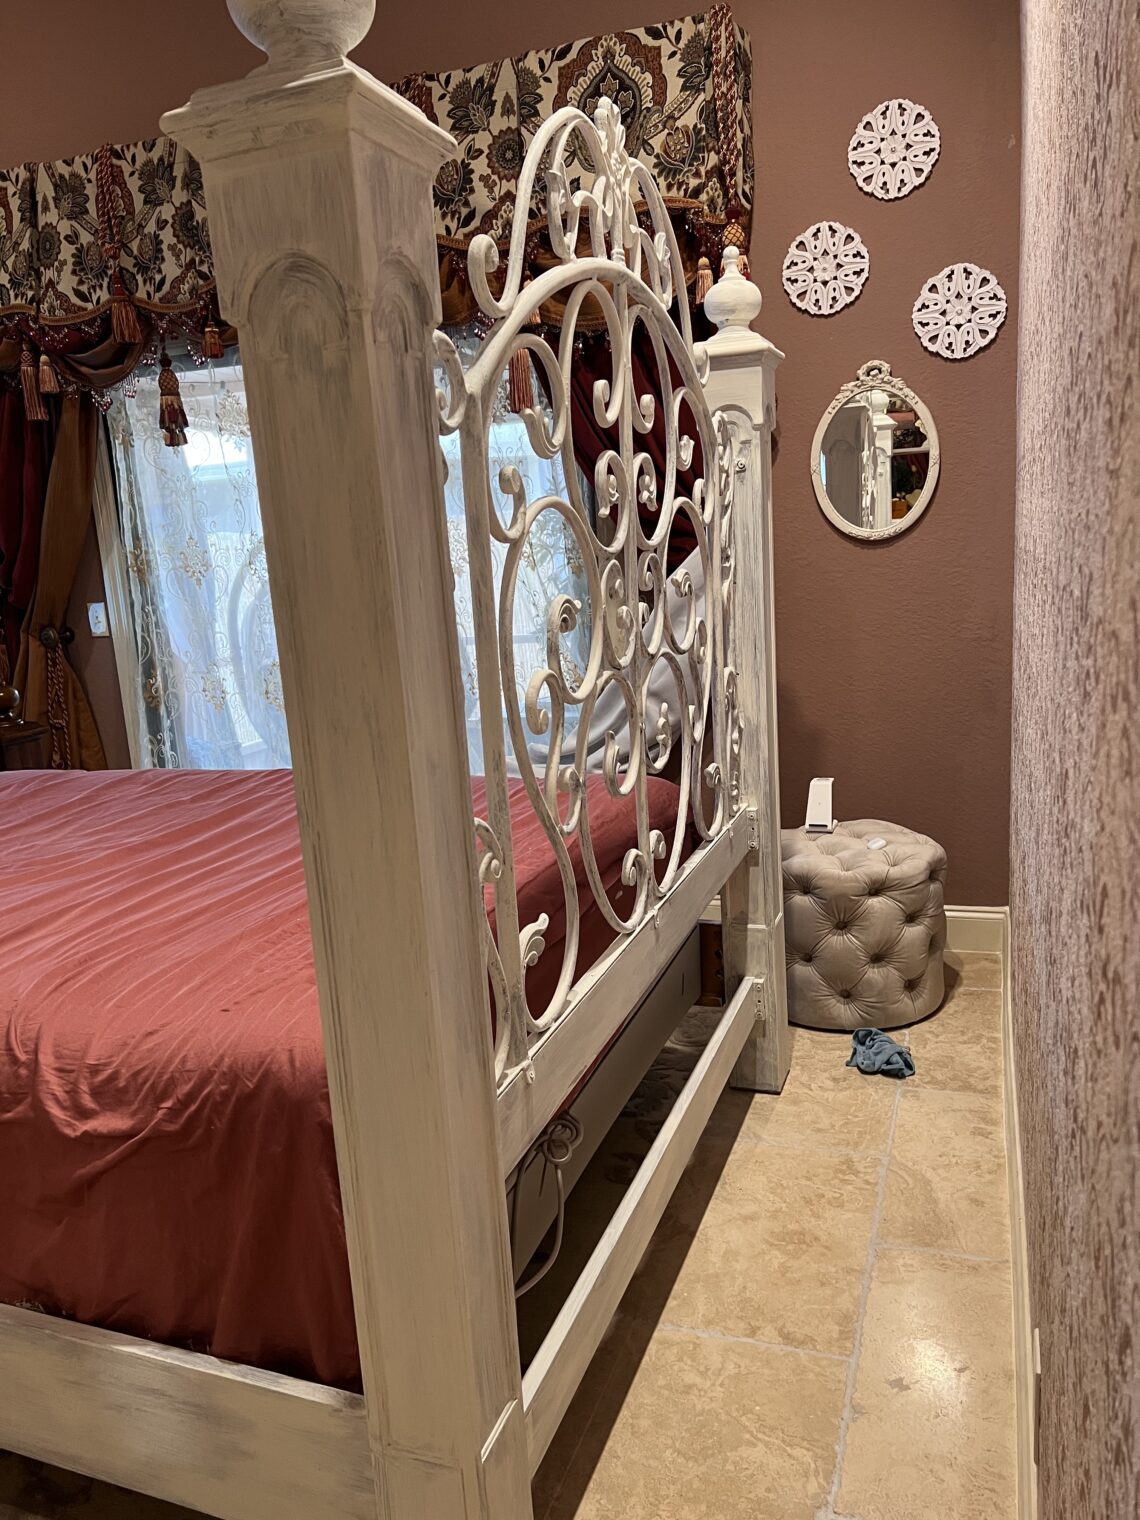
With the decent gap between the mattress and the bed frame, I covered the mattress with old towels, and I used a short stubby chip brush. You can see that in the videos on my YouTube channel.
Later on in my experimenting I realized I can use the sponge and mini roller to “reach around” the inside of the footboard and get in between the curves in the iron.
Last year I stenciled my back wall behind my bed (check out my coming posts on my many stenciling projects).
In order to move the bed over the rug, I put those little furniture sliders under the bed posts, and the 4 feet of the sleep number mattress.
The sliders make it easy move the entire bed and “floating mattress” back and forth. I HIGHLY recommend putting sliders under your bed, it has been a life and back saver!
The brush worked well, but it still got a bit tight near the bottom (sticking my arm all the way down the end of the mattress between that gap).
I figured if I could just get enough of what you’ll see (since it always has blankets, etc…so you never even see that part, except the very top), then that would be fine with me!
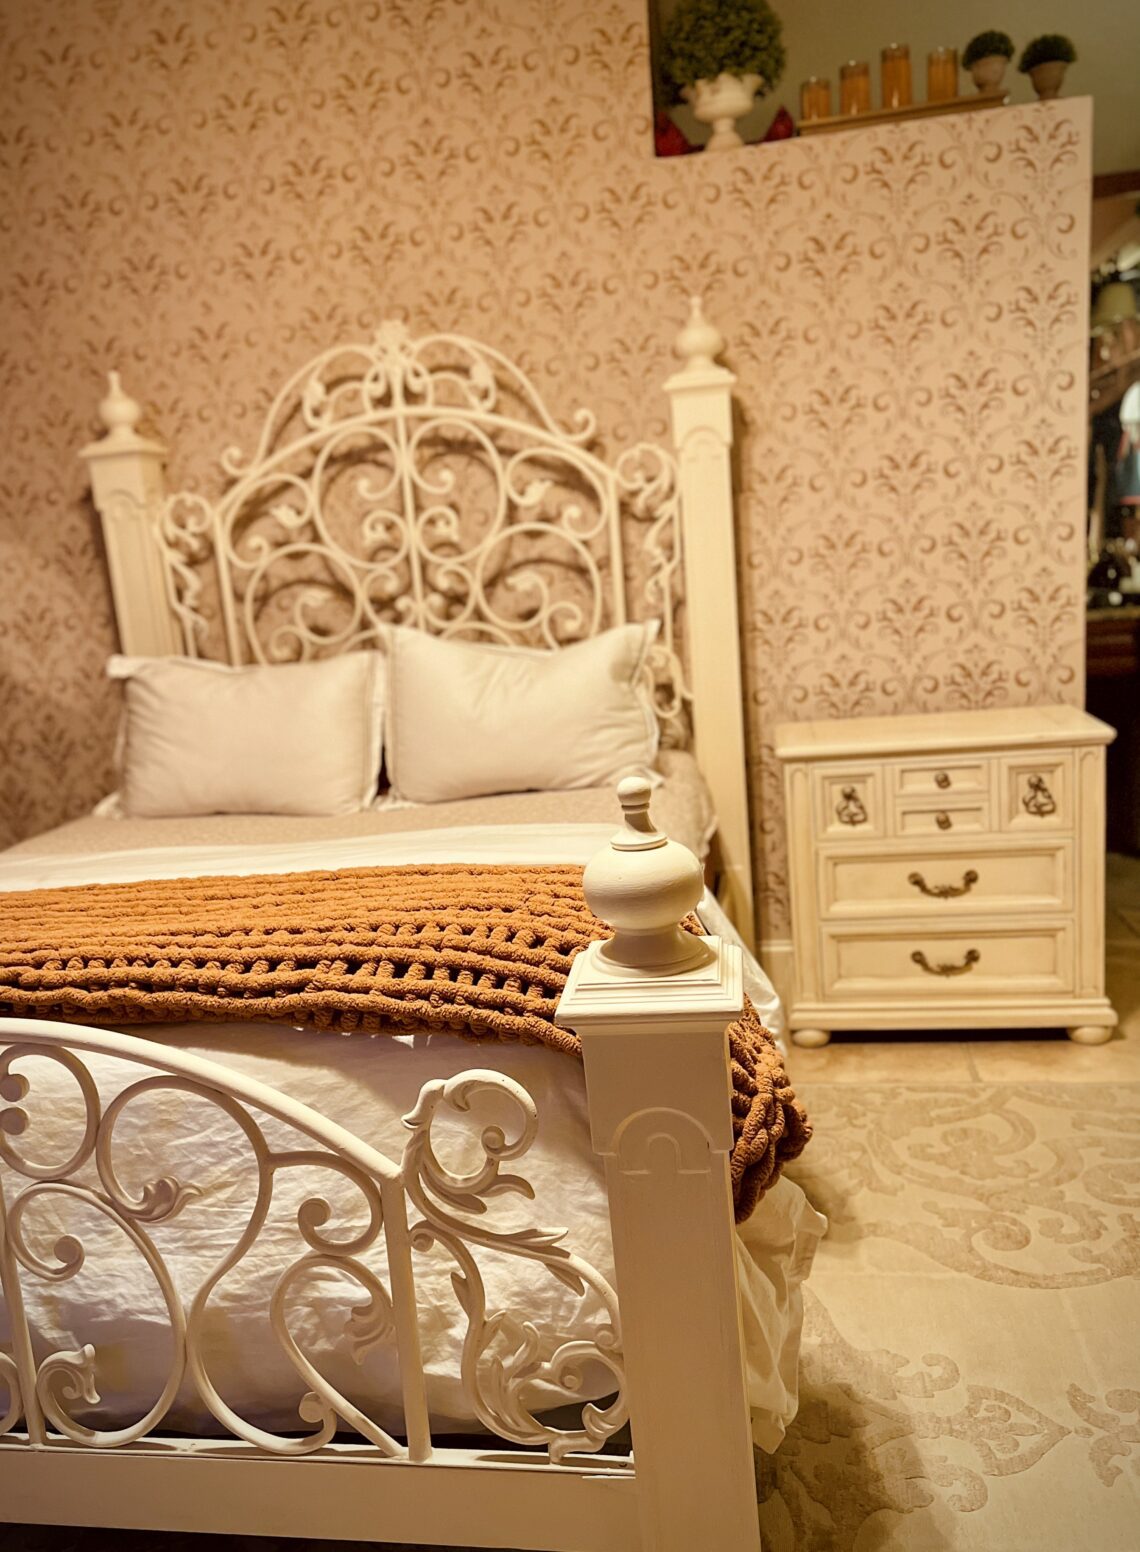
I did end up doing about 3 coats of all-in-one paint on all the viewable wood parts of the bed.
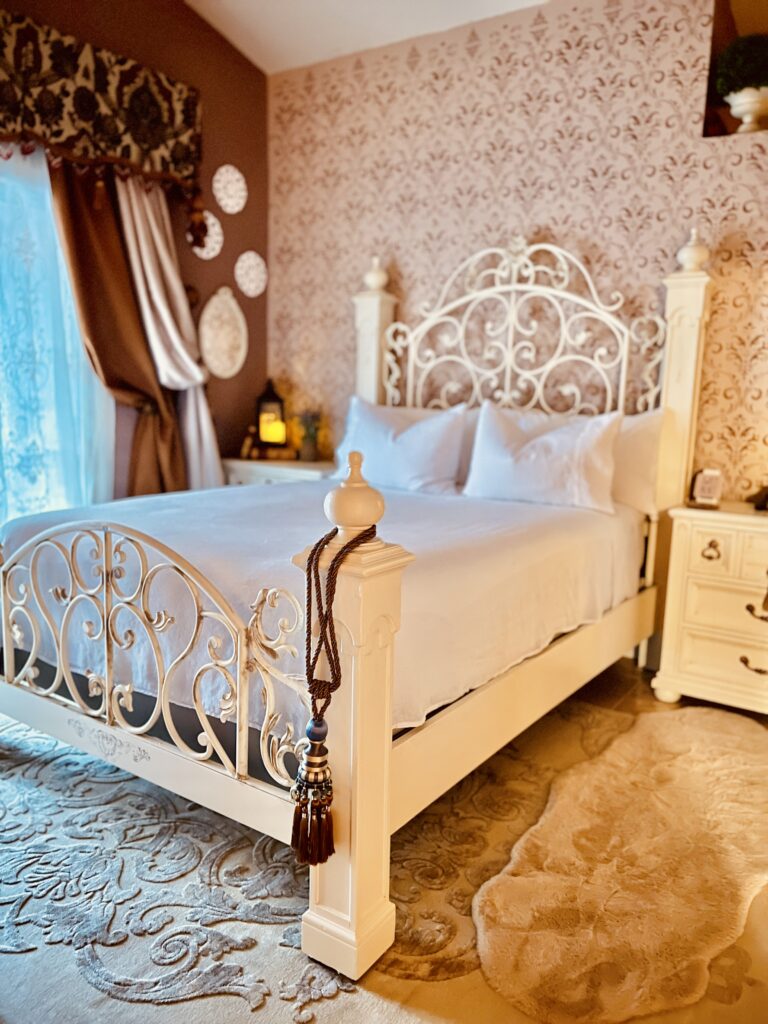
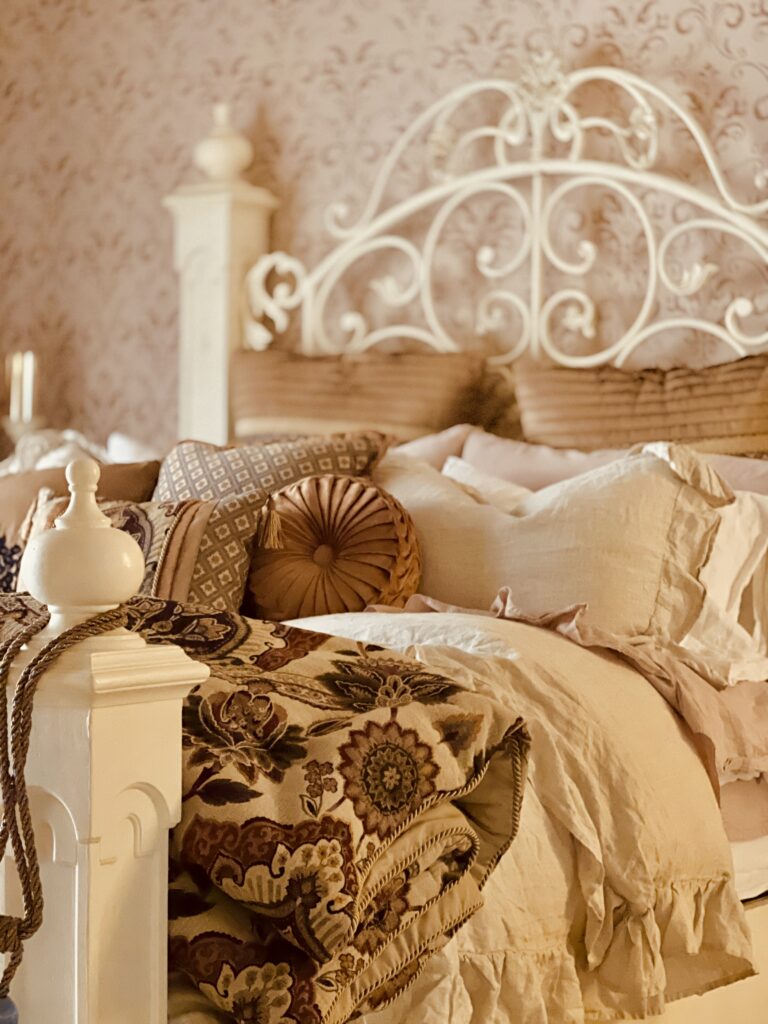
Having never painted wrought iron before, I experimented with a few different types of tools along the way.
Although it can get a bit messy, the sponge is actually really quite awesome for going over the iron.
If you are looking for good full coverage, get the sponge and go to town, you can get that done pretty fast with that method, just watch for drips!
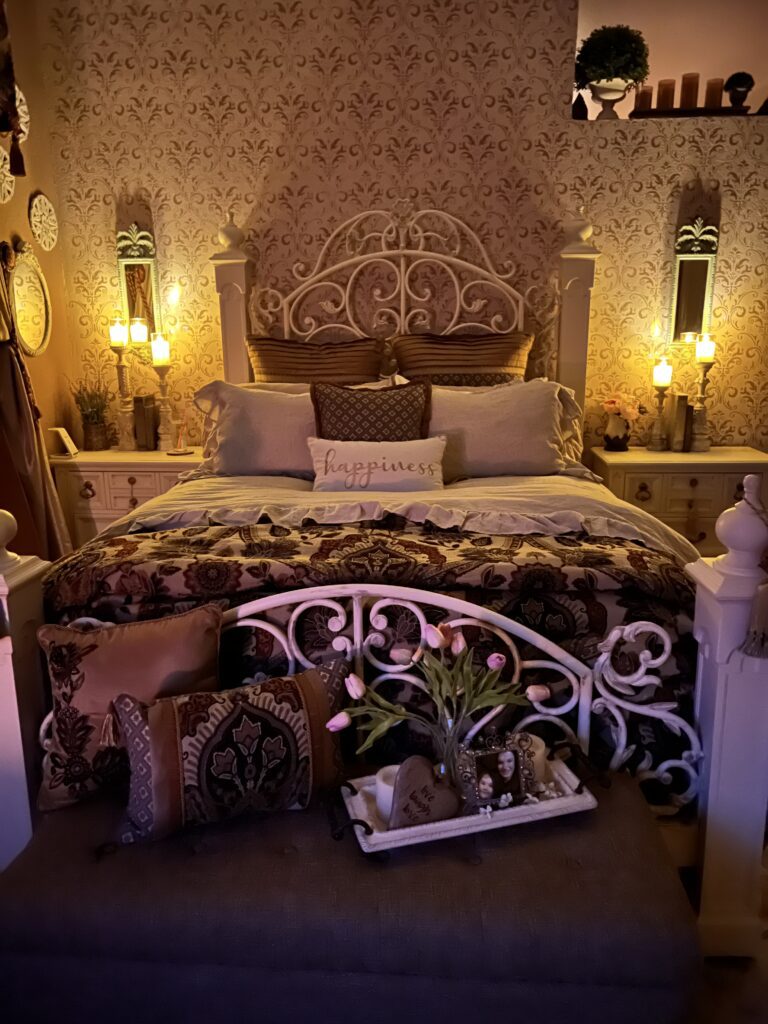
As nothing is ever really "done" with me, the bed is no different. I still have some ideas on some more touches I'd like to add...keep your eyes out to see what I change next!
It all started with me wanting to brighten my bedroom but what I got was all of that and so much more!
Every time I walk into my room I smile! If that isn’t good for you, then I don’t know what is!
This room makes me just want to sit and look at it all the time. I am really glad I decided to paint the wrought iron white too – face your fears! 🙂

If you are thinking of doing a wrought iron bed makeover, I would say, do it!!!
Even better than it being a work of art now, it is so, SO cozy and comfy, it’s like sleeping on a Squish-mallow!
Everyone with kids and this addiction can tell you, there would be nothing better than a bed made of those, but my bed is about as close as you can get I think!
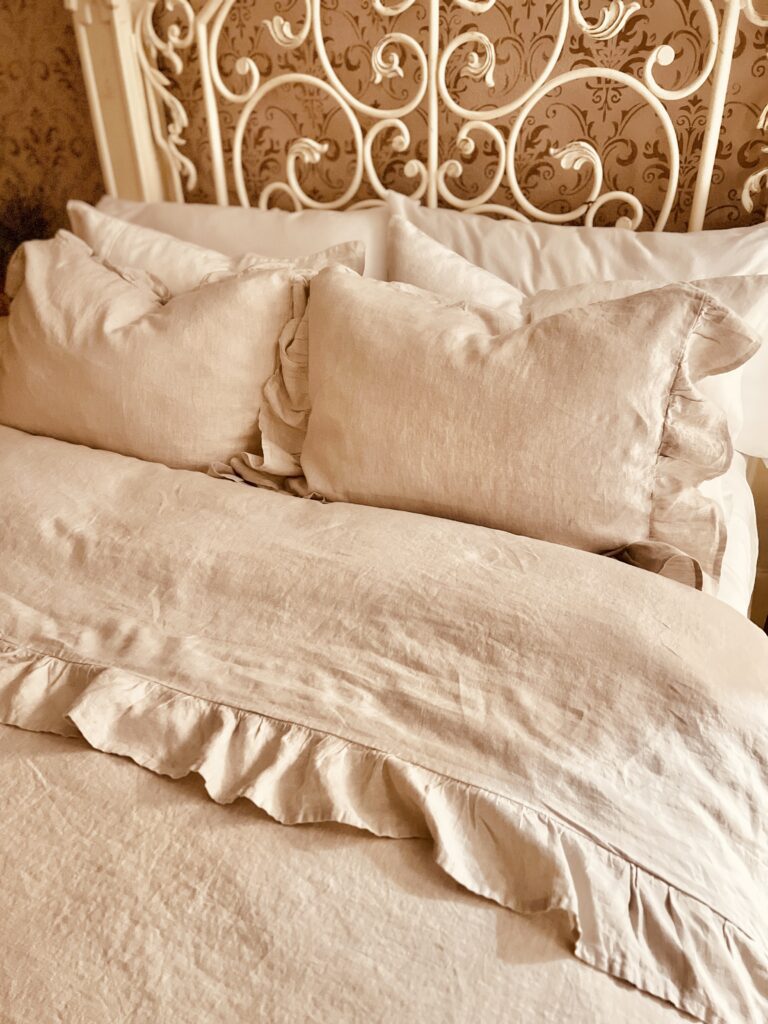
Check out the links below on all the French bedding finds I am currently using on my bed to create this amazing cloud-like feeling!
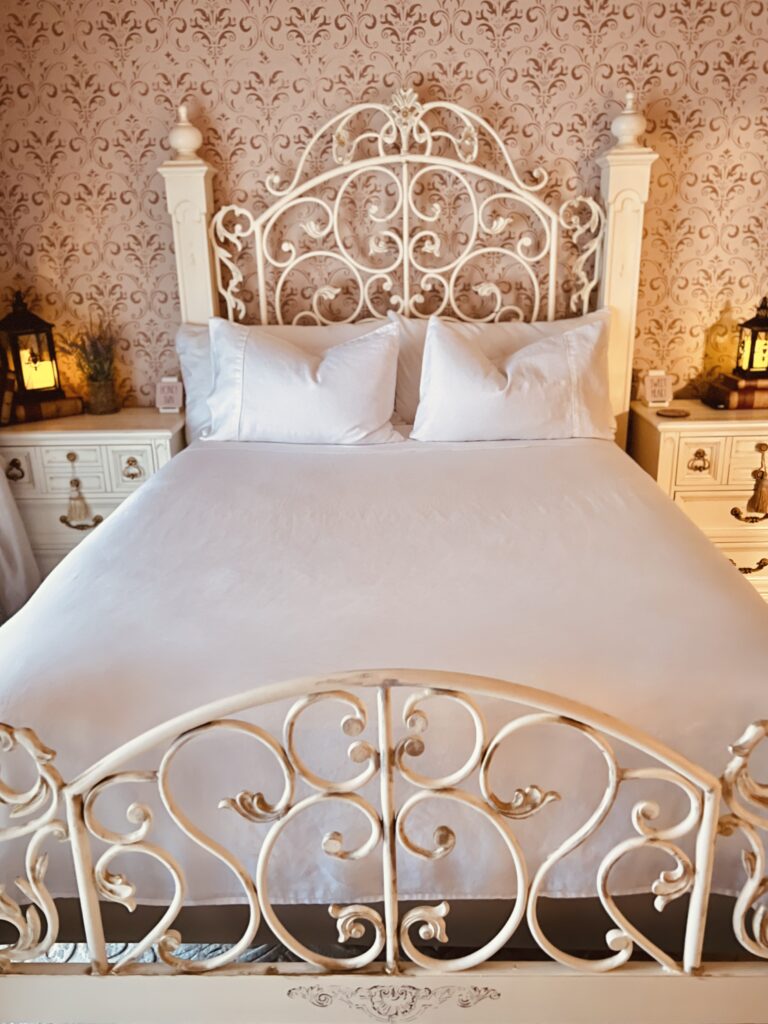

The bed has already undergone several transformations. I can't leave anything alone for too long before I change it!
I think since I am constantly changing myself, everything around me needs to change and grow along with it.

- Wear disposable gloves!
- Layer paint colors for added dimension
- start with chalk paint (you can always use water to remove easier)
- for more coverage, use the all-in-one paint here as a 2nd coat
- Use the sponge if you want more coverage, and a smooth finish
- Use a bristle brush for a more “aged” look
- allow some areas to remain a bit exposed for an aged dimensional look
- Use gilding wax for added dimension
- Painting tools to try:
- chip brush
- sponge
- mini roller
TIP: Get Disposable Gloves - save your nails and skin


Tip: Paint the wrought iron in a dry-brush fashion - very little paint
Check out ALL Episodes in this French Country Bedroom Makeover Series:
- The Nightstand Experiment
- Decoupaging the drawer sides
- Decoupaging inside drawers
- Hardware makeover – Getting a good Gilding!
- Painting the Wrought Iron Headboard & Footboard
- Dresser & Mirror with wrought iron
- Dresser – adding rub on furniture transfers
- Dresser – adding decoupage rice paper Artwork
- Creating a French Country Cozy Bedroom – bedding and décor
- Dress Form makeover (COMING SOON)
- Armoire: my success and failure (COMING SOON)

This set of white linen sheets I bought are quite lovely! Even without ironing them, they have the natural “wrinkled linen” look and are still lovely. Feels like your favorite pair of linen pants!

Save & share!
Until next time…
Keep smiling, improve every day, and build a life you love!
Yours Truly,
January Ember
Question or comment? I'd love to hear from you! Drop me a line and Subscribe for updates!
My list of tools for this job:


You May Also Like
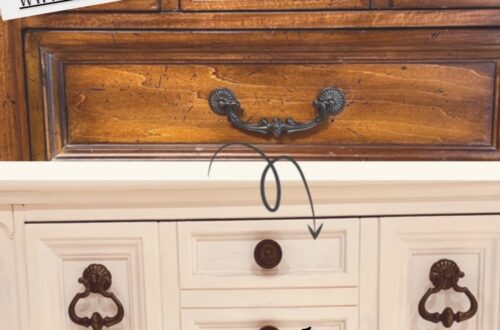
French Country Bedroom Makeover Series: Episode 1 – Brightening Nightstand Experiment
May 18, 2022
How to decorate your Barbie Dream House post by my 3rd grader
April 28, 2022