If music be the food of love, play on, give me excess of it!
William Shakespeare10 Elegant Easy Valentine’s Day Crafts to DIY
The Challenge, once again, finding Valentine's Day decorations that aren't cheesy.
The Solution: DIY: Custom Crafts to match my decor!
As a lover of Love and passion and all things romantic, Valentine’s Day is most certainly a holiday I hold dear to my heart. Funny though, I had never really decorated too much for Valentine’s Day. Most likely because I have never seen any Valentine’s Day home decor that I liked. This year I decided I would try and do a little something and try to decorate.
During one of my Target Christmas shopping outings I happened to grab a little $3 set of ceramic nutcracker ornaments (3 pack for $3) and a 3 pack of little ceramic reindeer (they were white ceramic but had been painted black). I grabbed them and thought they would make a fun craft project to do with my daughter, or add them to the playroom in the worst case. It was $3, I figured let’s give it a whirl.
After I got to decorating for Christmas, my main living room and adjoining Office/Library had an elegant navy and gold theme going and lots of nutcrackers! All elegant and stunning! I just love nutcrackers, what can I say! (Check out my Winter Wonderland Décor post).
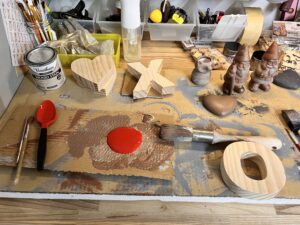
I have this “mess” of a craft table in the garage where a lot of “projects I am going to get to” get thrown on top of…who doesn’t have this spot? Or more than one of them? LOL As I walked to the garage one day I looked down and saw the little $3 ceramic nutcracker set from Target and I thought, hmm…
This past summer I did a lot of projects and one thing I discovered while doing some last year was gilding wax.
I LOVE IT!
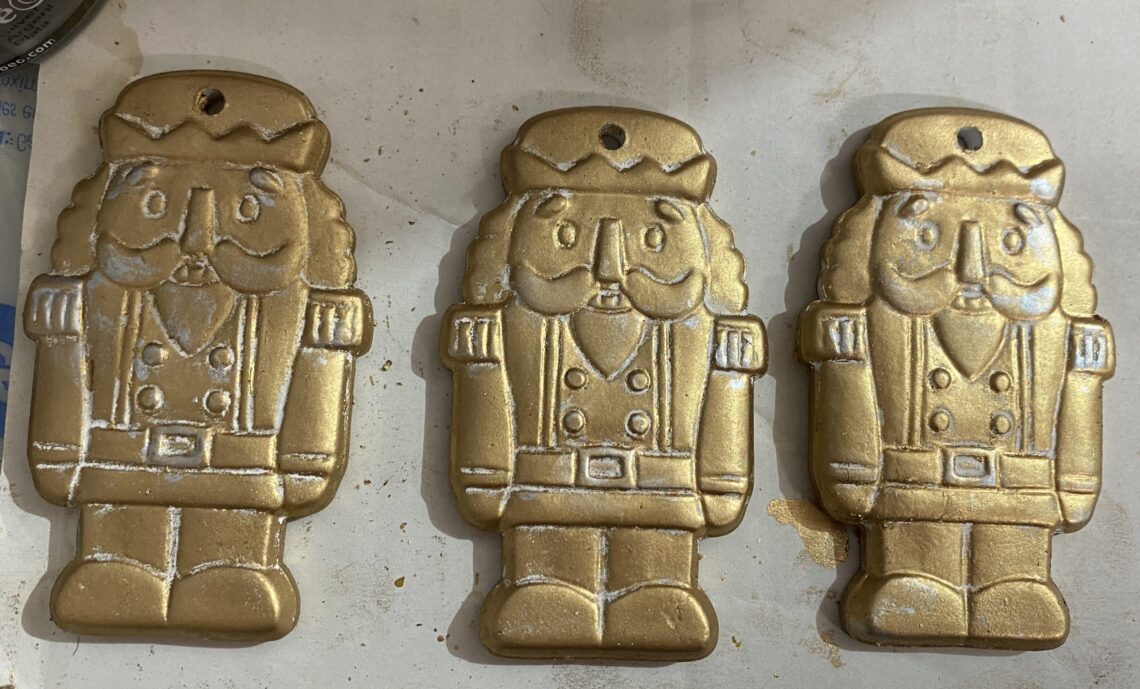
I decided to try the gilding wax on the ceramic nutcrackers!
I grabbed my gloves, opened the bottle, and rubbed it all over. I also had some silver gilding wax so I used a little of that on a few spots like the belt and a few other areas, just to give it a little bit more character.
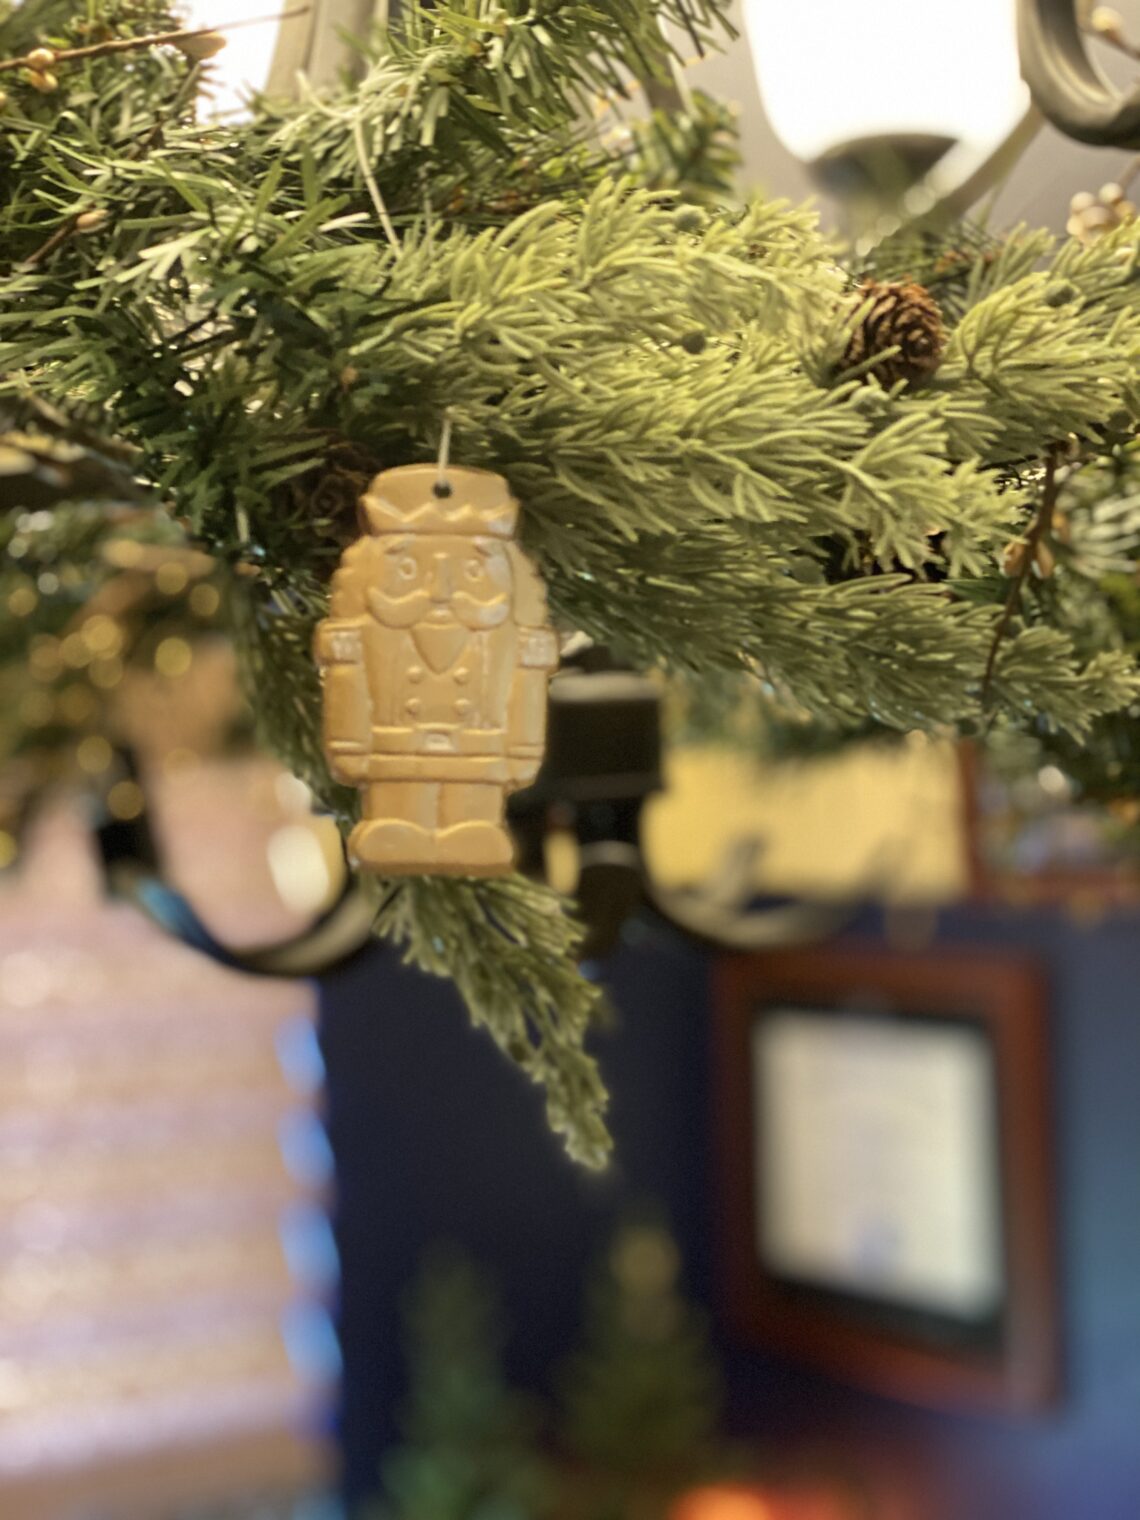
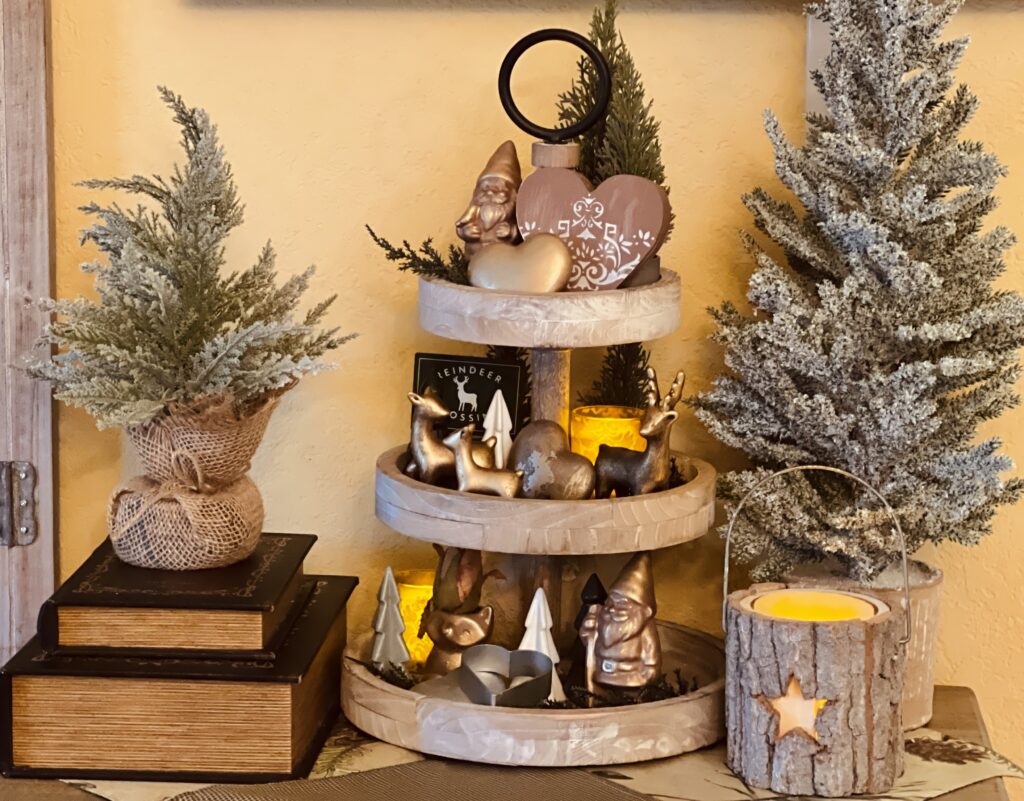
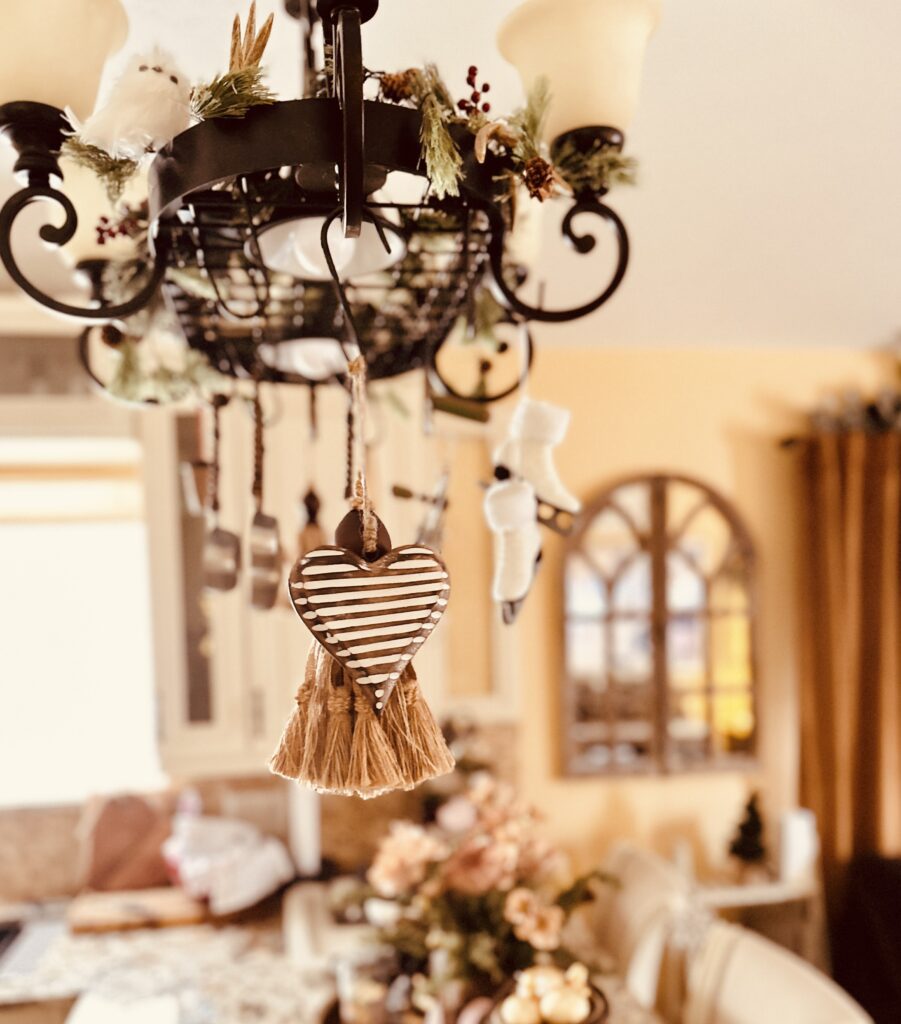
I think they turned out pretty cute. I added them to the garland around my chandelier in the Office/Library and they looked cute.
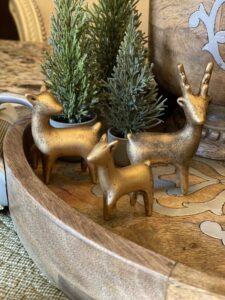
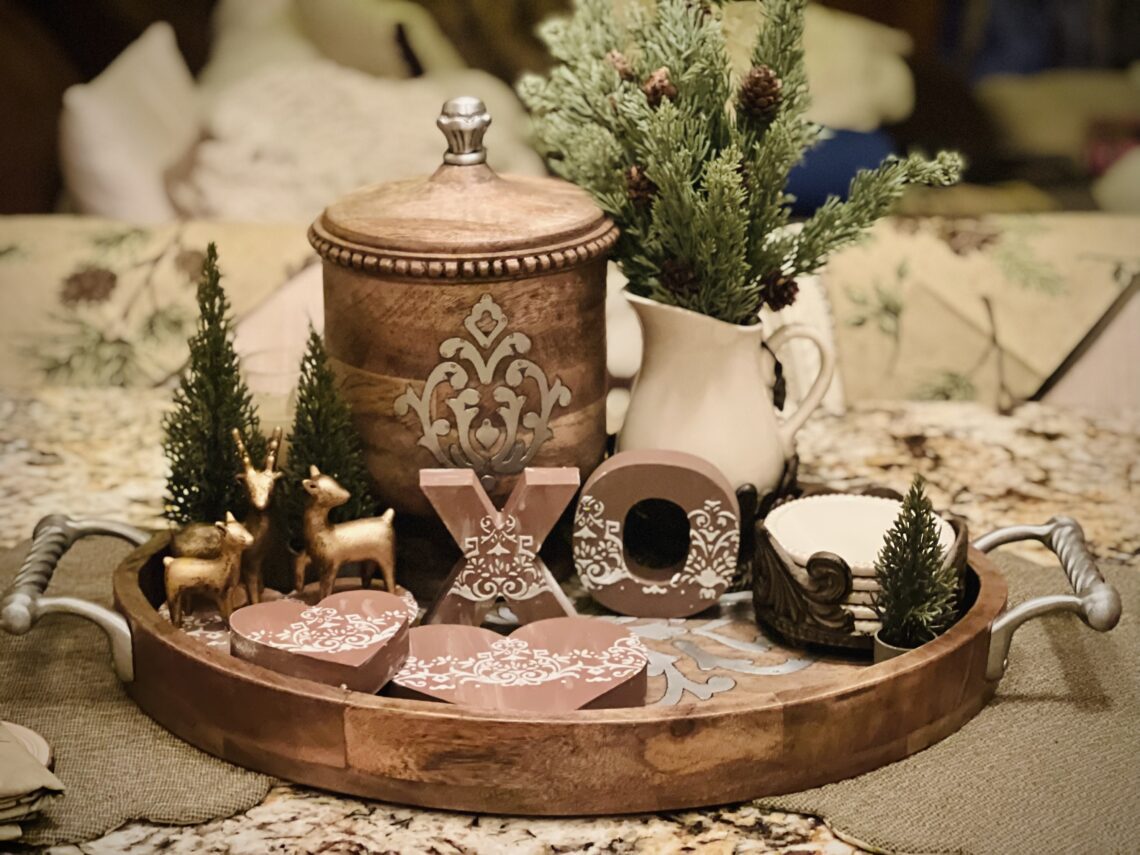
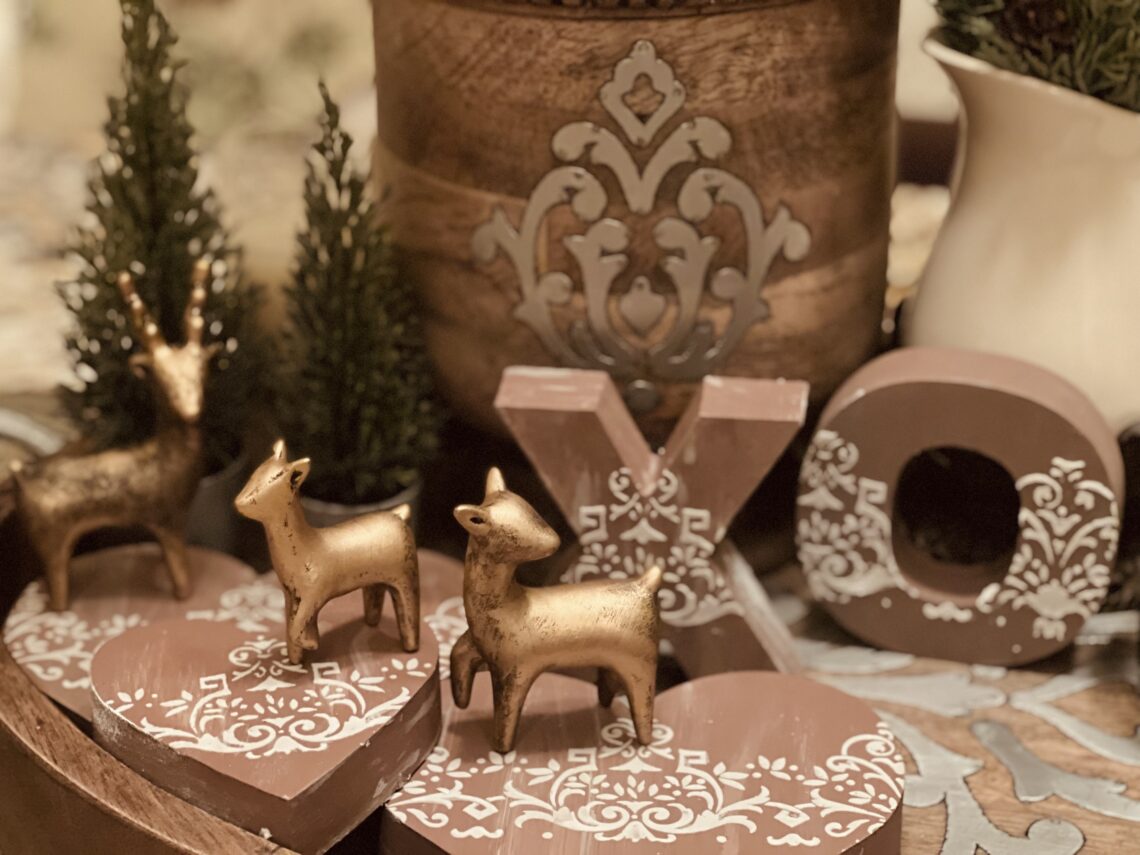
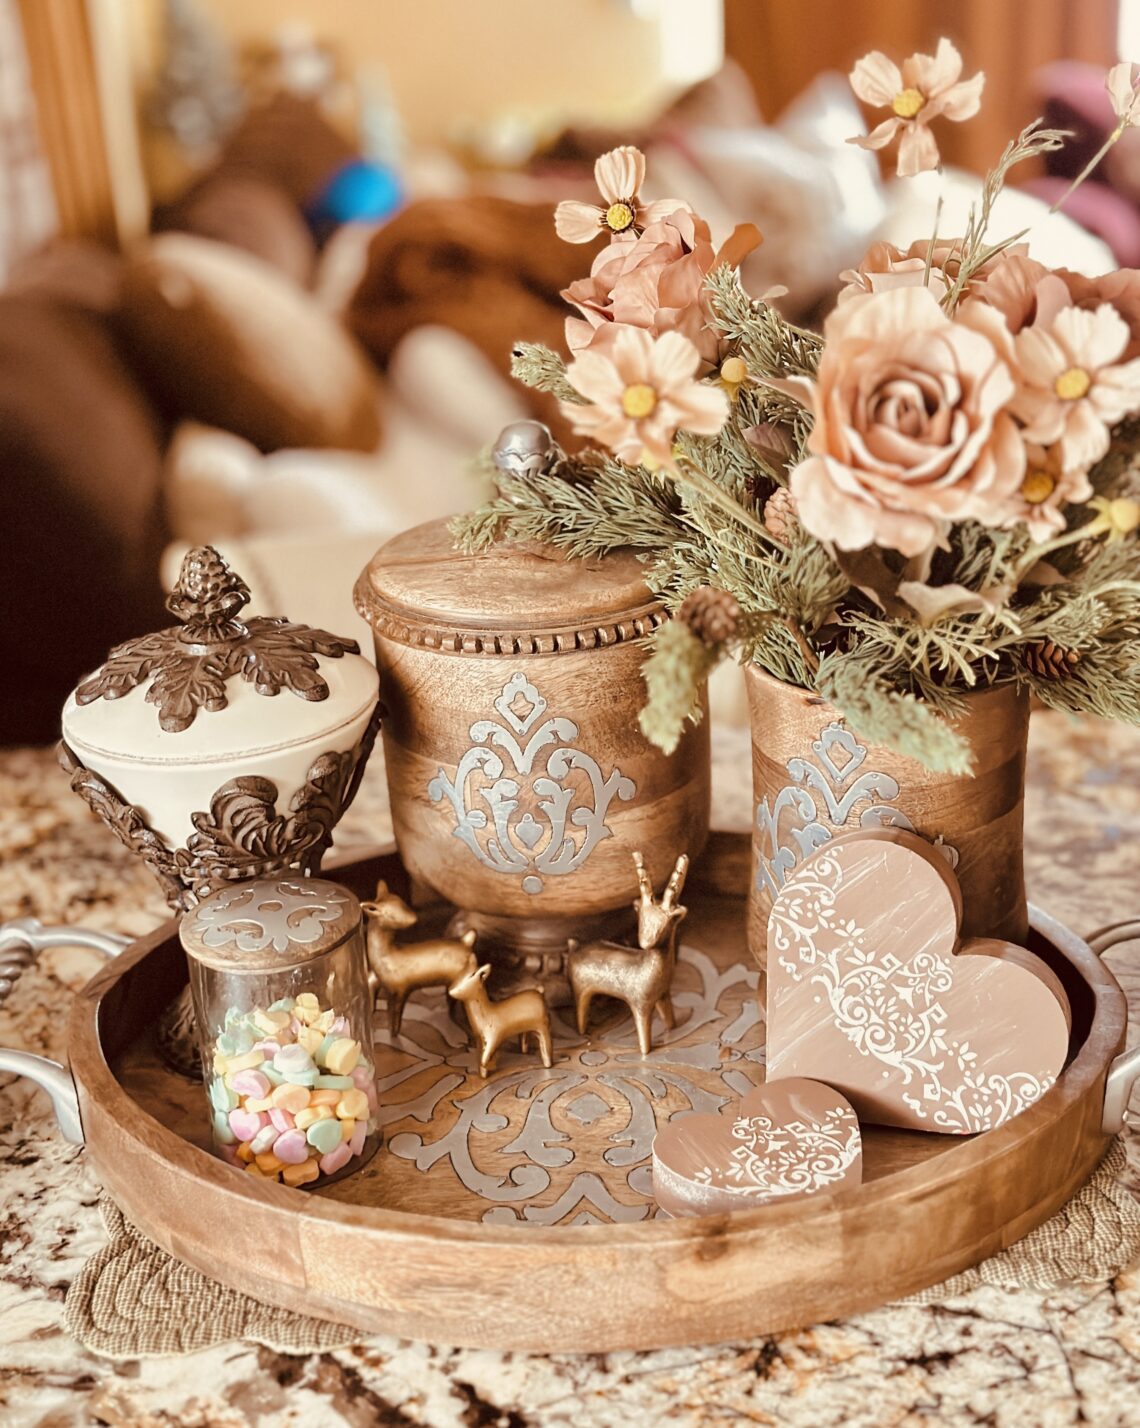
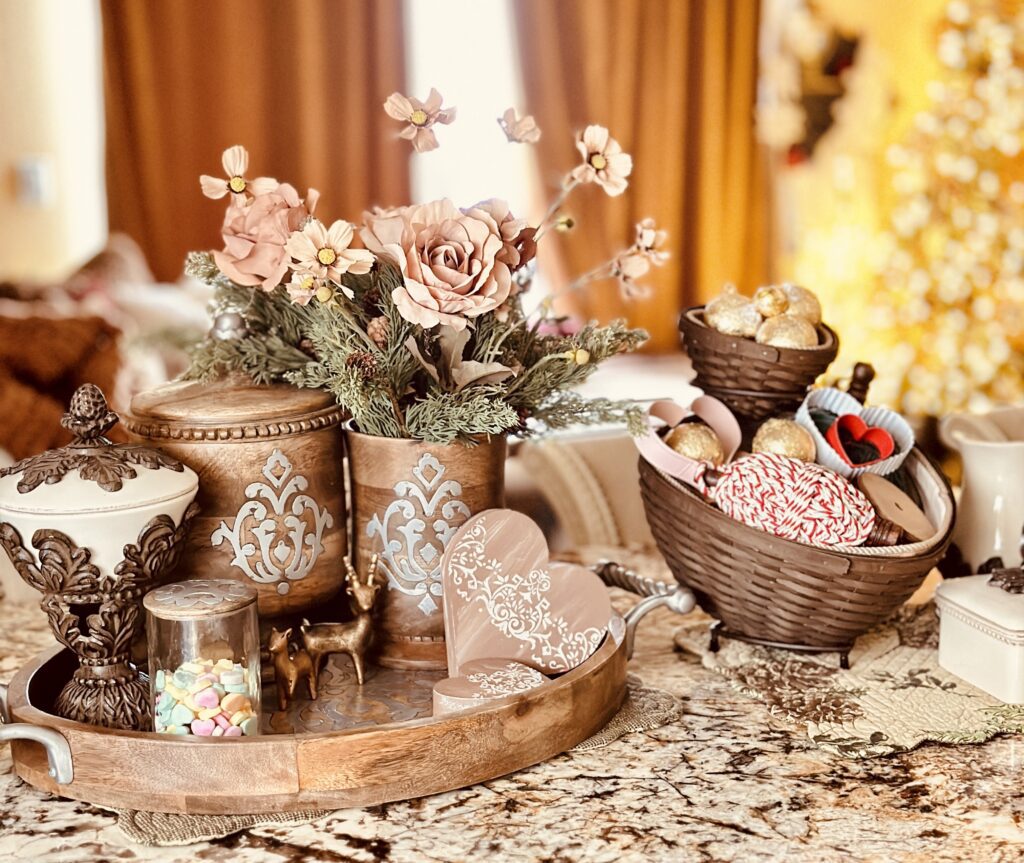
My little reindeer turned out so great, I was inspired to go to Target and find Valentine’s Day ceramics to try to make a set to match them. I wanted to bring Valentine’s Day gently into my winter décor, and still keep my adorable little reindeer family in place!
Once I got to Target, I found much more than I bargained for and let’s just say, the checkout lady and my bank account both almost had heart attacks at checkout!
I bought SO MUCH! I also bought about 5 of everything since I needed one, my daughter has to have her own set, the mom’s, and one extra for me to “experiment with”. That’s a lot of stuff Tony! 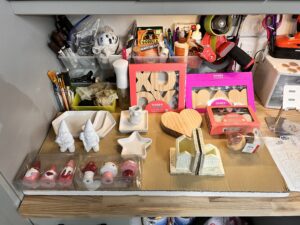
I felt a little overwhelmed…what was I thinking?
I started anyway…I grabbed a heart and rubbed…
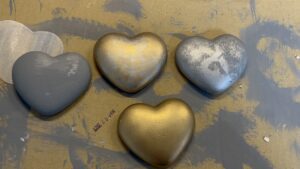 Once I got started I wasn’t too happy…the ceramic didn’t take to the gilding wax on the hearts the same way it had before and I realized, it needed a base color. The reindeer came out so amazing because they were already painted a base black…the gilding wax went over it so beautifully.
The problem? They need a base coat of paint!
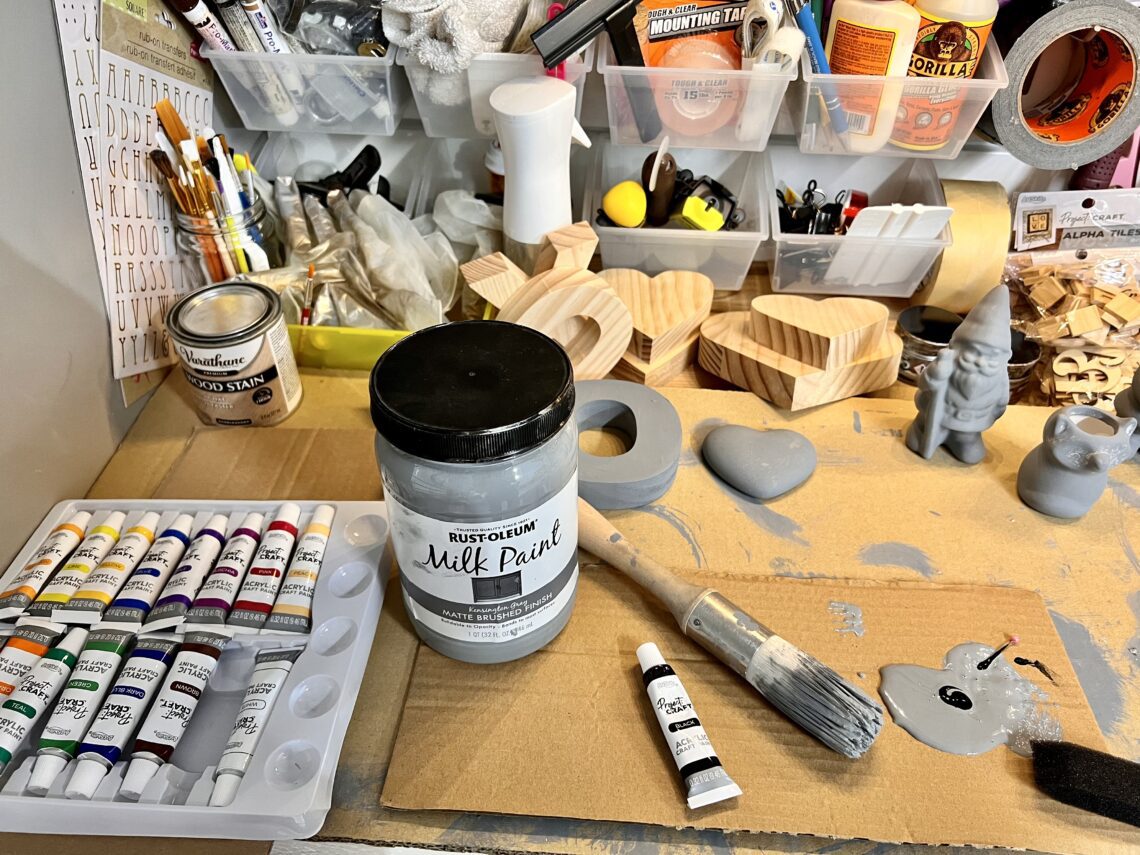
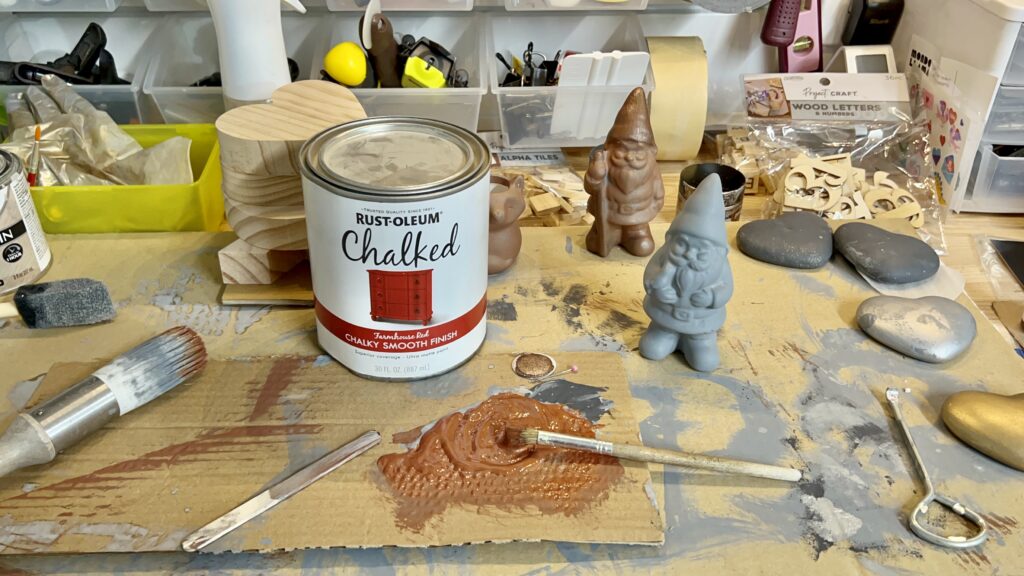
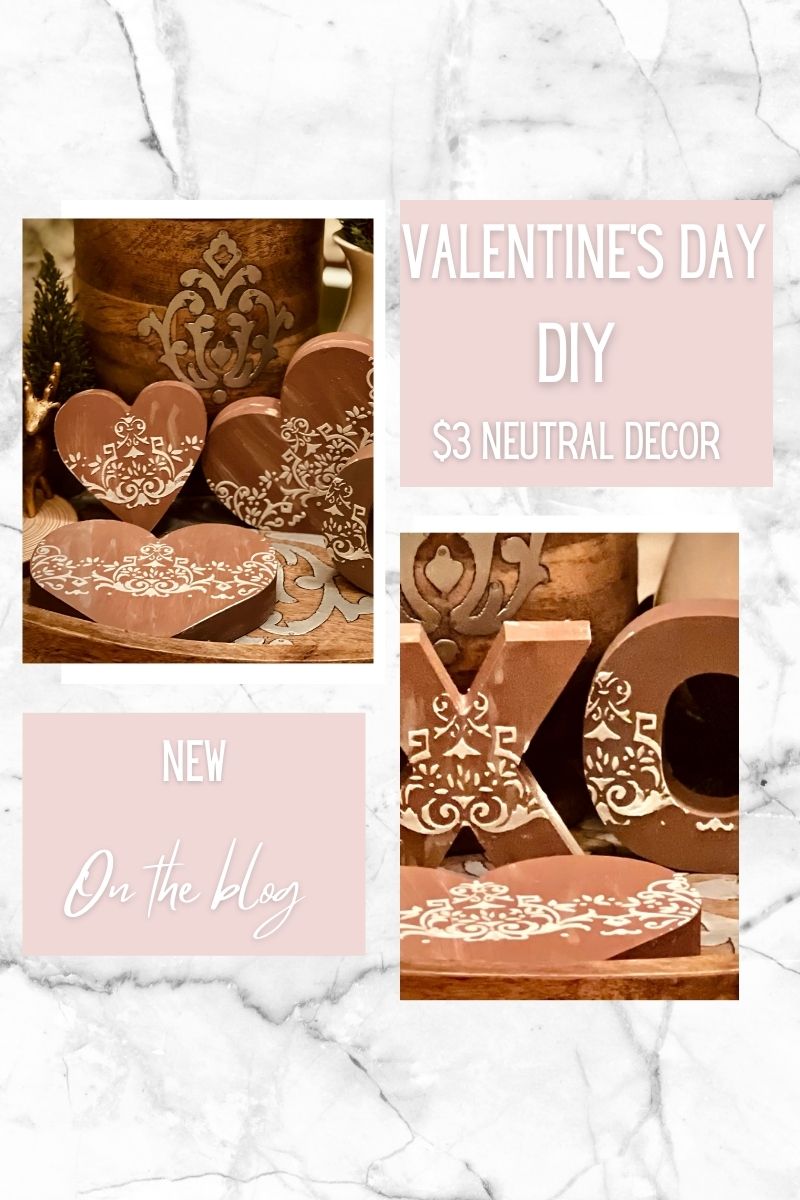
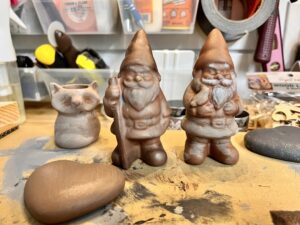
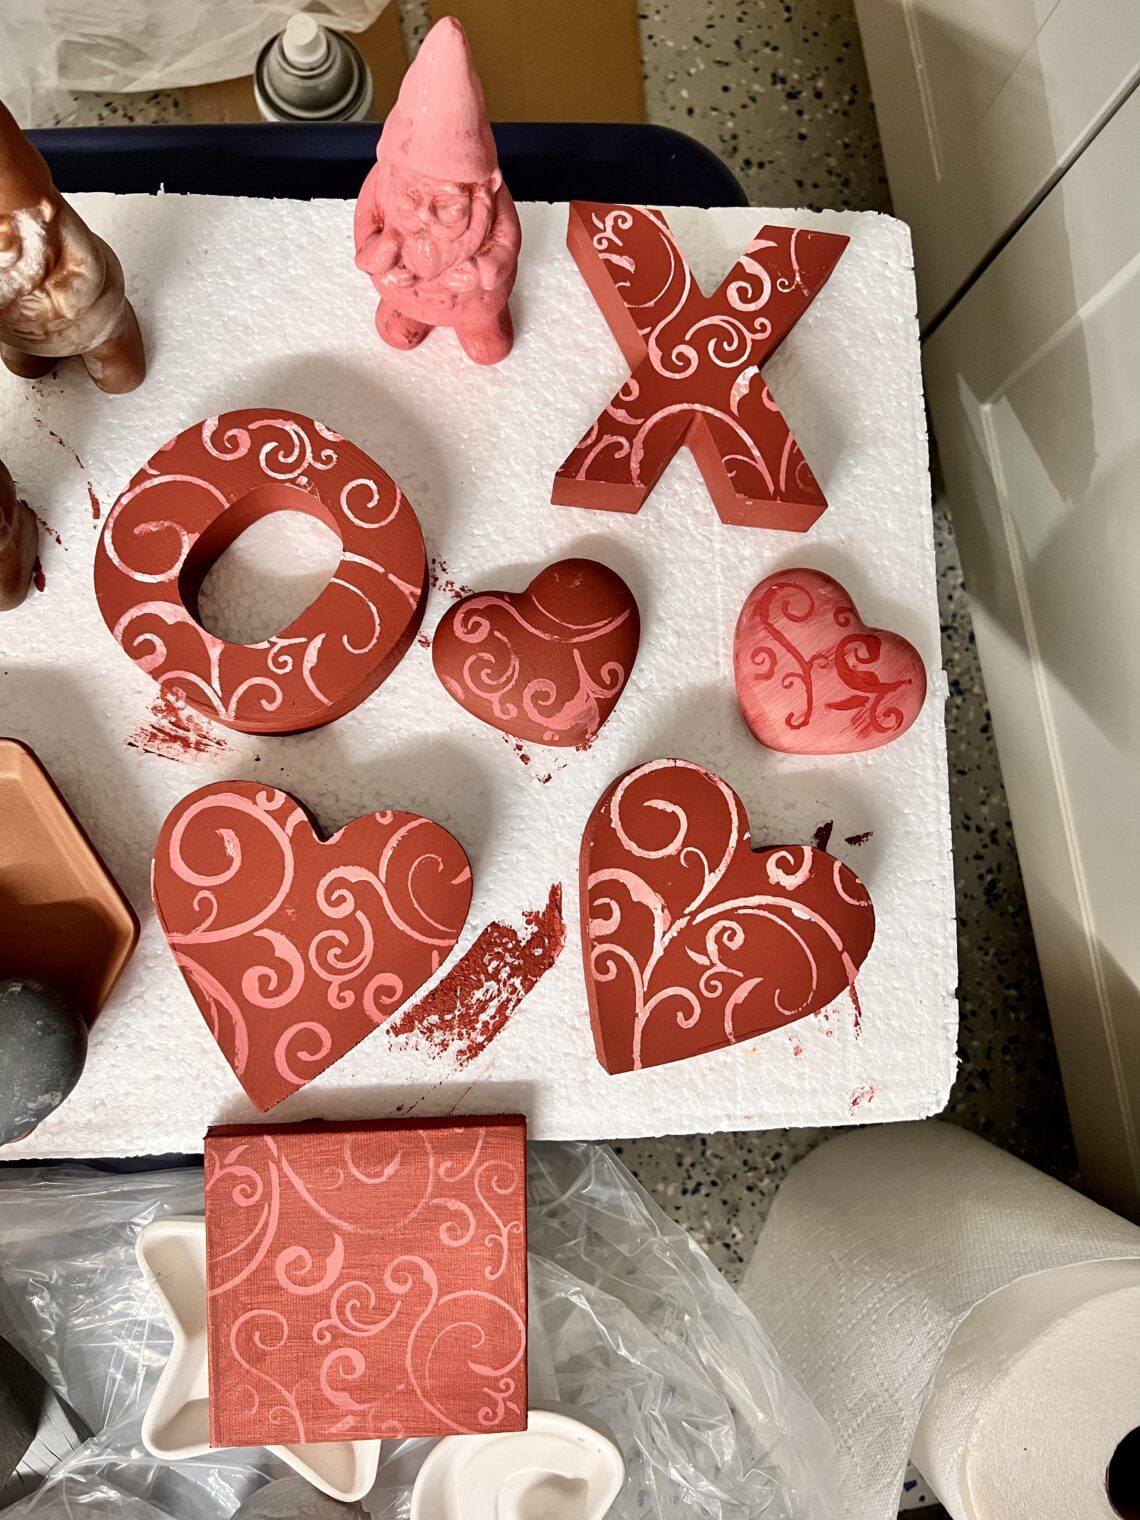
After I slapped on a base color of grey, I used this Farmhouse Red Chalk paint. I used some on a few X & O’s (they were drying), then I mixed a little with my grey, added some black acrylic, a little metallic bronze color and this is what I ended up with.
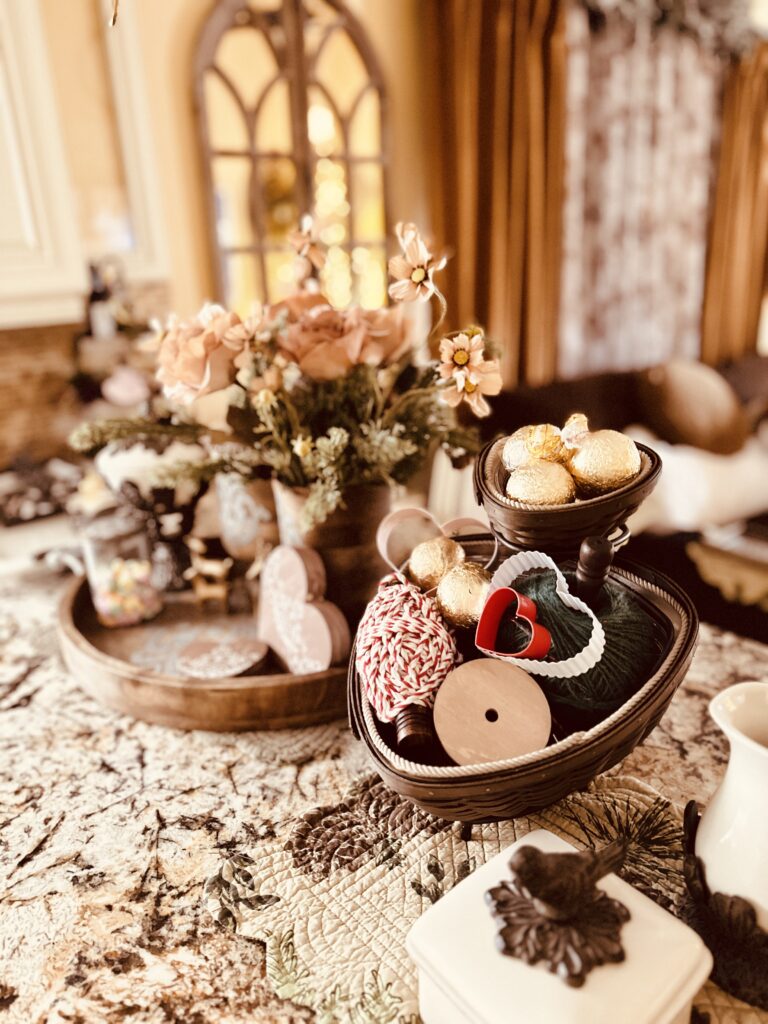
 The red really turned it a nice copper. It looks really cute on the gnomes. I also painted a ceramic tray with the copper color and it made it look like red clay pottery, a happy accident!
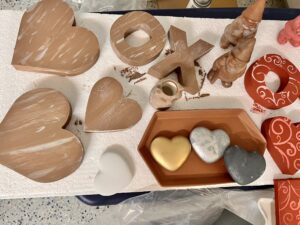
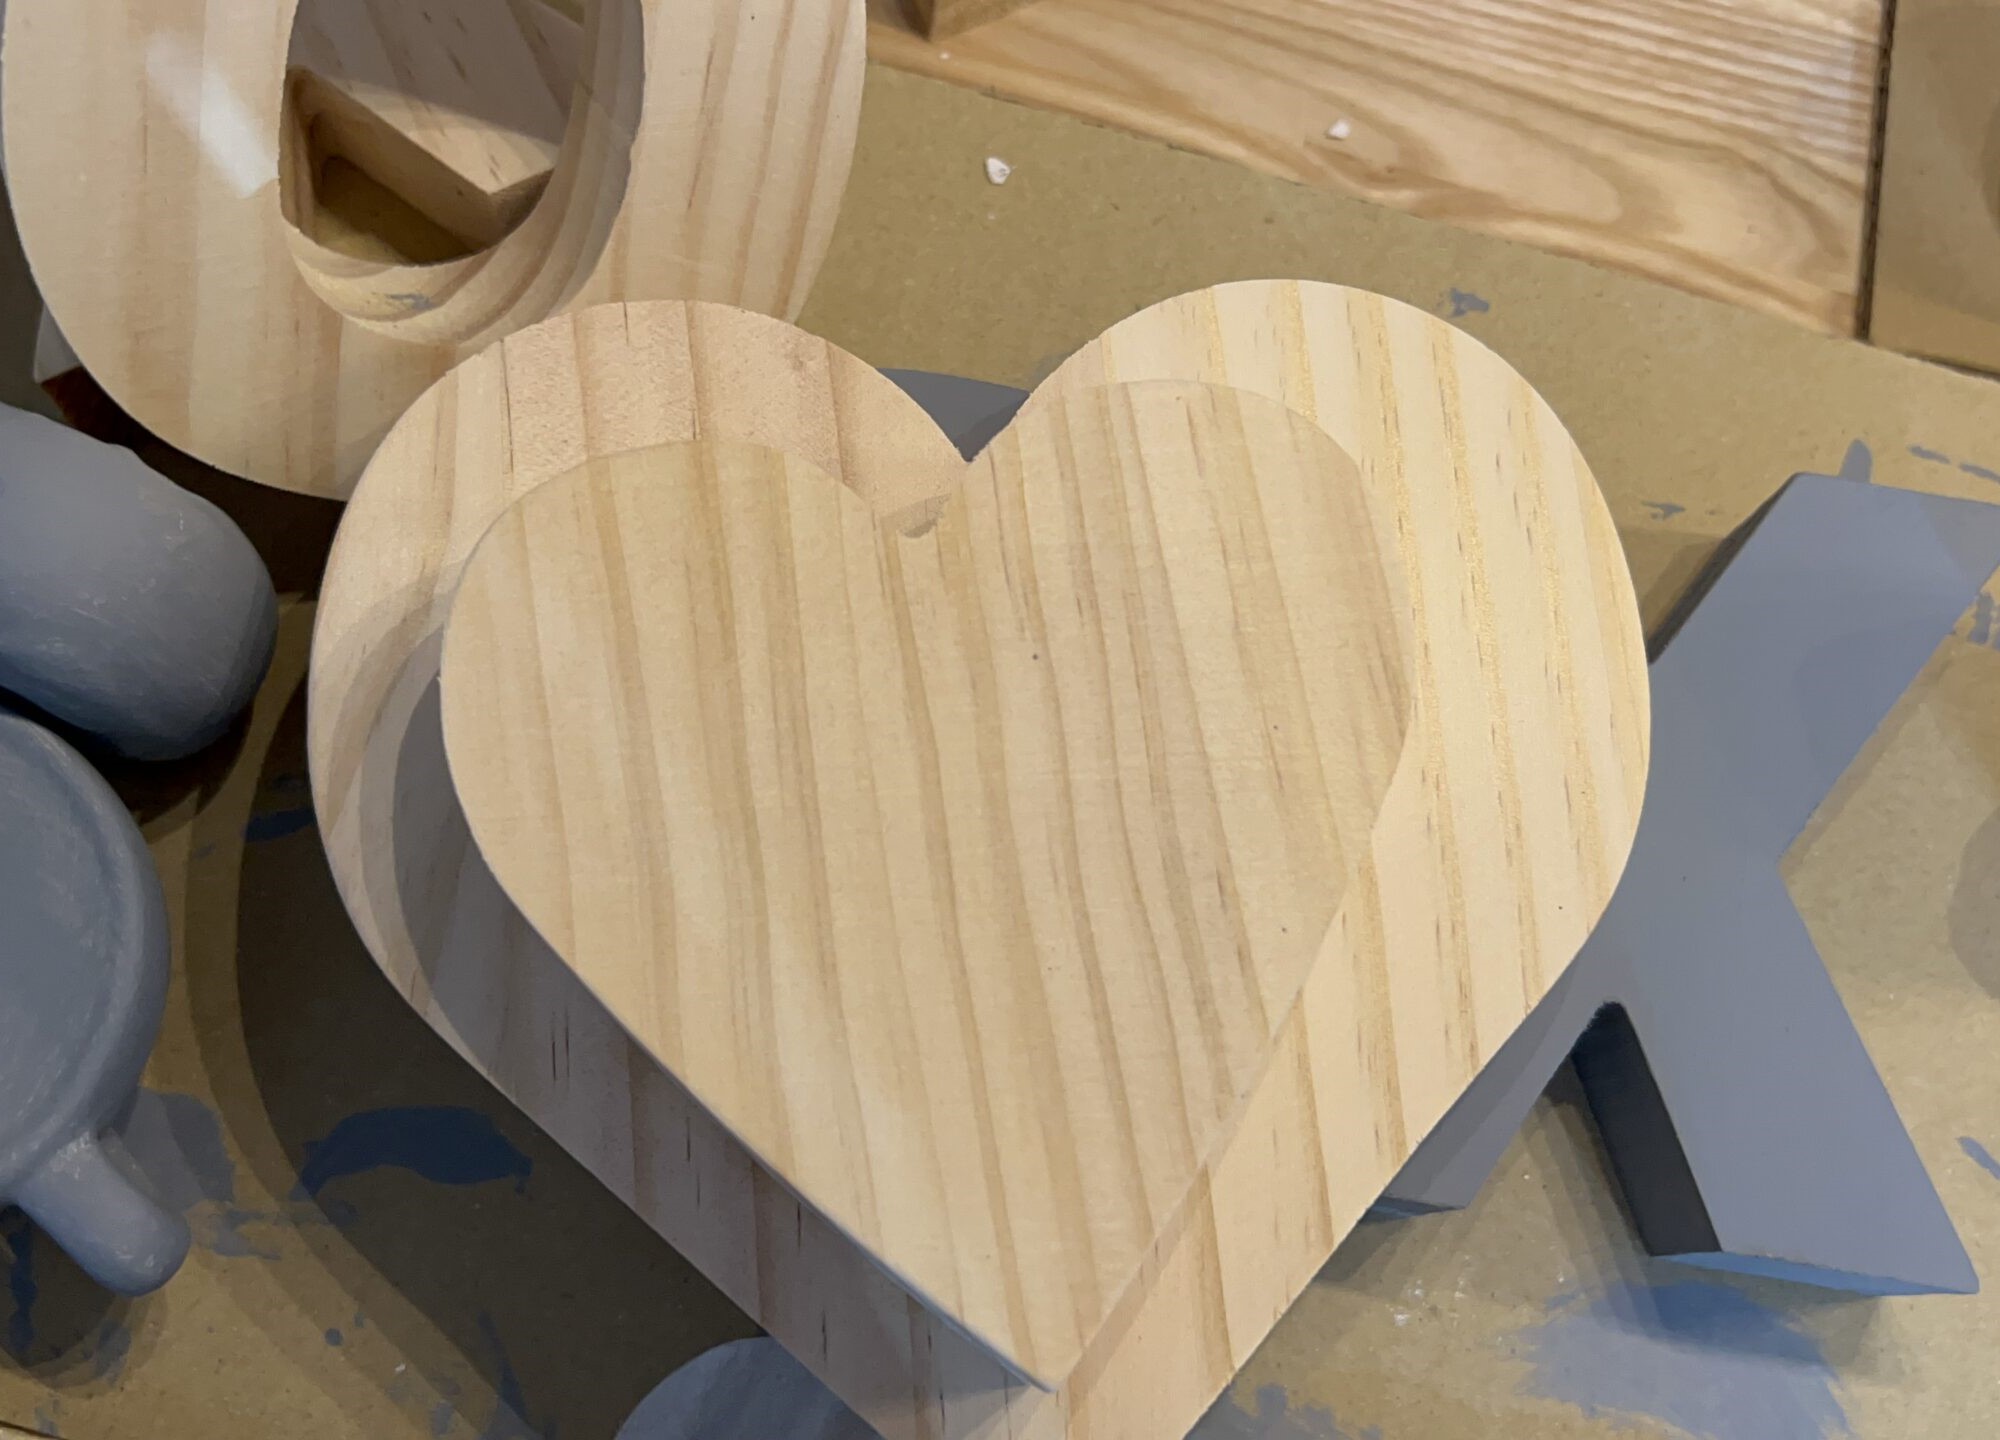
Now I need to check on my wood hearts and X & O’s I painted grey…
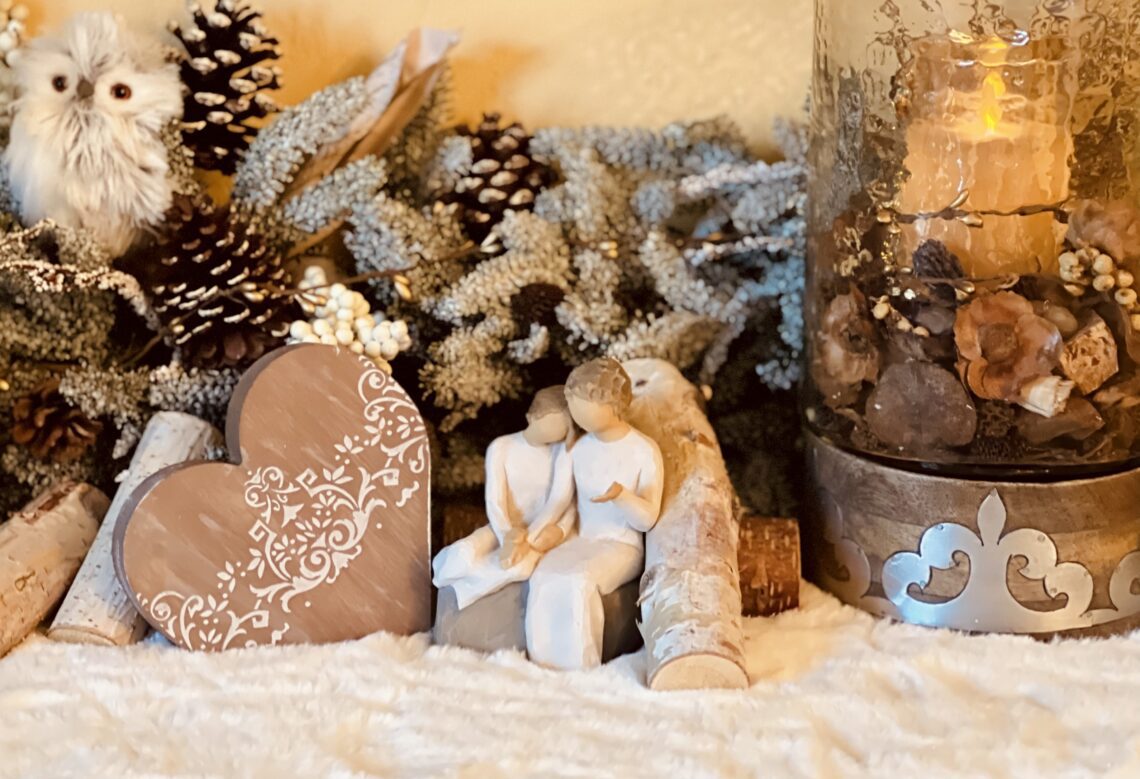
- then mixed a bit of that copper with the grey and made a “wood brown” sort of color.
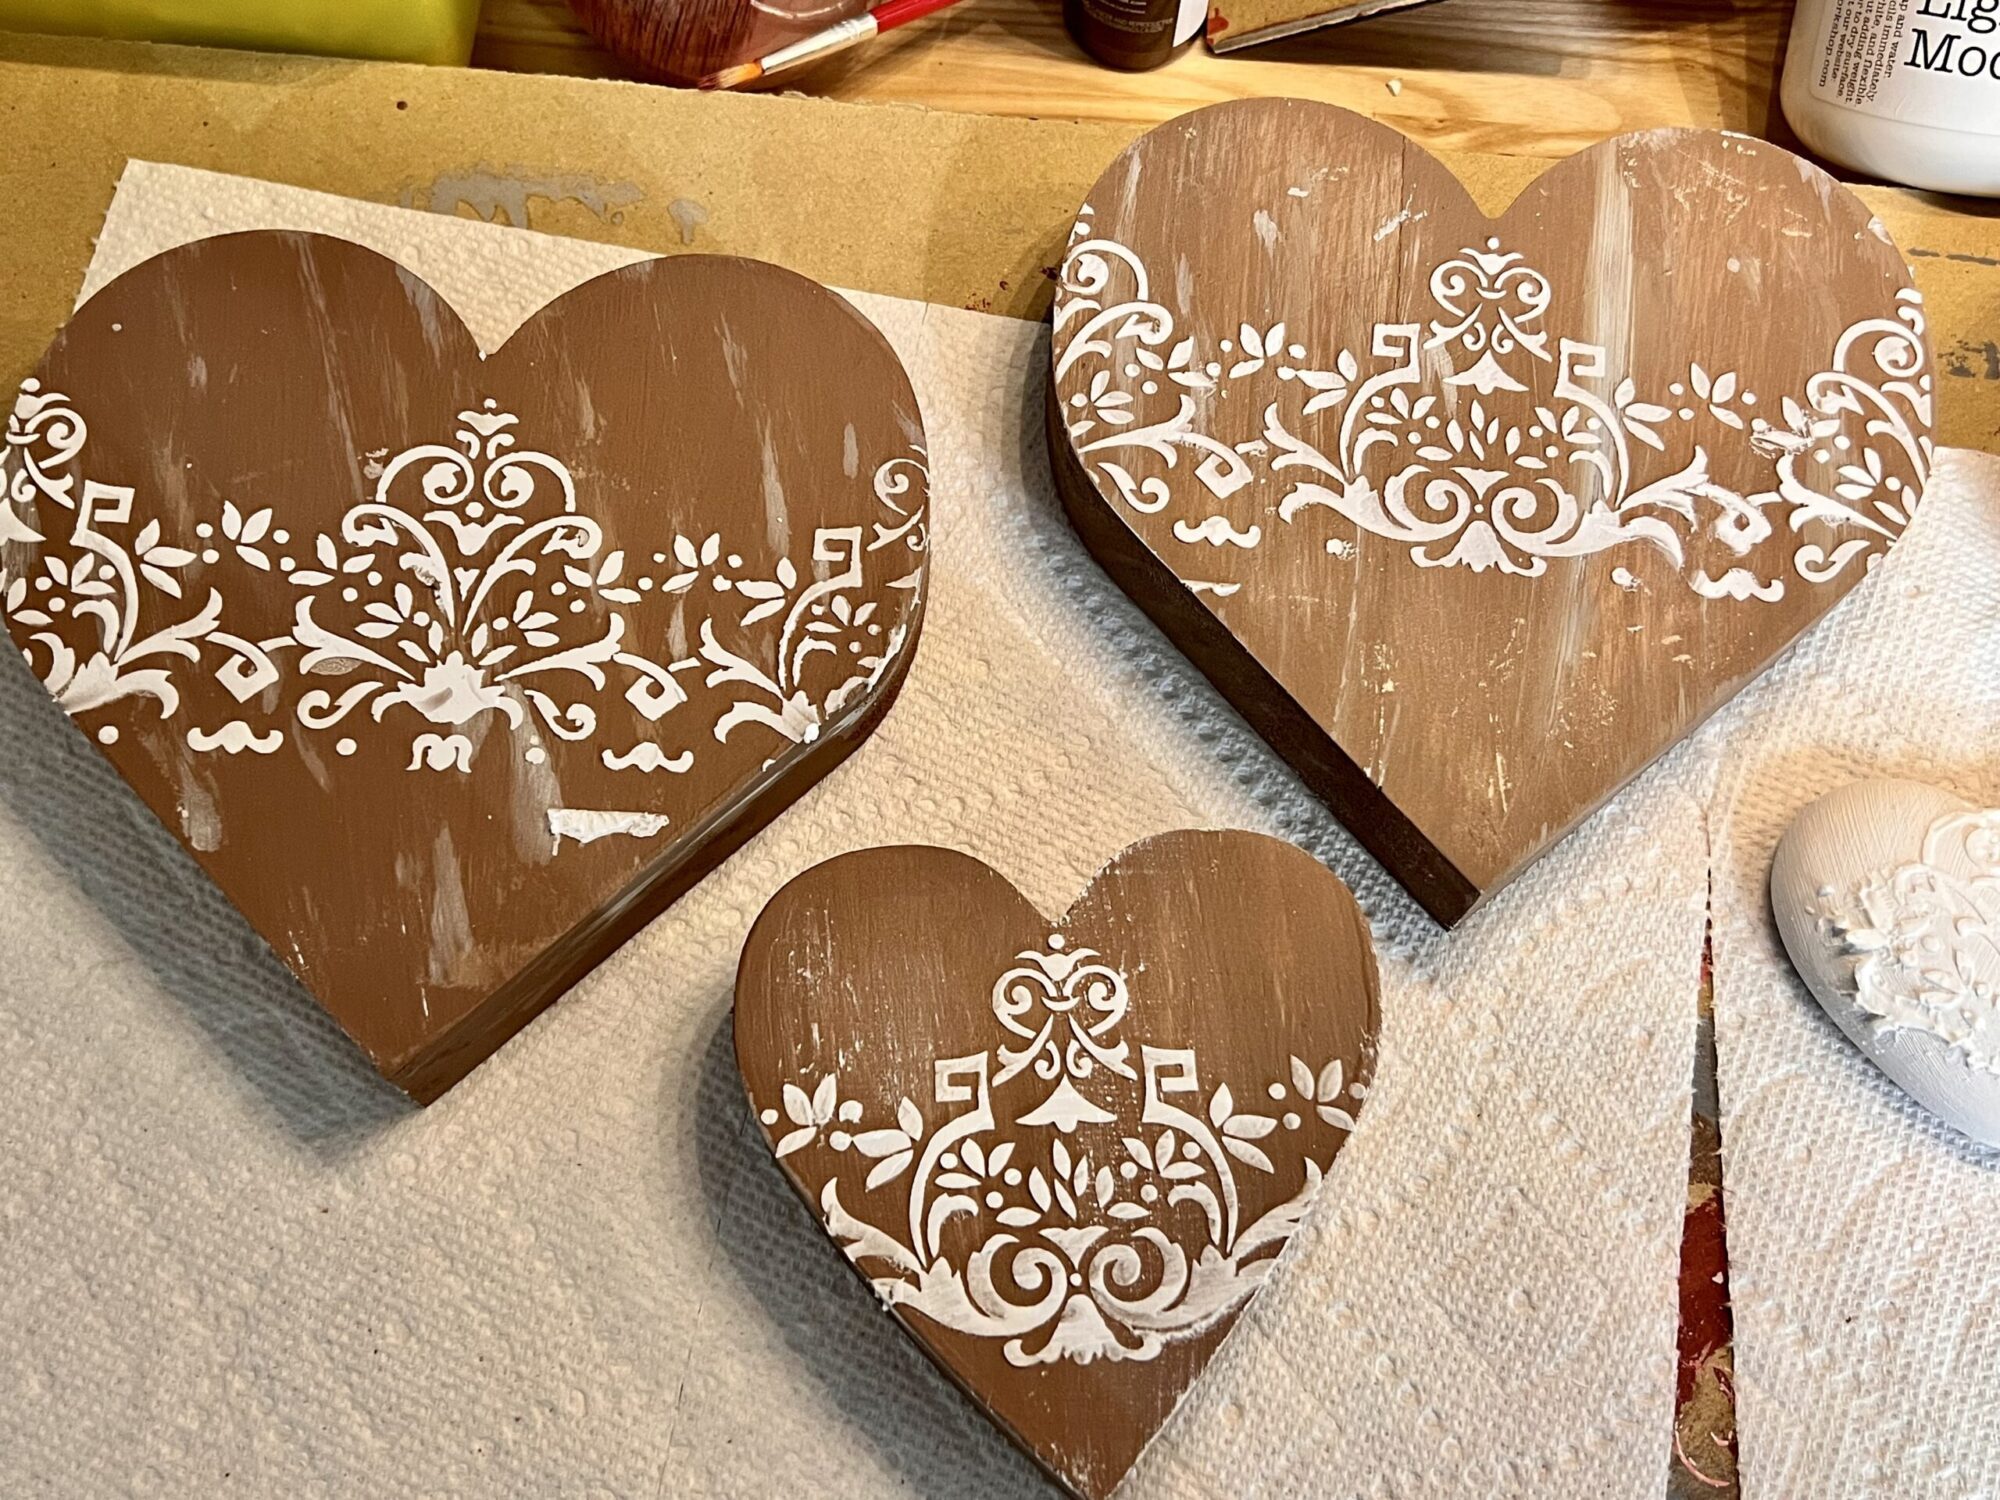
- next, I ran a few little streaks in grey/white down them, just for some added dimension and trying for a “wood” grain sort of feel.
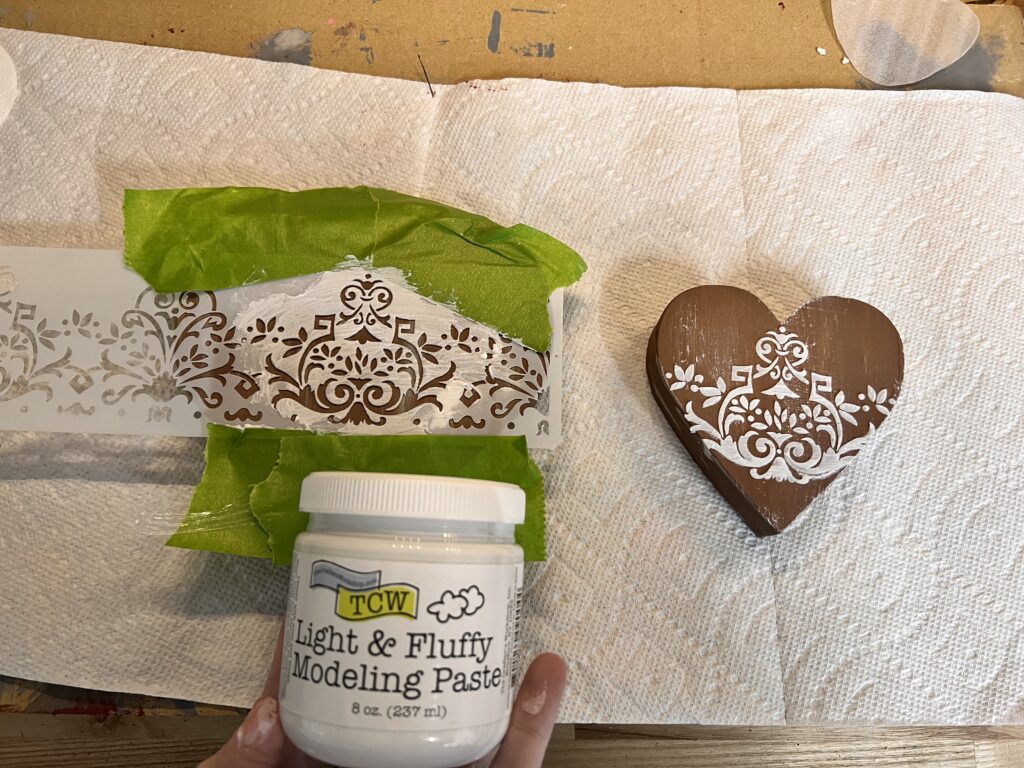
LESSONS I learned working with this Modeling Paste:
- Let it dry 24 hours
- It is flexible, if you want that, don’t let it fully dry, and you can move it, or smoosh it as I say. 🙂
- Wash off tools and stencil ASAP
- The regular modeling paste is better for stencils
For my supplies check out my Amazon Idea Board “DIY Project Supplies”.
The first side went well…until I decided to paint the raised stencil!
This is where I learned, LET IT DRY! When I added the gilding wax over the stencil design, it sort of smooshed the stencil design and spread it out. Also the silver gilding wax didn’t look the way I was expecting, but it was still nice. Luckily there was another side to experiment with. I decided this time to let the stencil fully dry 24 hours before I touched it!
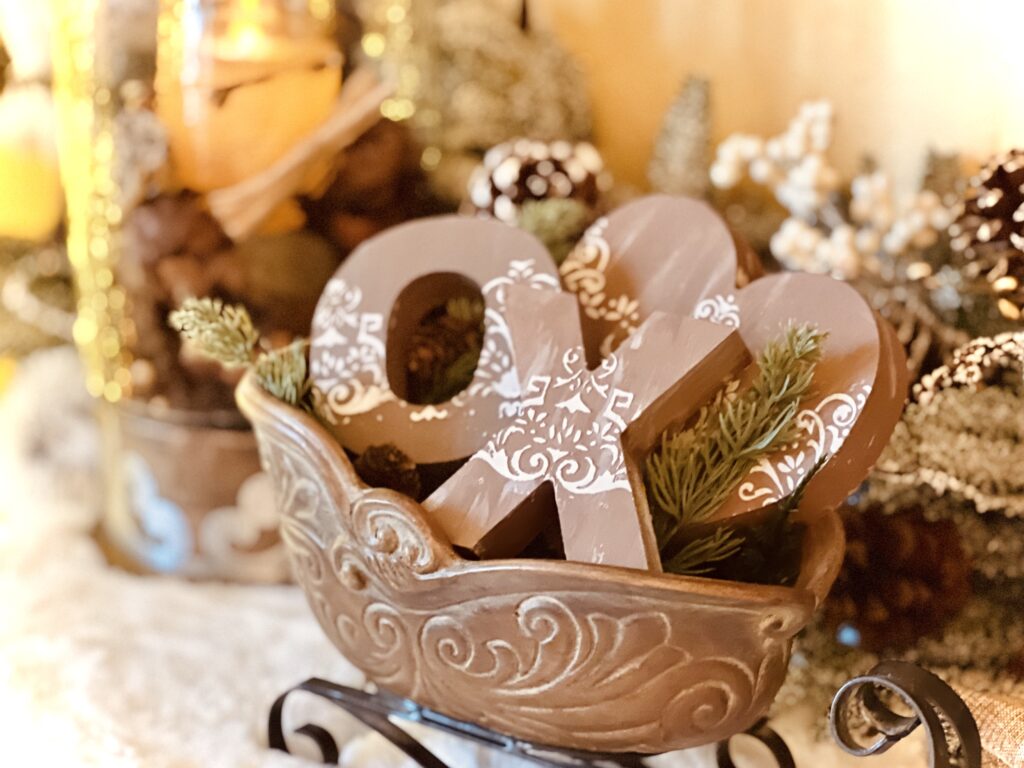
The stencil came out perfect!
Check out my Amazon Idea Board for My Winter Wonderland Decor.

Check out my Amazon Idea Board for My DIY Project Supplies.
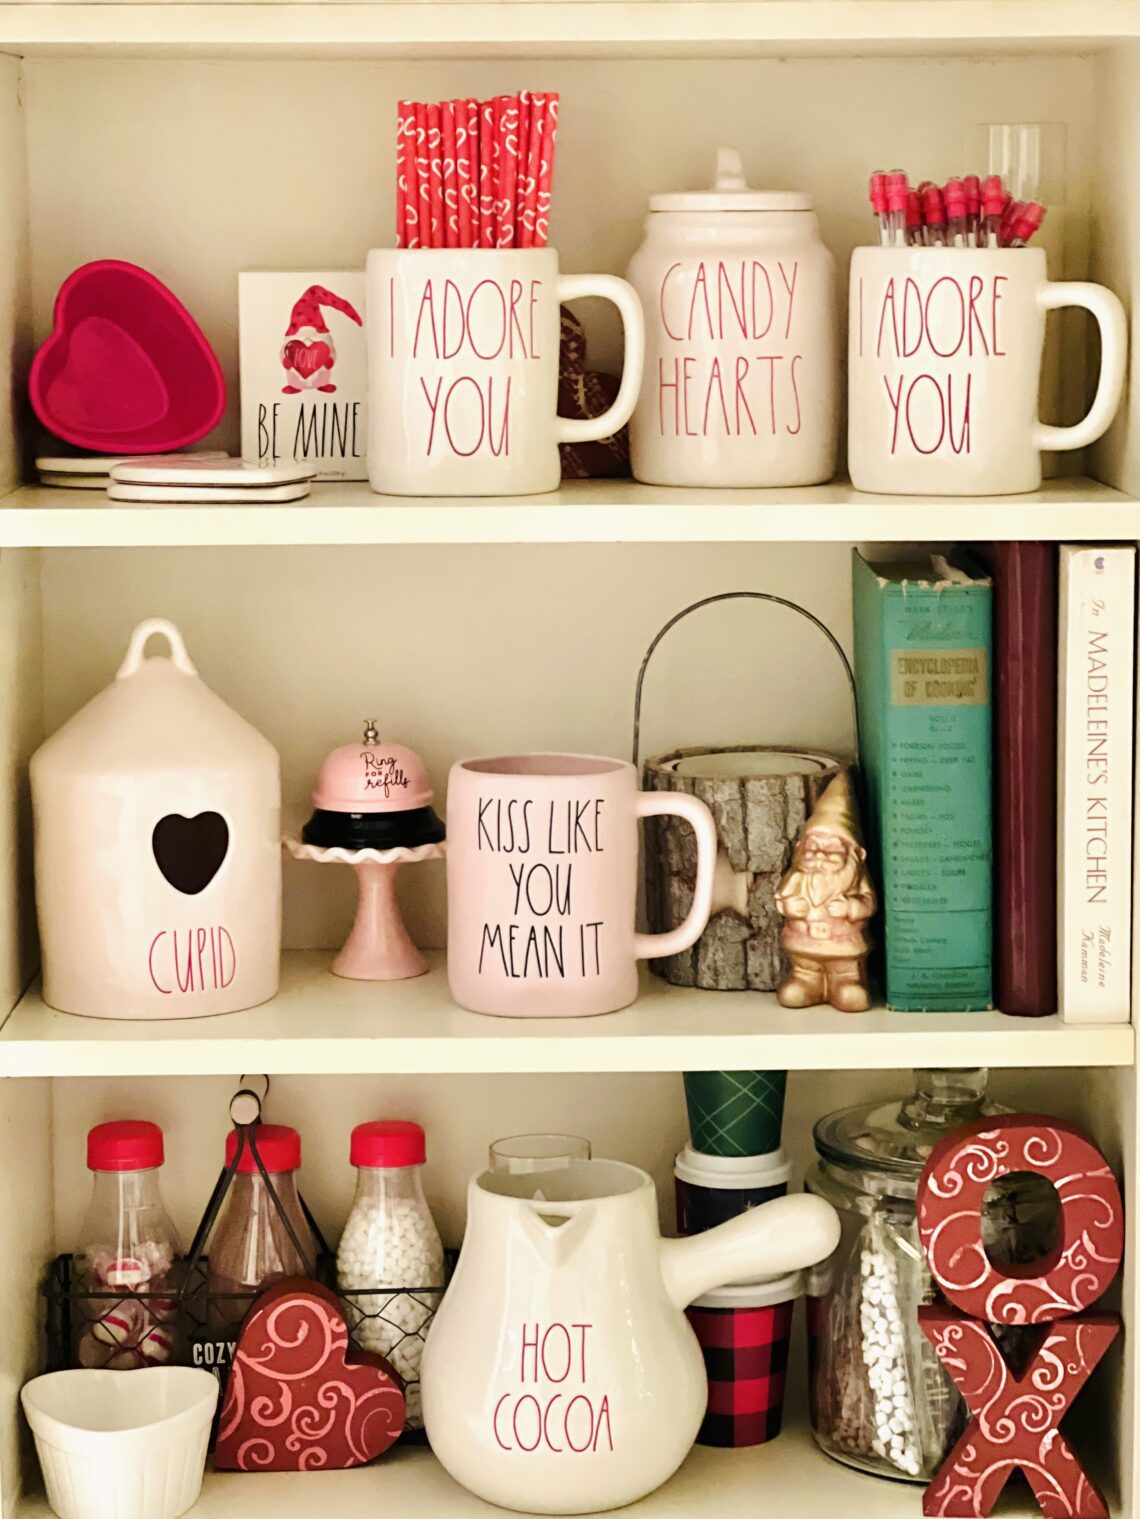
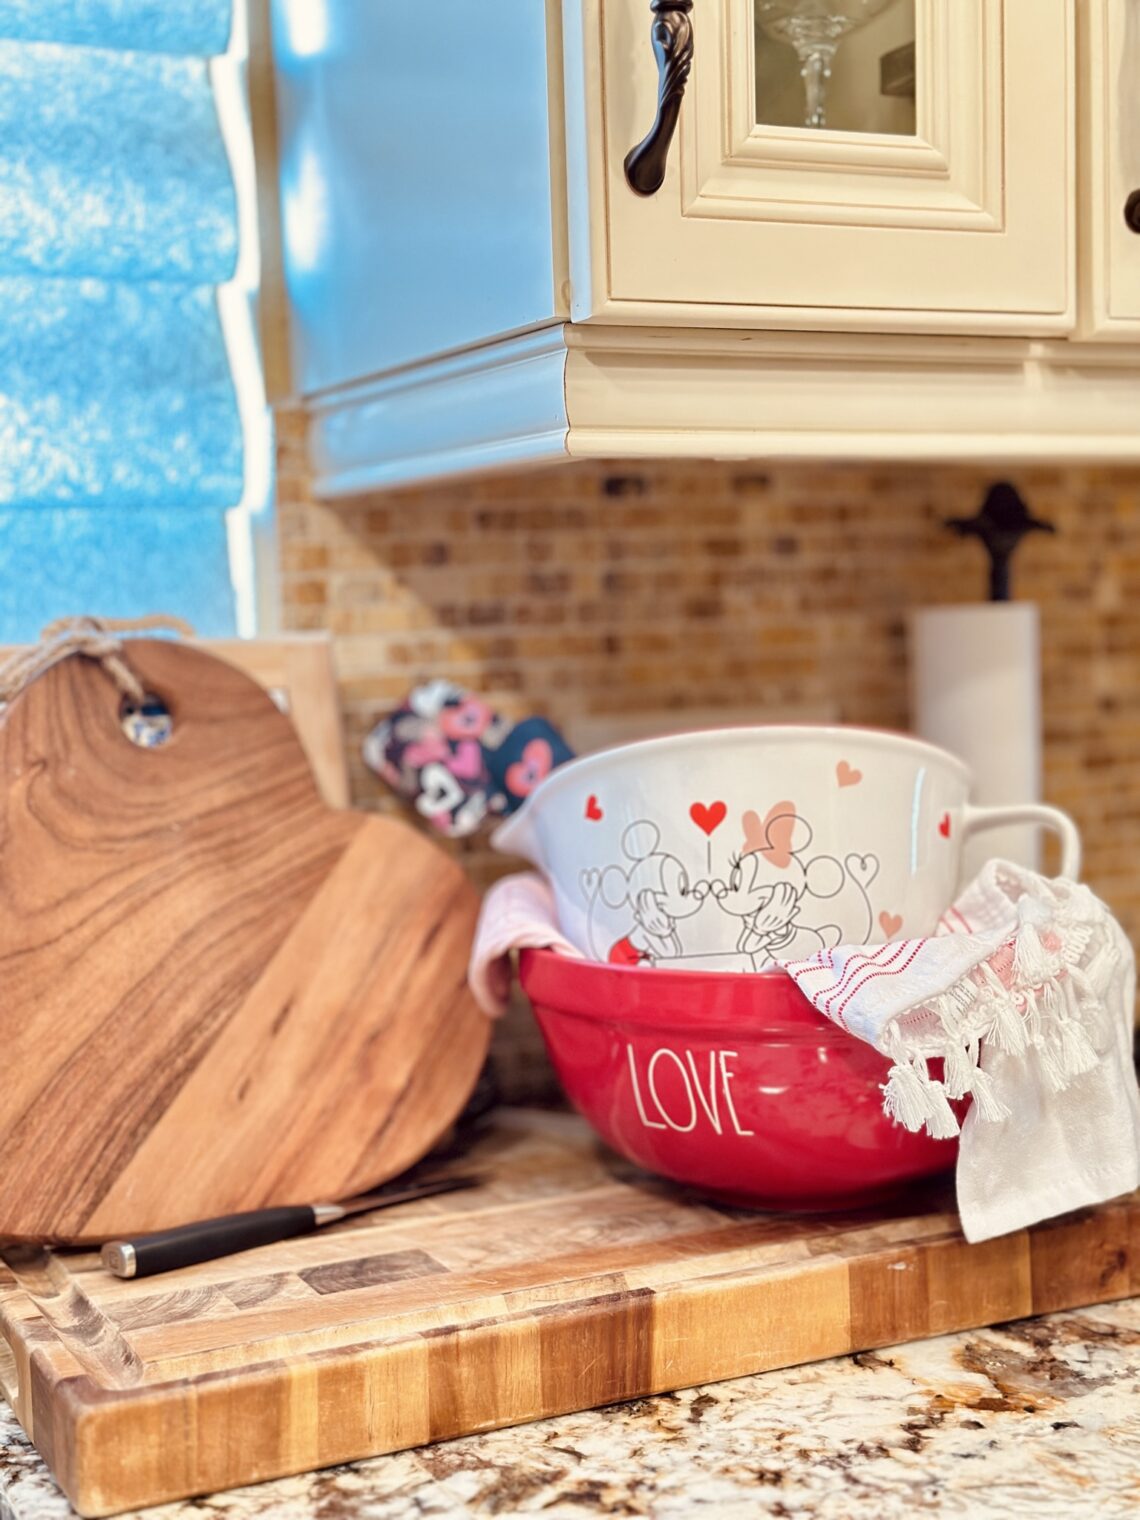
To see the items I used, check out my Amazon Idea Board DIY Project Supplies.
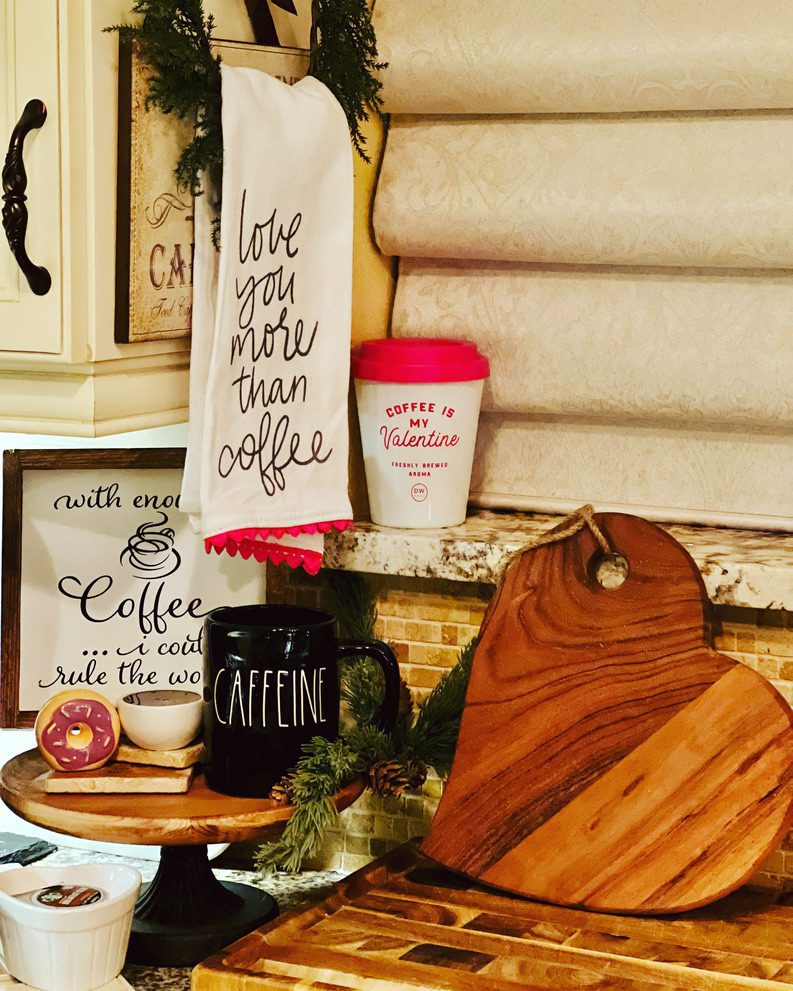
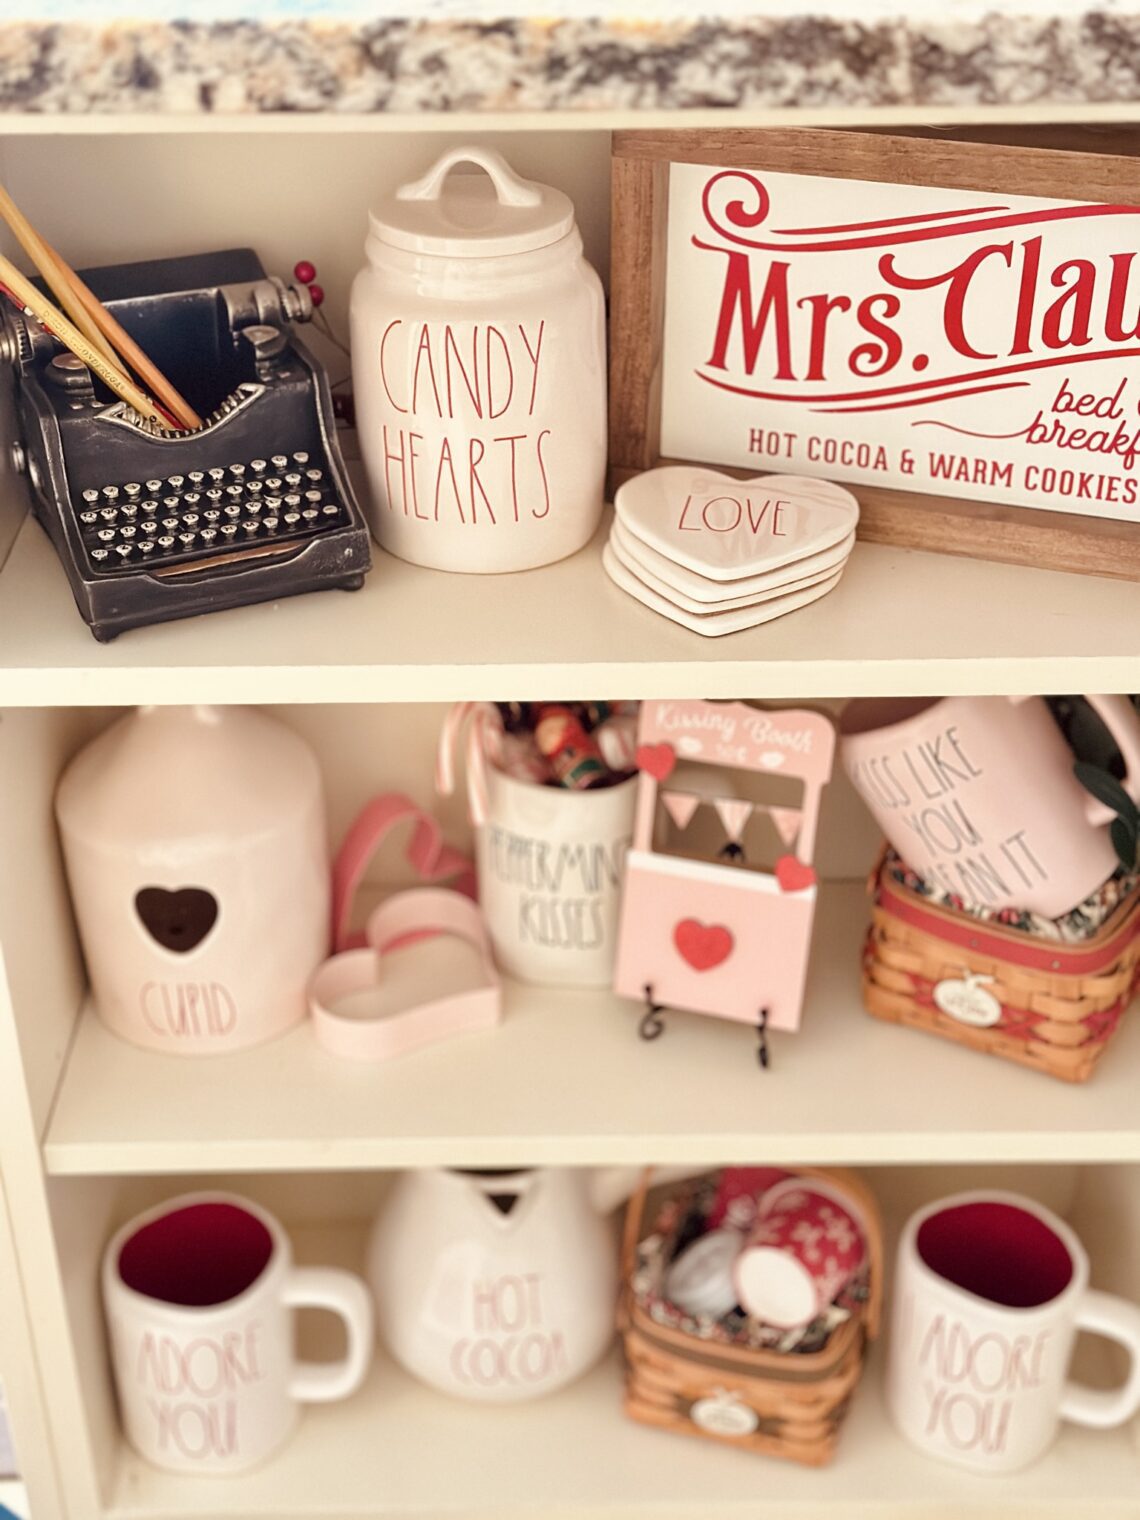
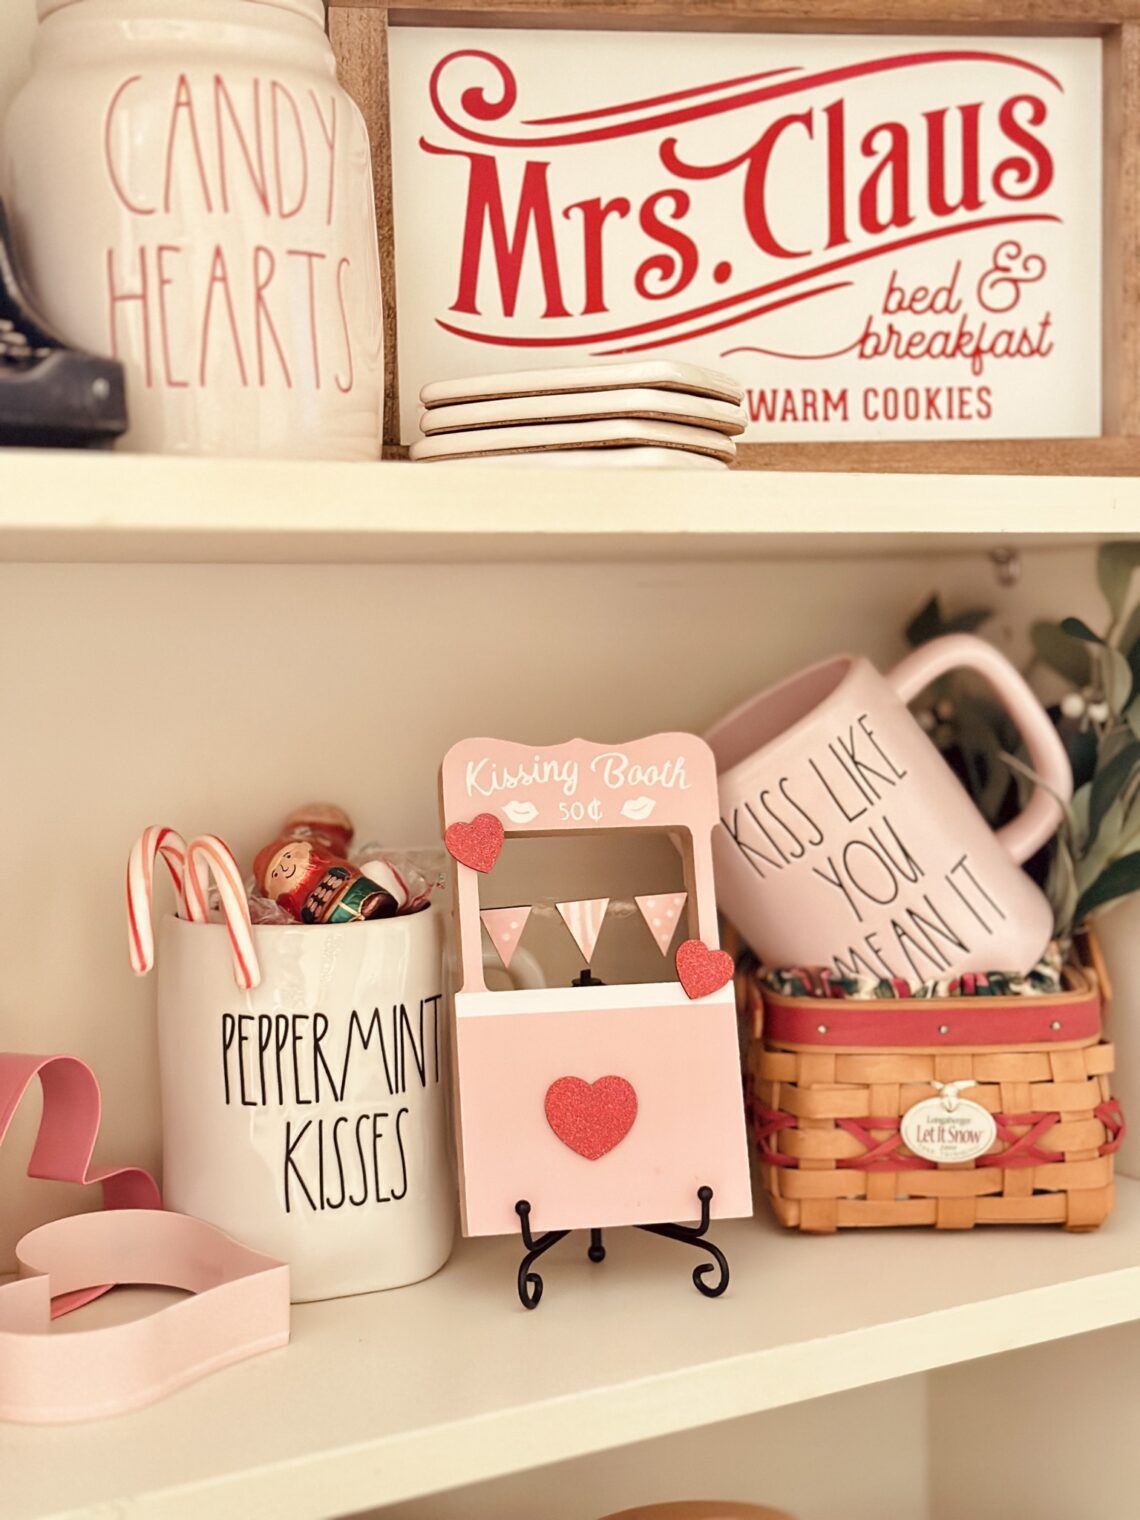

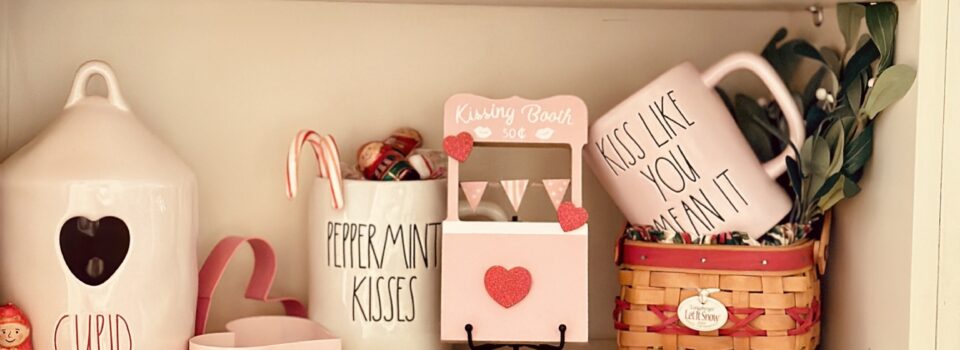
I hope you enjoyed seeing how I experimented with some ceramic and wood crafts to create some lovely custom Valentine’s Day Décor. More to come! Subscribe, follow, and stay tuned, you never know what I’ll do next!
Subscribe for my coming posts and follow me on Instagram, Facebook YouTube, and Pinterest! I’ve got some videos posted already for these crafts! Check them out now!
P.S. Valentine’s day crafts – More coming this week!
Plus great Valentine’s Day Gift Ideas under $20!
Also, Easy Valentine’s Day Brunch Ideas!


Are you smarter than my 3rd Grader? Learn to build a blog post in less than 4 hours!

Are Balsam Hill Trees, Wreaths, and Garland worth the money?

Save & share!
Until next time…
Keep smiling, improve every day, and build a life you love!
Yours Truly,
January Ember


You May Also Like
5 Spring Time Rae Dunn Decor Finds & the Mysterious Marshall’s Woman
March 24, 2022
20 Easy St. Patrick’s Day Decorating Ideas
March 15, 2022
