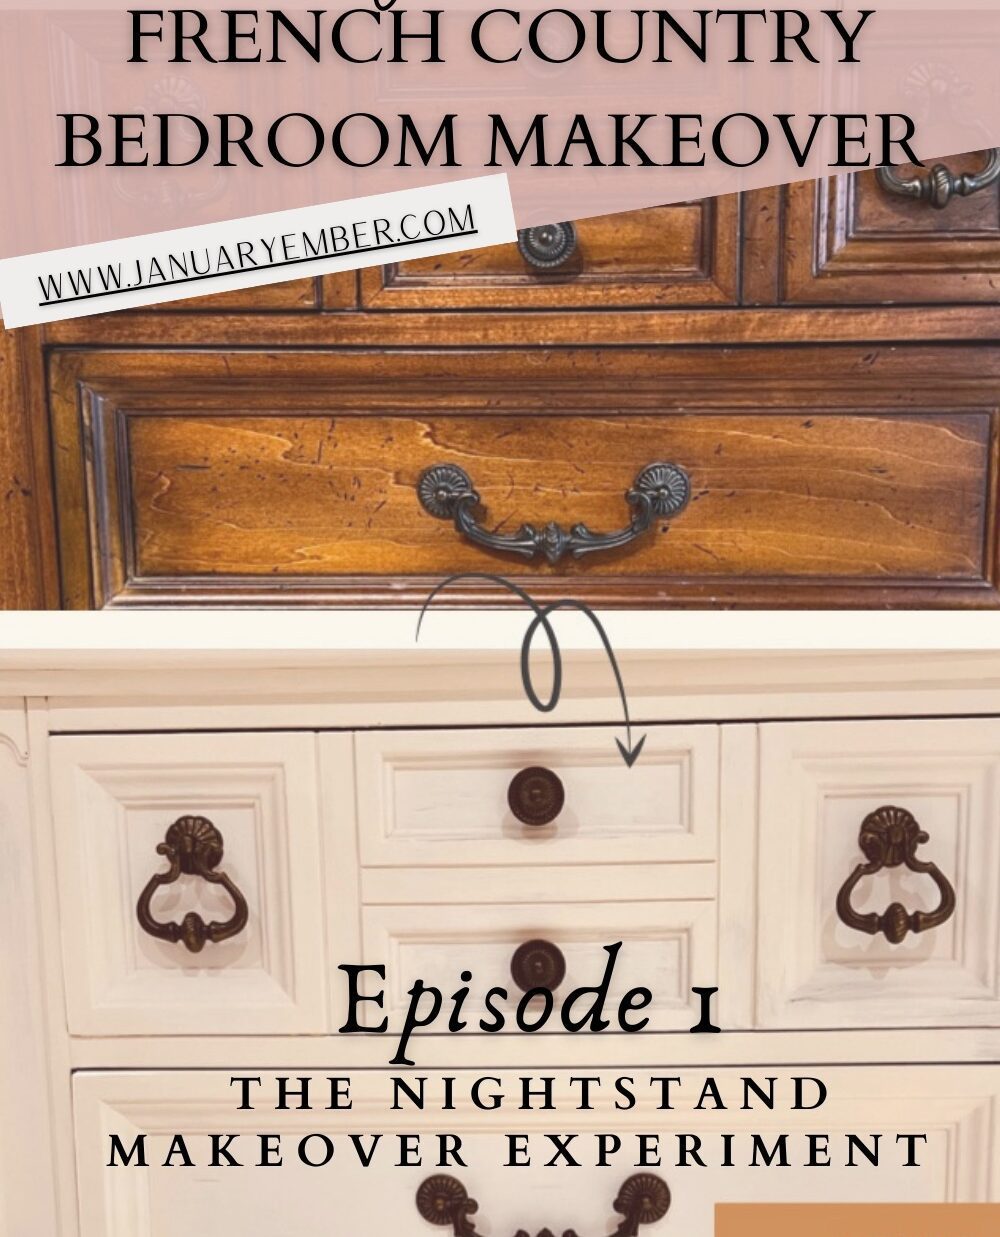
French Country Bedroom Makeover Series: Episode 1 – Brightening Nightstand Experiment
DIY Projects...why do I have so many and why do I keep adding more?! I know I am obsessed with making things pretty and I have a constant need to change things around, but is that all it is? Regardless...here we are with yet another DIY project! My challenge...brighten the bedroom and give it a classy French country feel! Challenge accepted! The French Country Bedroom Makeover Series was thusly born and coined! 
First I decided I would start with my nightstand, I have two bachelor night tables on either side of the 4 post walnut and wrought iron bed (check out my videos and tips on painting wrought iron…best methods and tricks). I figured since mine was already so banged up from 15 years of use that I couldn’t really “mess it up”! The decision was made, I already had linen white and Cashmere chalk paint from Rustoleum so I decided to start with those.
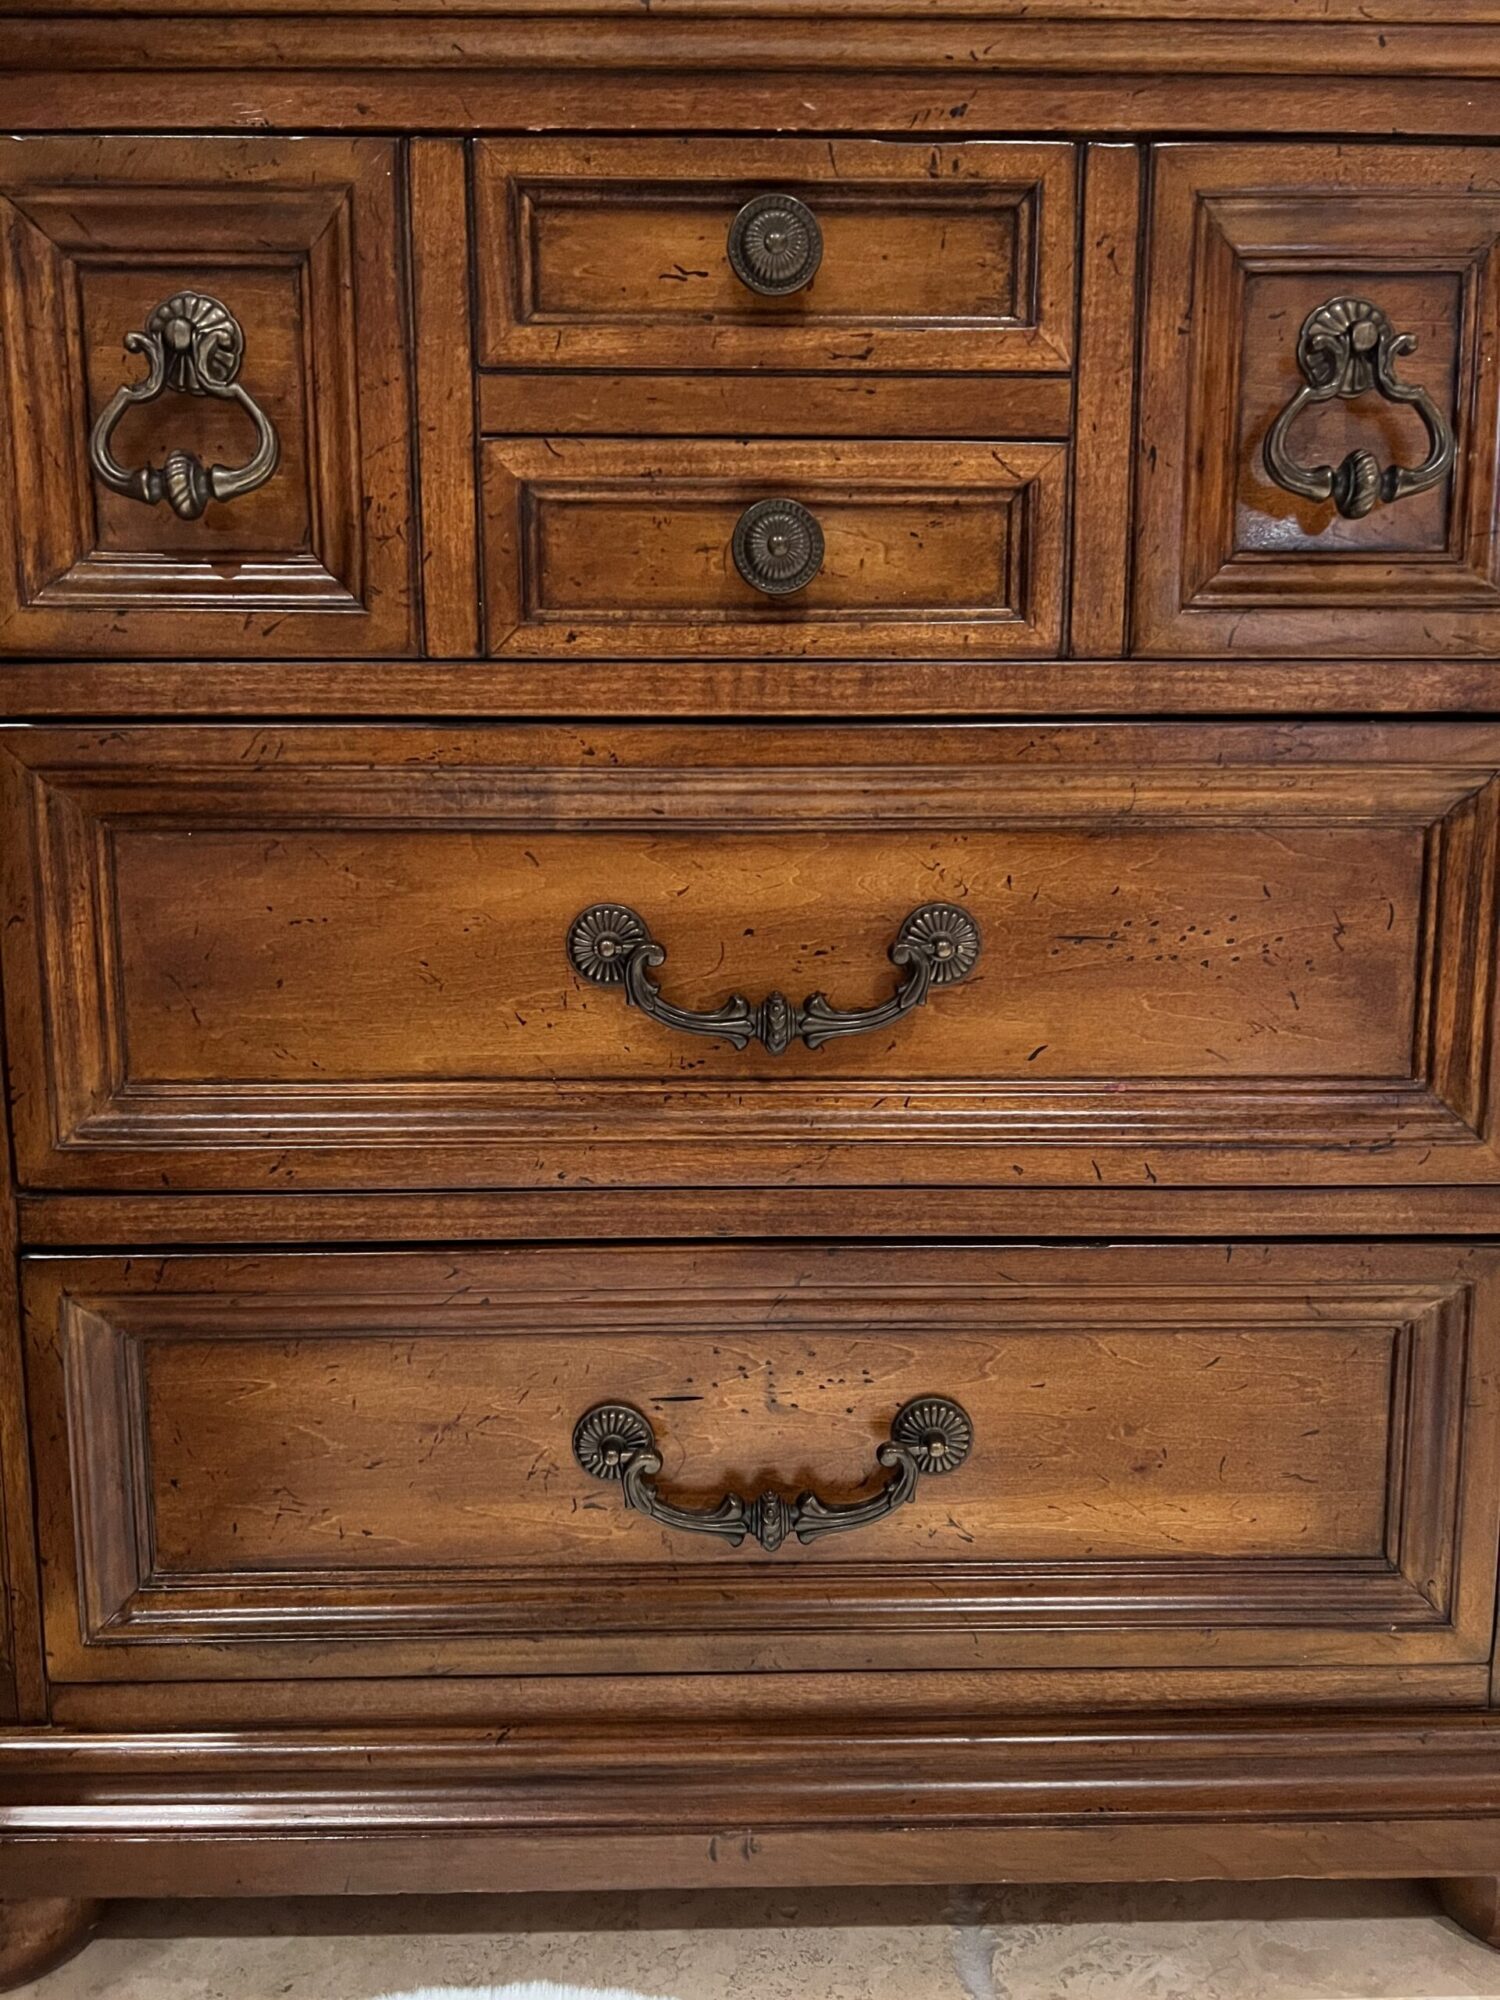
Last week when I decided to commit to my decision and paint my entire 10 piece dark walnut antique bedroom set, that I’ve had for 15 years, I really didn’t know what I was getting myself into. This project has turned out to be much more than just another “DIY project”.
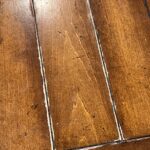
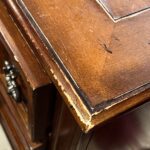
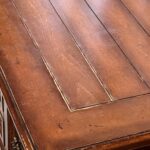
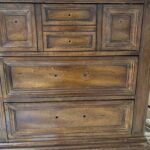
Here are the before pictures of the nightstand chest of drawers, you can see how lovely it is, but also it is pretty banged up and it is very dark...I wanted to brighten up my room and I love this set so much I just could not replace it...DIY Project Commence!
Let's get to prepping our piece! I tried to take pics along the way so I could share the steps I took, and show you how it turned out. I learned a lot along the way and I have found the paint I love, the tools I love, and the ones what work best! I'll share all of the with you! Hopefully you can save some time and arm strength! LOL
Once you've cleaned, sanded, and prepped your little DIY Project, let's get it ready for some chalk paint! Since I decided to "experiment" I used what I had laying around in my garage/crafting area. I love Rustoleum paint.
I had a look in my mind originally, inspired from a dresser I saw on Pinterest. I really loved how she did this so I started with this concept in mind…but it transformed and the vision changed! https://pin.it/p6bdbDu

Since this was my first time doing a “major” furniture renovation set, i.e., my entire 10 piece bedroom set, from dark antique walnut to white French country style, I was nervous to say the least. I really wanted everything to turn out great, so I used my nightstand as the essential experiment piece.
tip: Use clear wax (especially when using dark wax to antique) - this will save your arms later or build you can buff it off & get great shoulders!
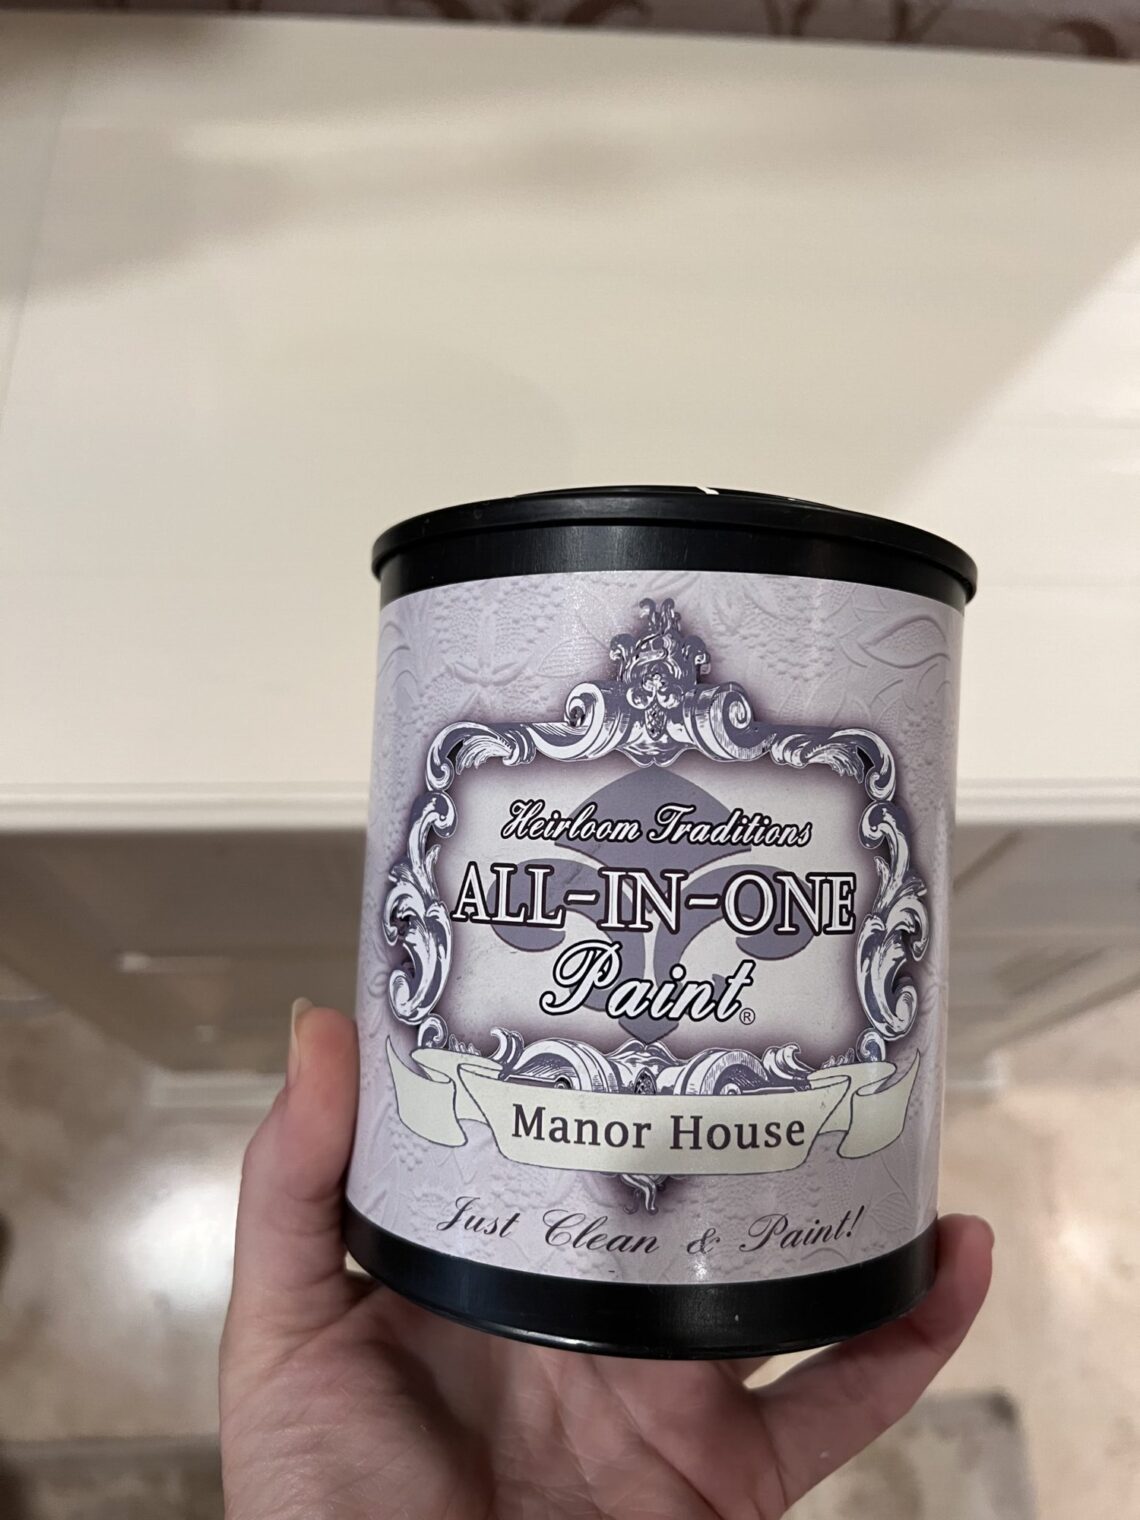
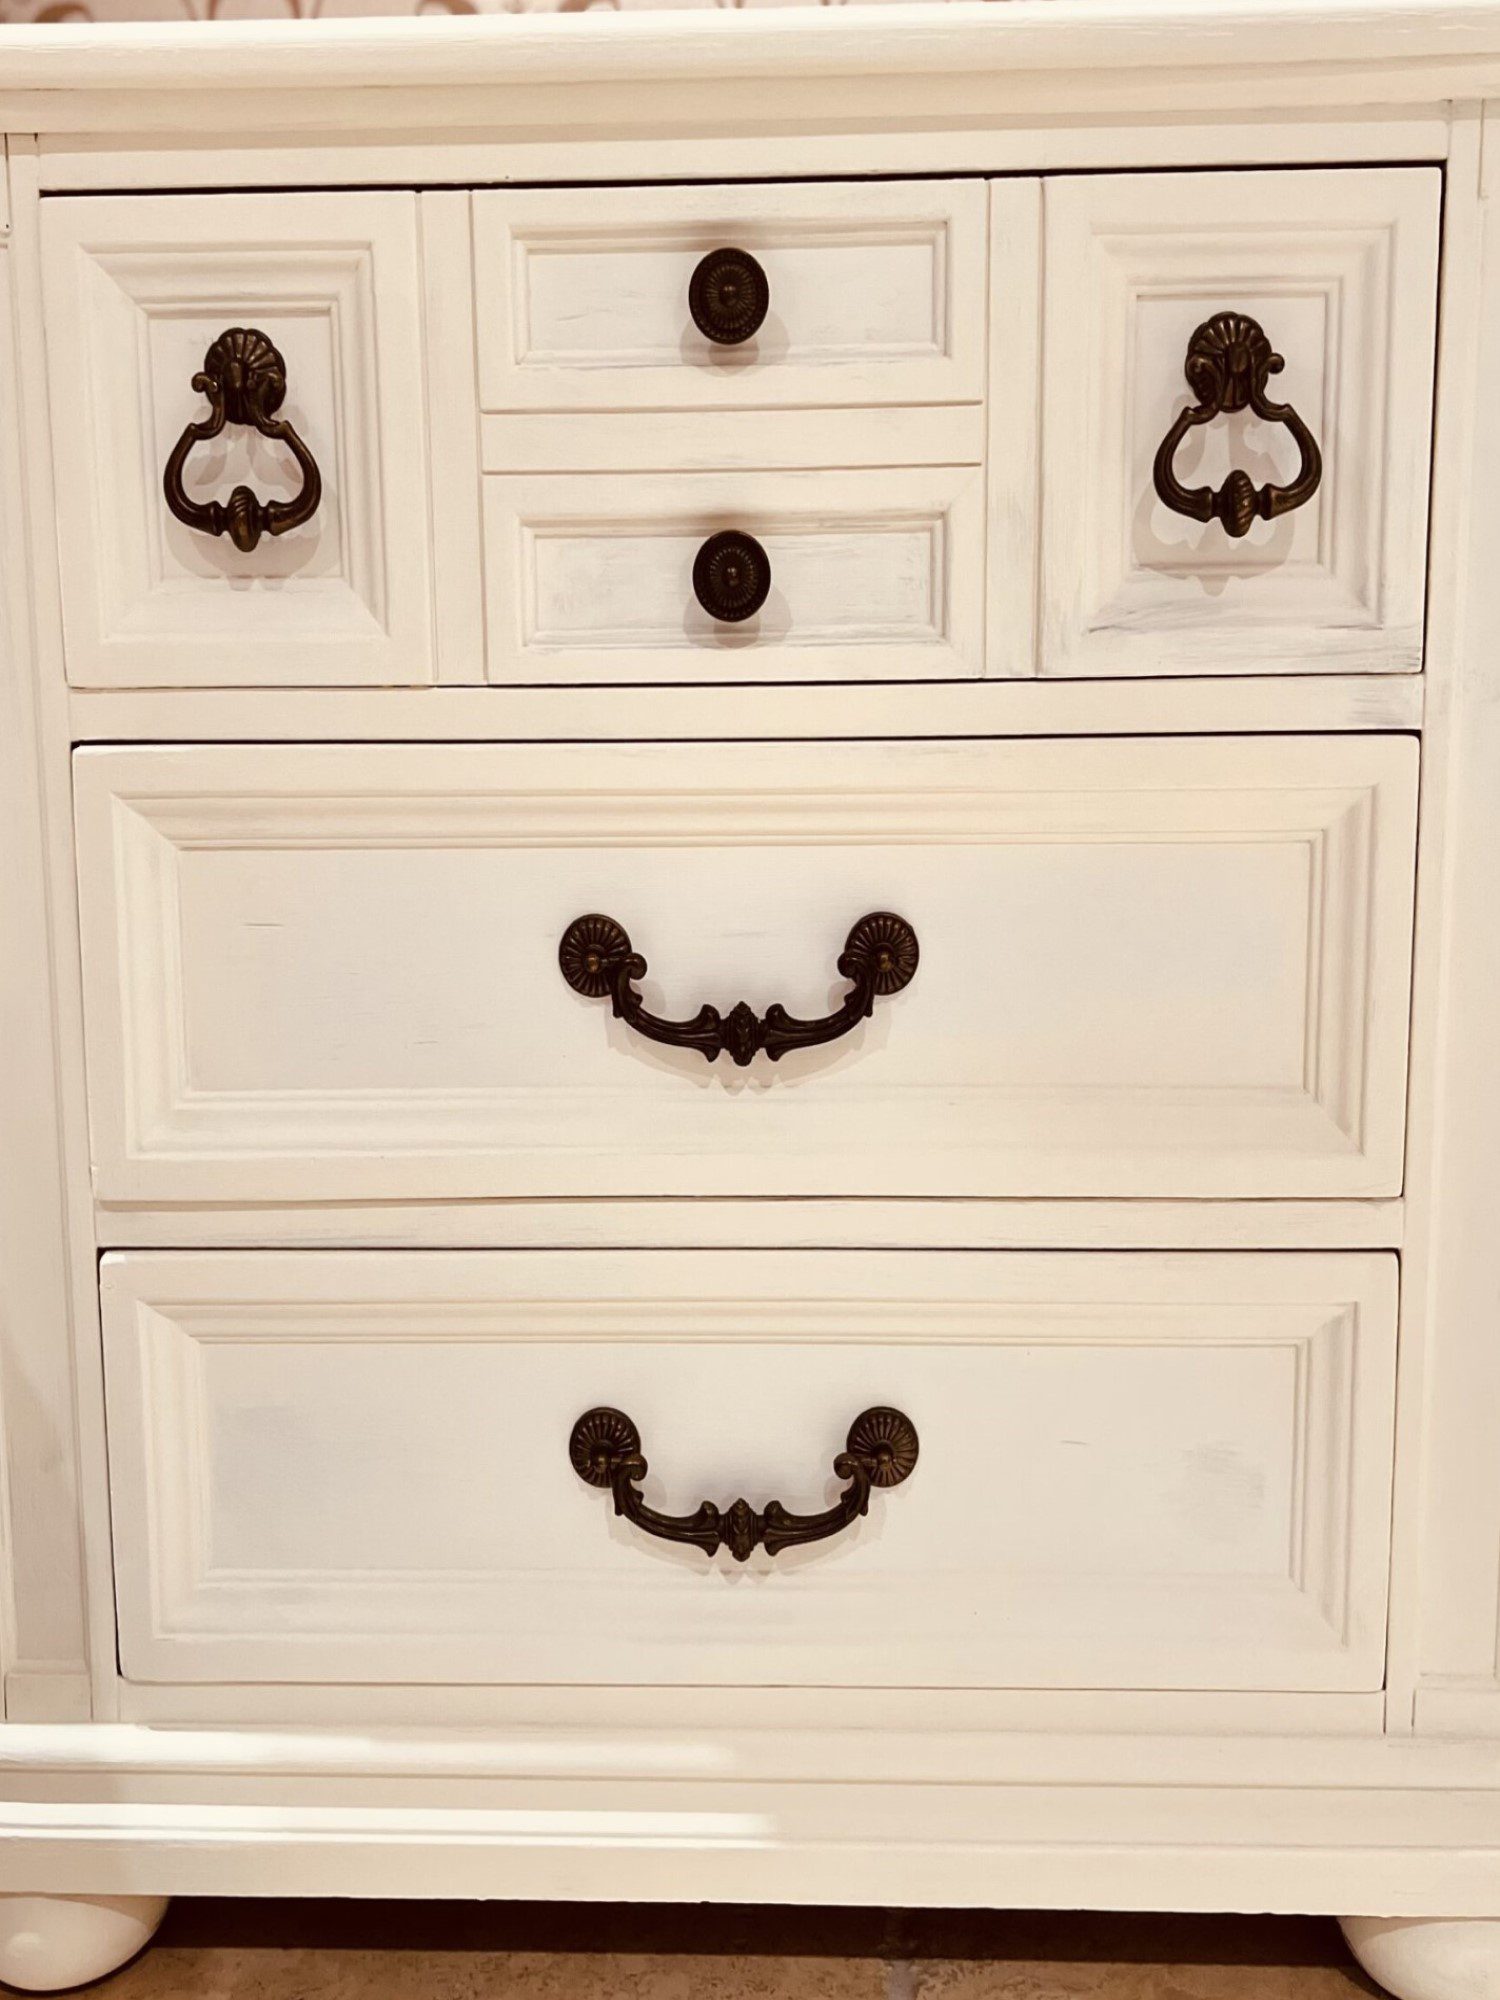
After experimenting with my chalk paints, I tried this "All-in-one-paint", "Manor House" creamy off white color by "Heirloom Traditions". I see them on Pinterest all the time and it looked great, so I decided I would be guinea pig of sorts and give it a shot. The color seemed to have a perfect French Country bedroom makeover charm about it, here's how it turned out.
WARNING: The All-in-one paint is NOT like "Chalk" paint! It will stain your clothes and your sheets and seems like any fabric it hits. Sorry lovely red bed sheets...you are now stained 
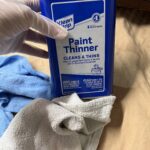
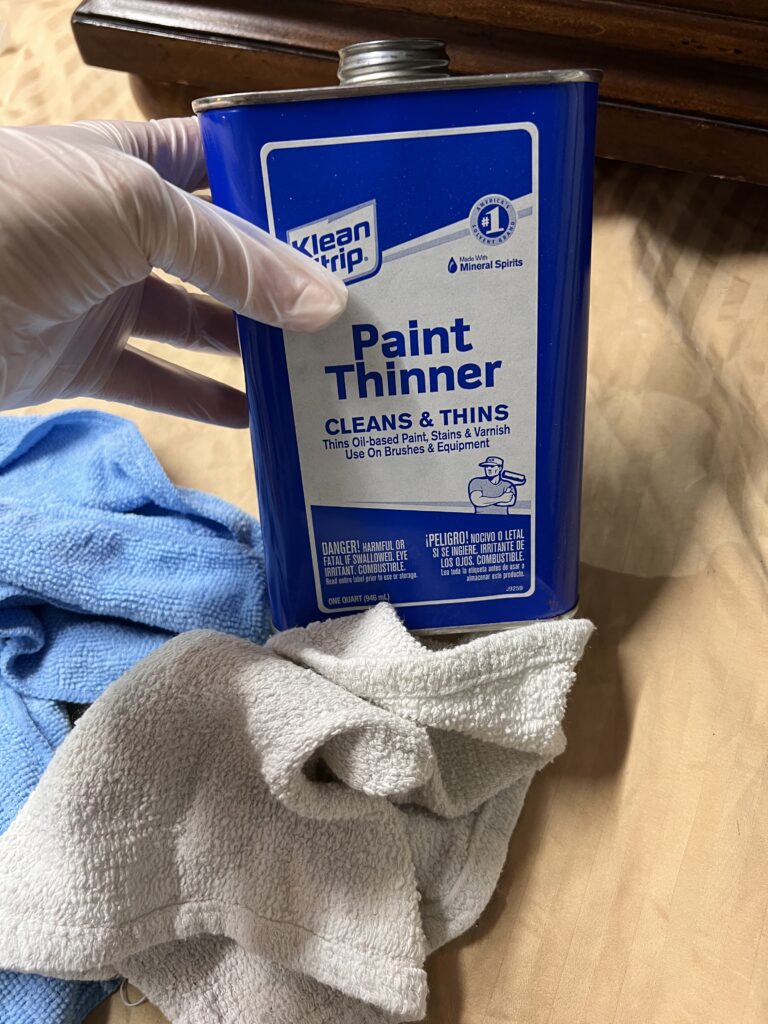
All I did for prep work on this nightstand makeover was wipe the whole thing down with a microfiber cloth and some mineral spirits. This is two coats of the paint using the sponge, brush, and roller set (I ended up buying it to try as well). I wanted to be able to see if it really did work, and if so, then I'd let you all know how it went!
Tip: use the mini roller! That little guy helps smooth things out and catch drips. Paint brush in right hand, roller in left - paint...roll...paint...roll!
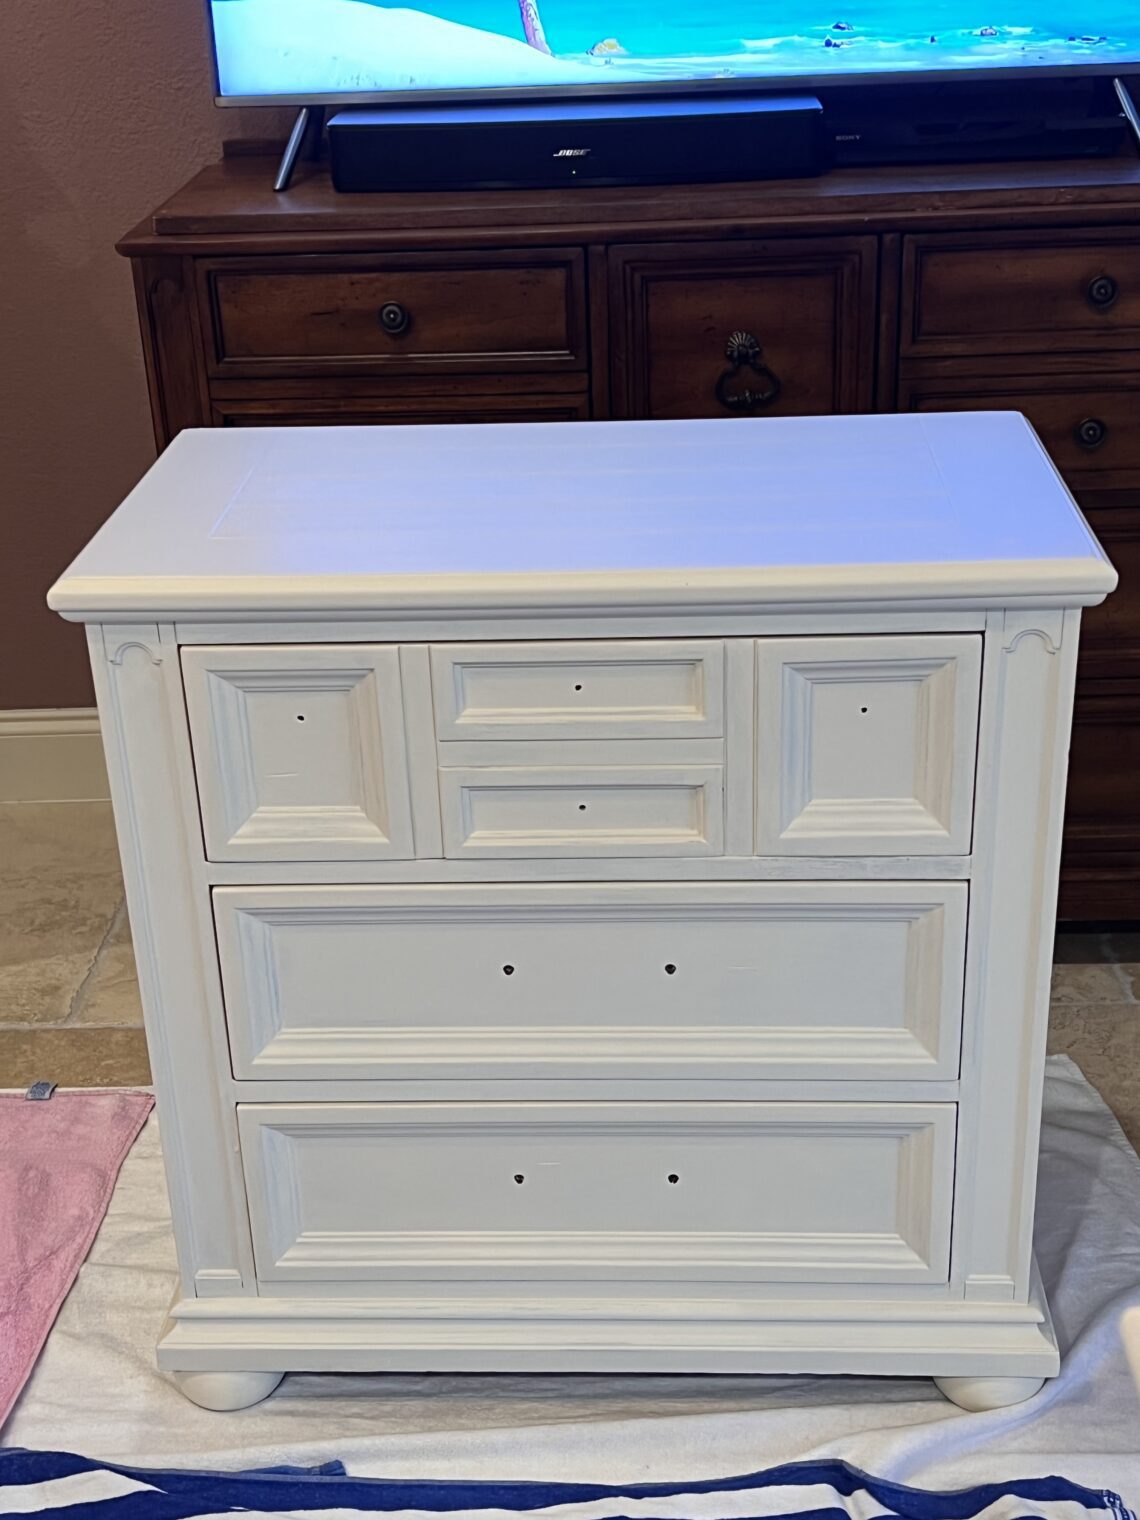
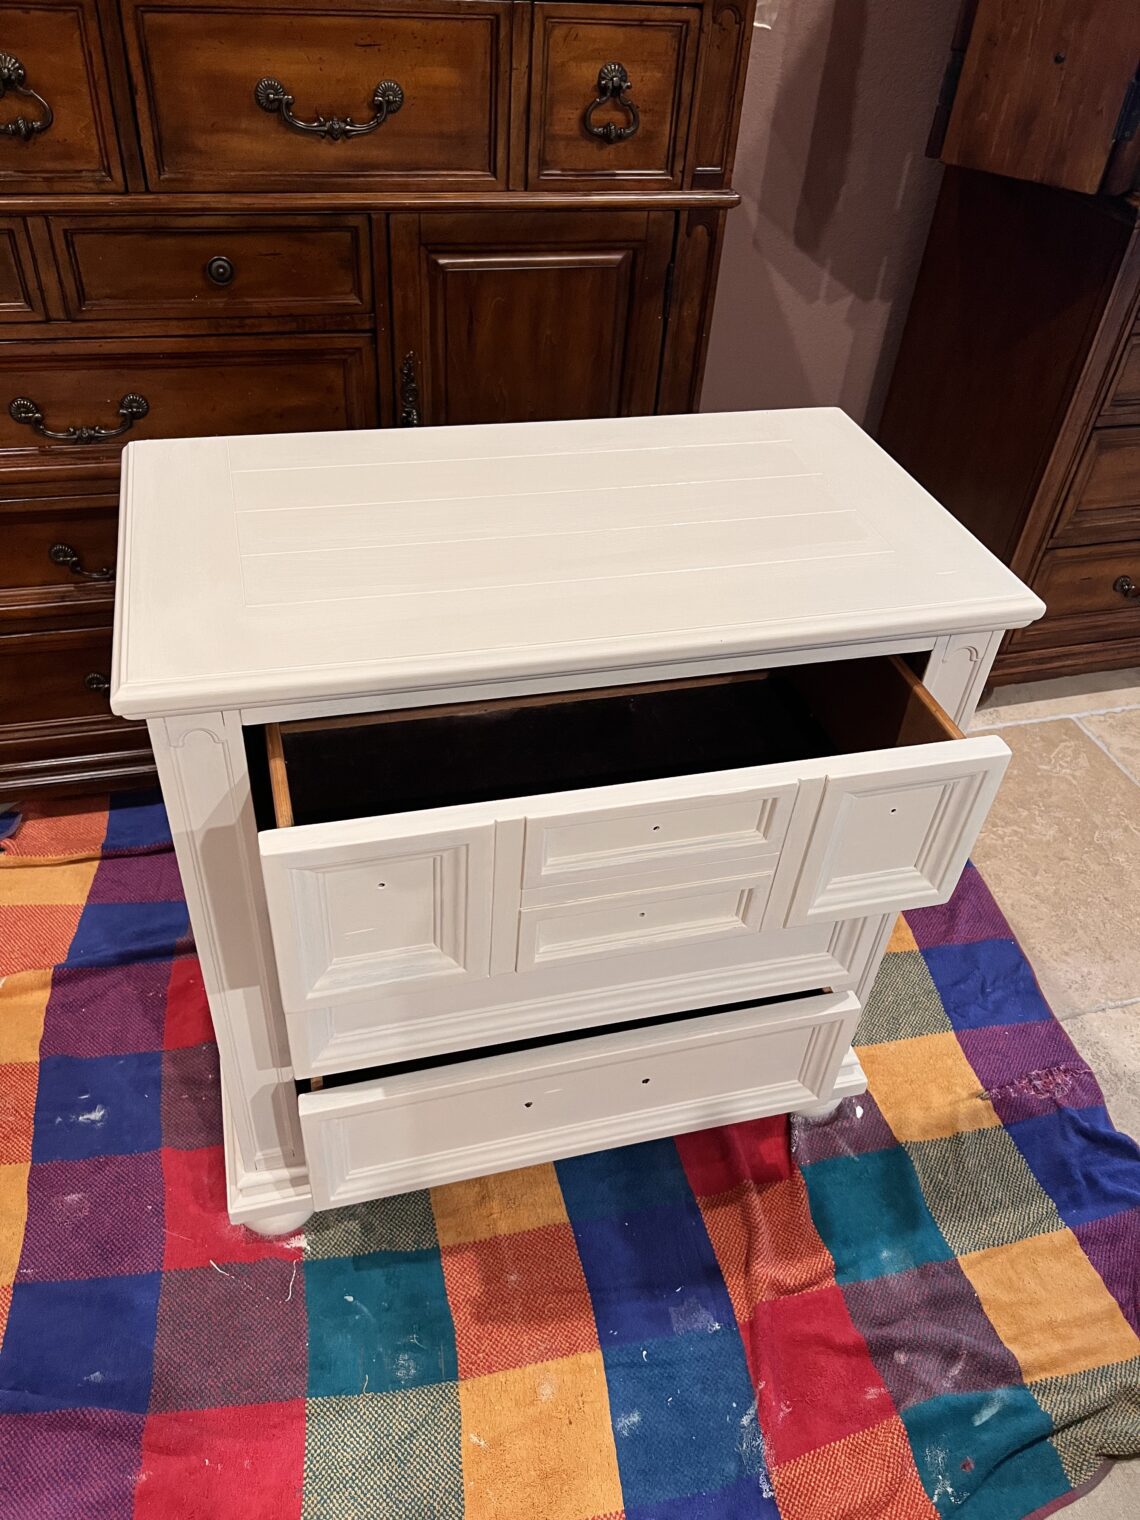
A few lessons I learned on this French country bedroom makeover…
- covering dark wood will take 2-3 coats (of this white color anyway).
- The sponge can get messy, so be careful. I ended up getting my drawers a bit messy (unintentionally of course), so then…the next step happened.
- I decided to “fix it” by decoupaging the drawer sides…
- then I decoupaged the inside of the drawers…See Episode 2 & Episode 3 for the Drawer Sides and Drawer Insides project.
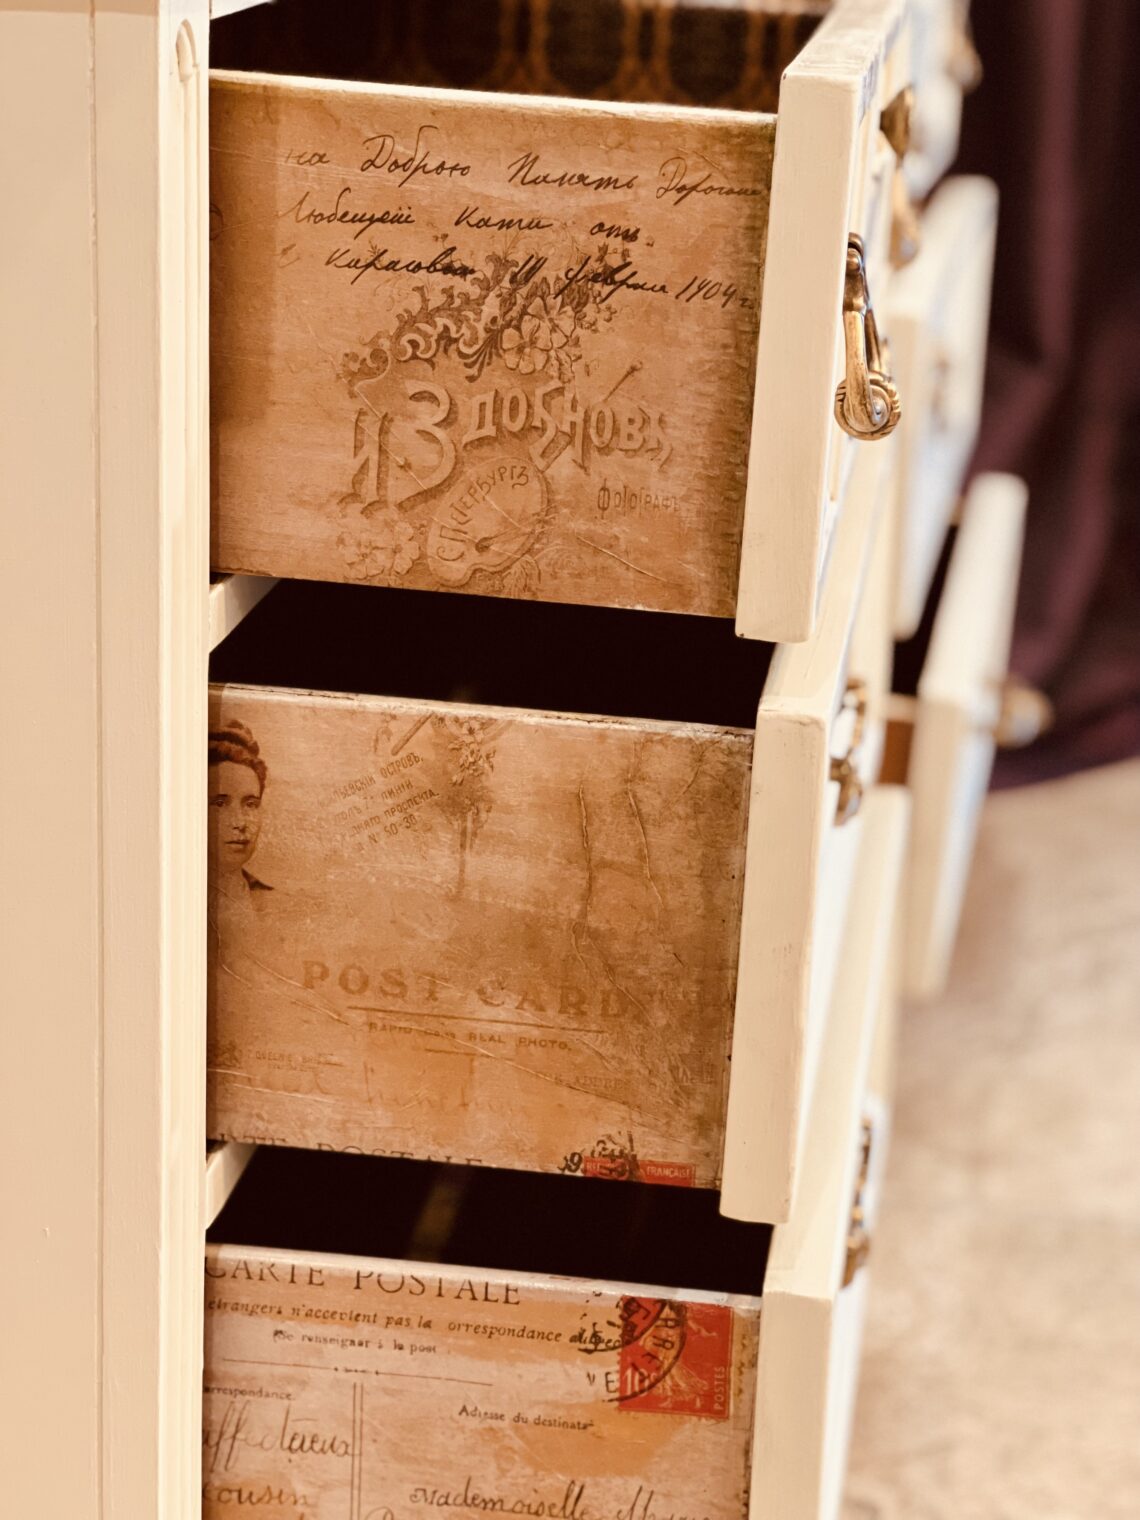
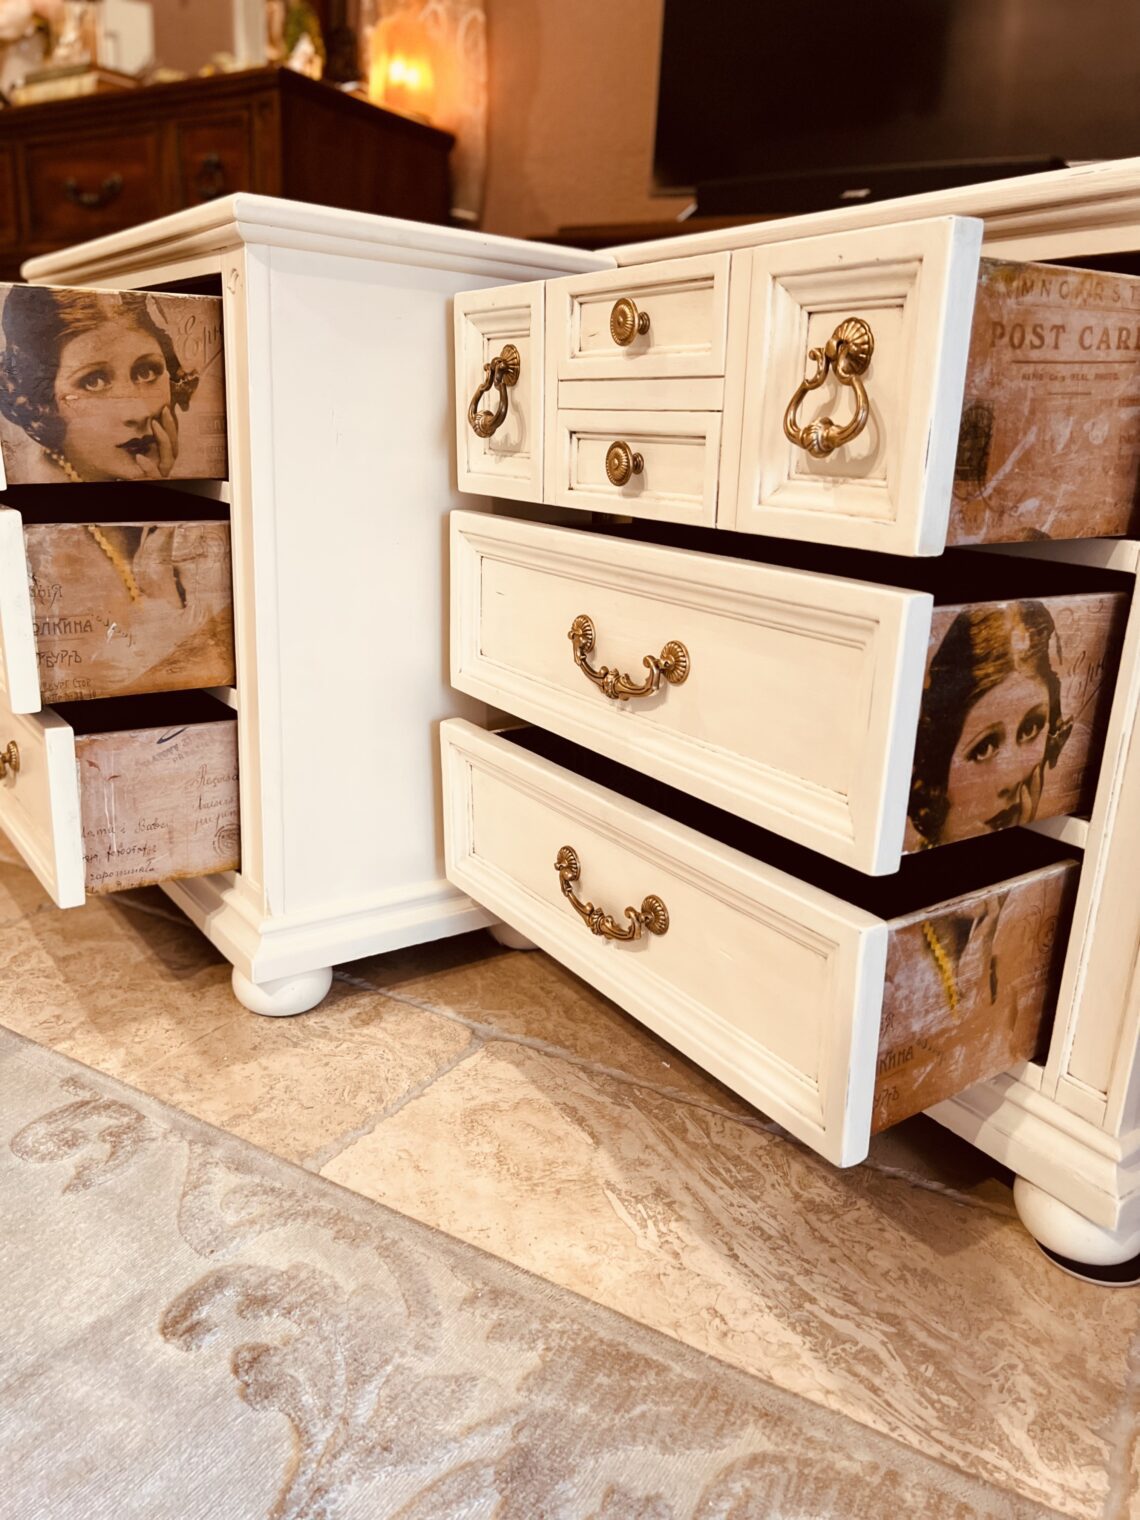
My French Country bedroom makeover project has really been a fun and creative process. I have learned a lot and as I see the addiction growing I am sure I have much to learn! 
Tip: Wash your tools and fast! I'm awful about this, but do it!
I hope you enjoyed the first Episode of the French Country Bedroom Makeover Series - the Nightstand Experiment! Subscribe and follow along as I makeover this 10 piece set...and turn it into 11 (the Armoire project coming next)!
UPDATE: The French country bedroom makeover project is just coming along so magically and I cannot wait to see how it comes out. I love how the vision has changed along the way...I cannot wait to see what I come up with next!
Check out ALL Episodes in this French Country Bedroom Makeover Series:
- The Nightstand Experiment
- Decoupaging the drawer sides
- Decoupaging inside drawers
- Hardware makeover – Getting a good Gilding!
- Painting the Wrought Iron Headboard & Footboard
- Dresser & Mirror with wrought iron
- Dresser – adding rub on furniture transfers
- Dresser – adding decoupage rice paper Artwork
- Creating a French Country Cozy Bedroom – bedding and décor
- Dress Form makeover (COMING SOON)
- Armoire: my success and failure (COMING SOON)
Save & share!
Until next time…
Keep smiling, improve every day, and build a life you love!
Yours Truly,
January Ember


You May Also Like
Creating a Cozy French Country Bedroom
July 21, 2022
Halloween Decor Ideas that are Elegant NOT Cheesy!
September 30, 2022