French Country Bedroom Makeover Episode 8 decoupage artwork
Welcome back for Episode 8 of the French country bedroom makeover series! I'd like to share with you how I added rice paper decoupage artwork to the dresser doors for the dresser makeover stage of this process.
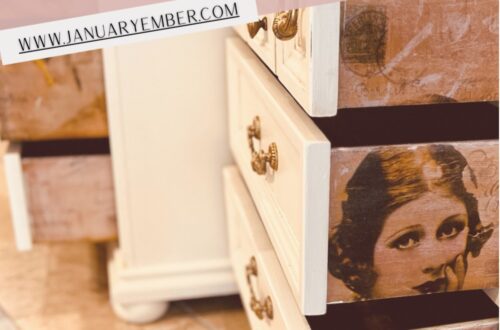
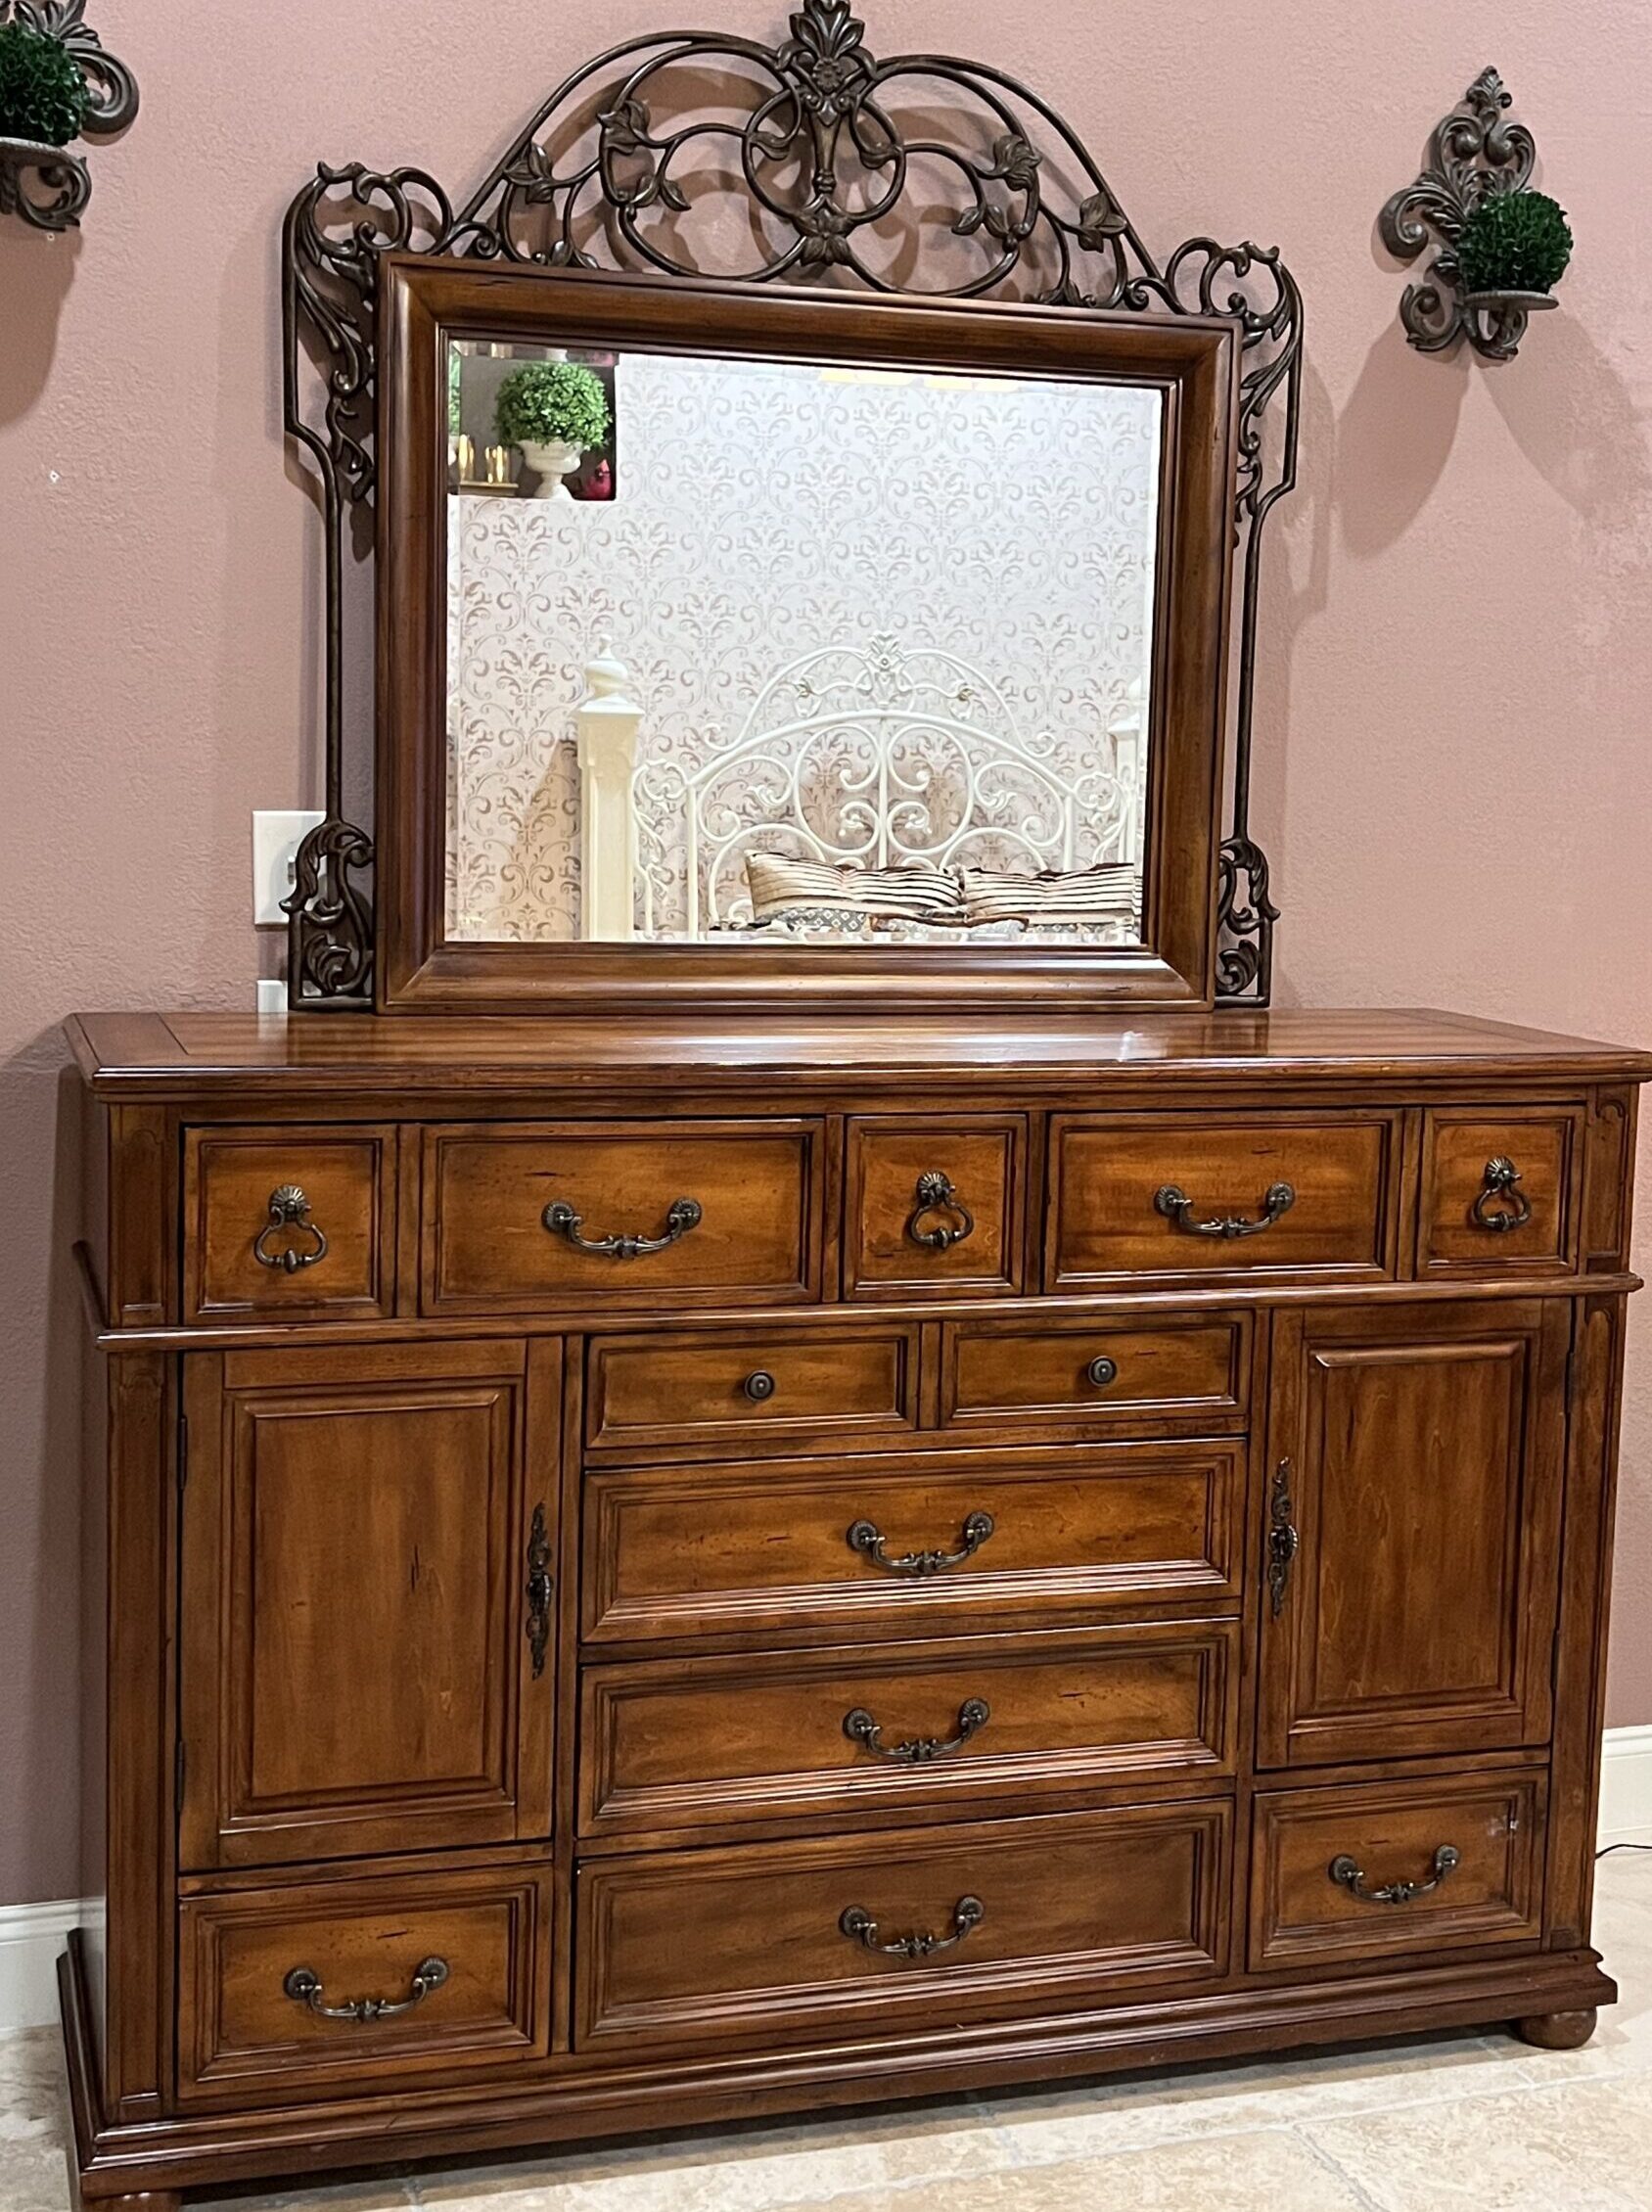
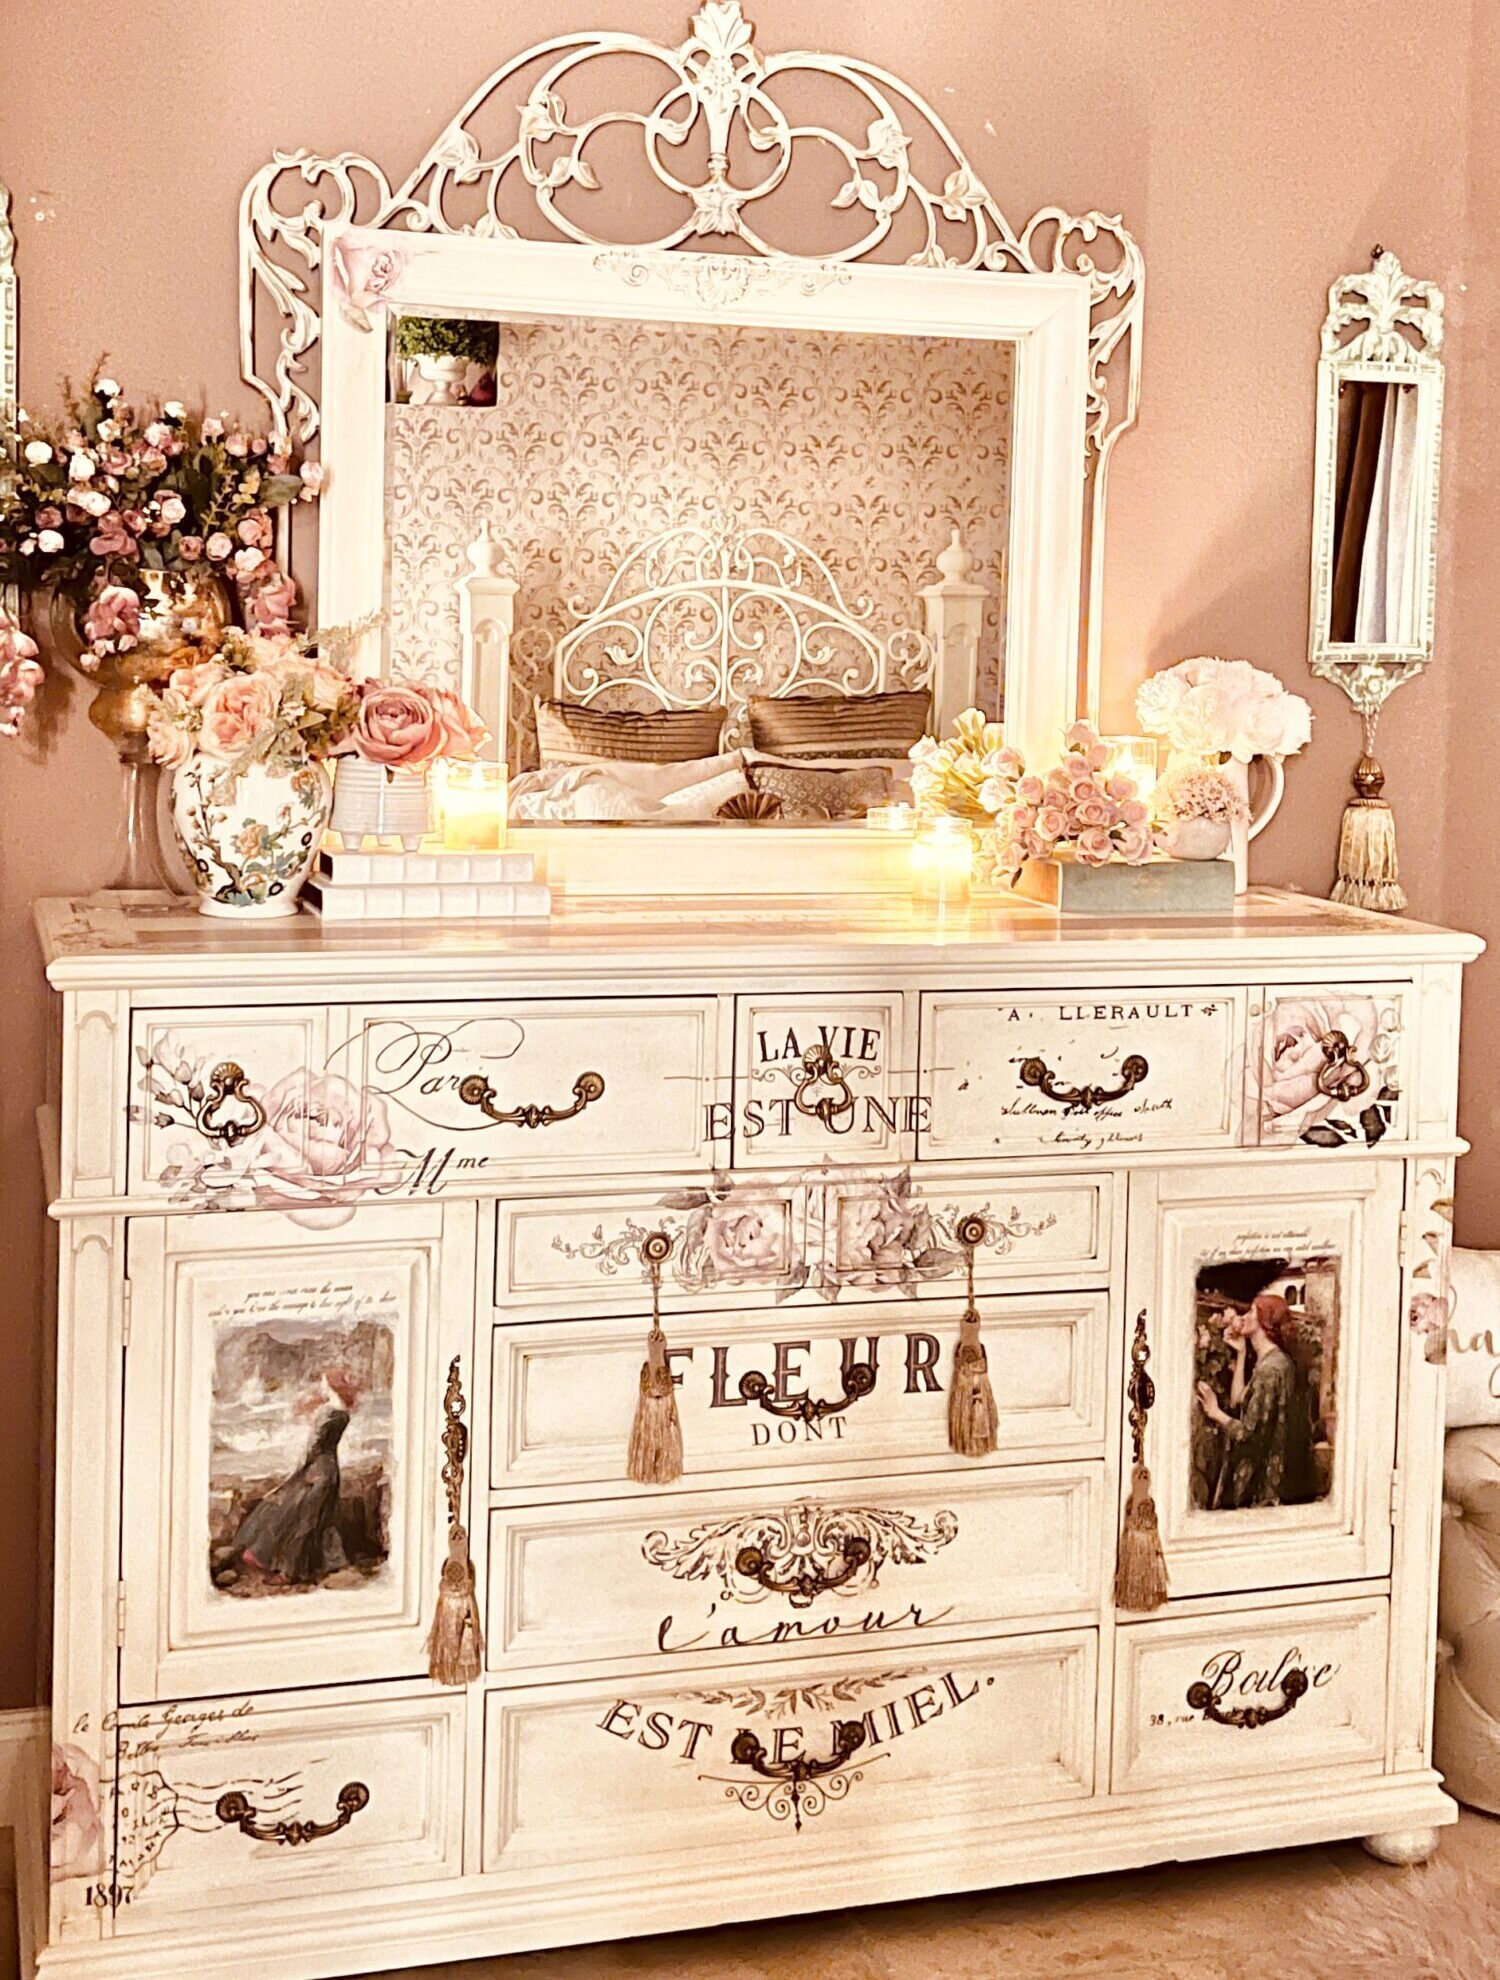
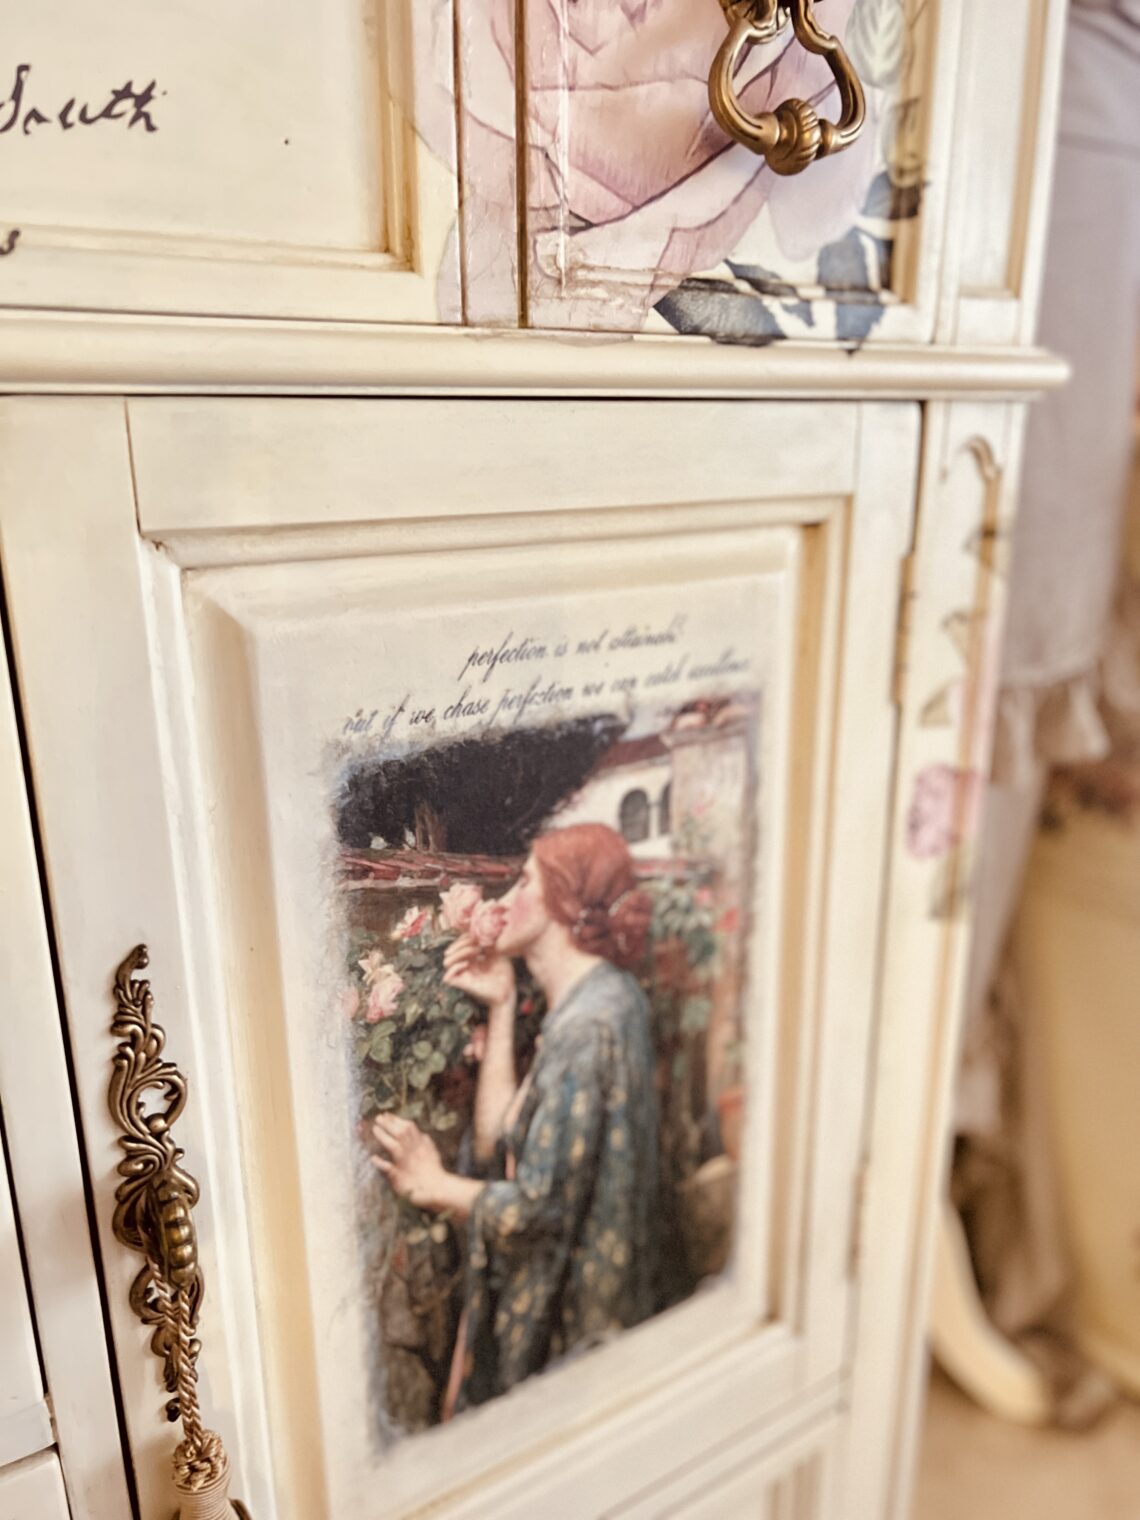
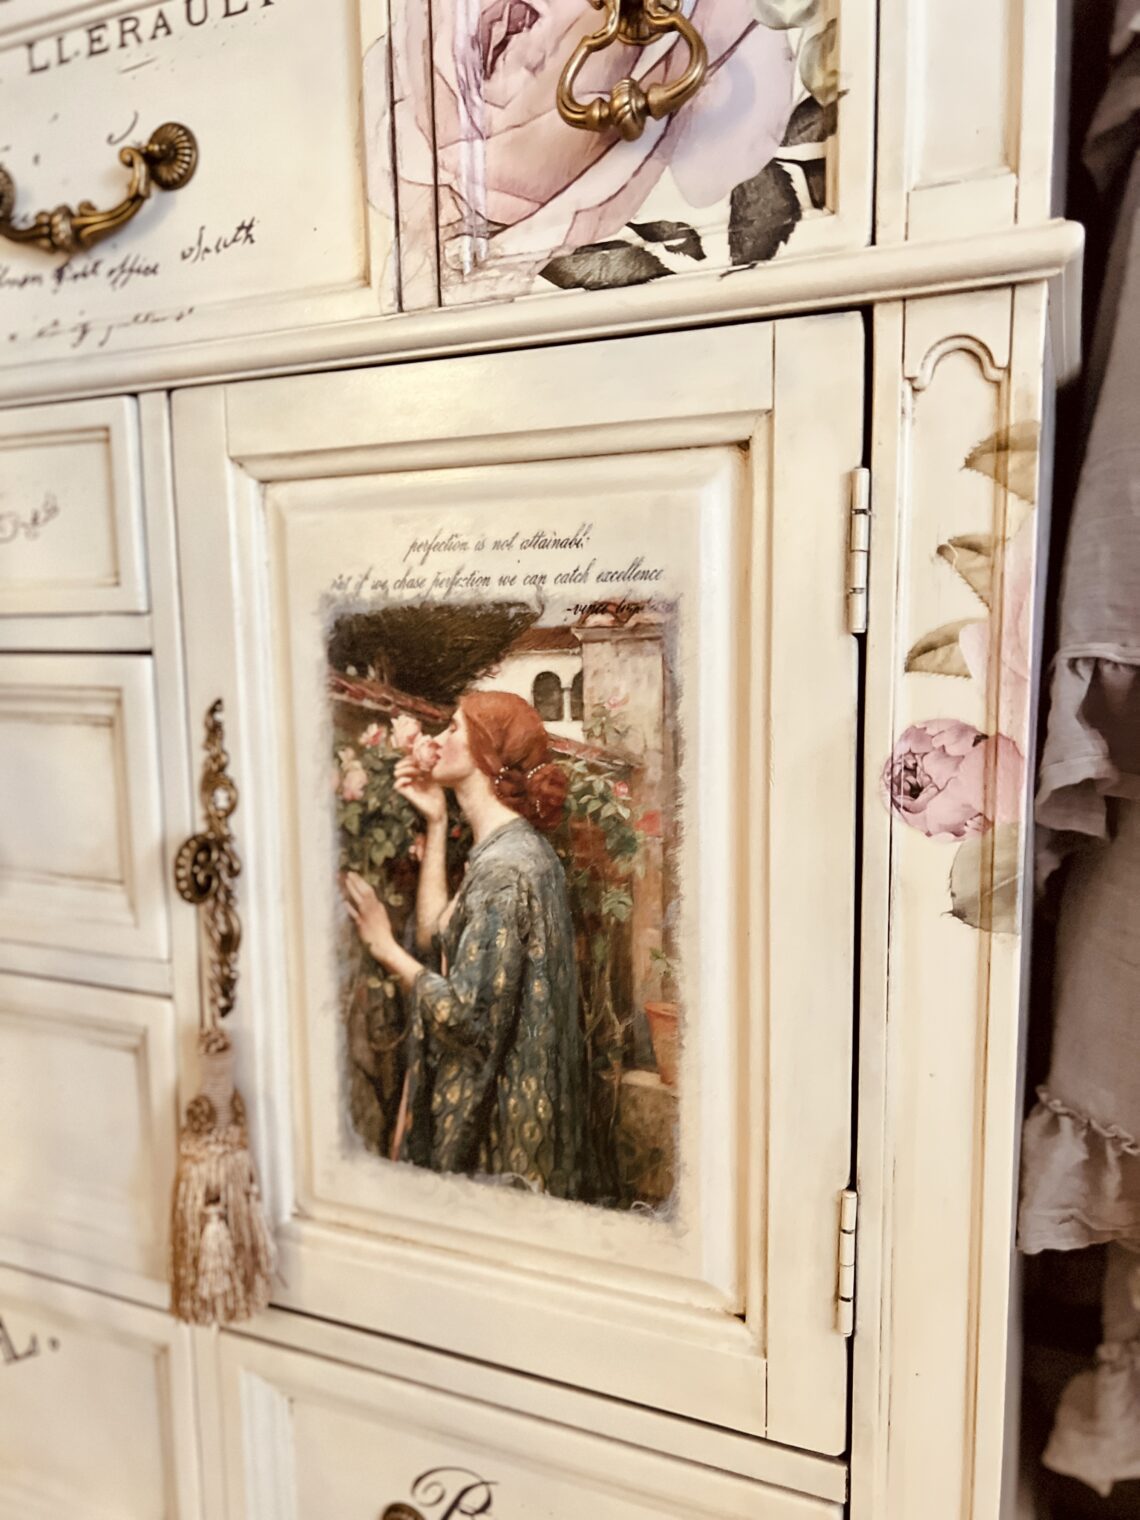
The dresser makeover part of this project really stepped up the game and took the makeover to a new level. After the white paint job, I added the rice paper art prints to the dresser doors with Mod Podge, ala decoupage! This was the easiest part of the entire makeover!
I love to see Before and After photos, and I am just blown away by my own pictures! I hope you enjoy seeing this astonishing transformation!
Like many of my fellow Pinterest lovers, I have become obsessed with these lovely furniture rub on transfers. I got some and used them for crafts back in March.
Lately I have been seeing many awesome ideas on Pinterest using the rub on transfers and I decided I would definitely be adding some to the dresser. Take a look at Episode 6 – adding rub on transfers, to see more on that stage of the dresser makeover process.
Stage one was painting the dresser, Episode 4 shows the details for that step. After the paint job, my next step was deciding what to add to the dresser doors. Based on my research I knew I wanted to add the rub on transfers down the middle of the dresser, I had that ‘French La Vie…’ one in mind.
I had recently purchased some rice paper artwork, 2 different ones, each a Renaissance redhead (one which looks surprisingly like me). I got these thinking that I would put them on a canvas. I figured I’d use them one way or the other.
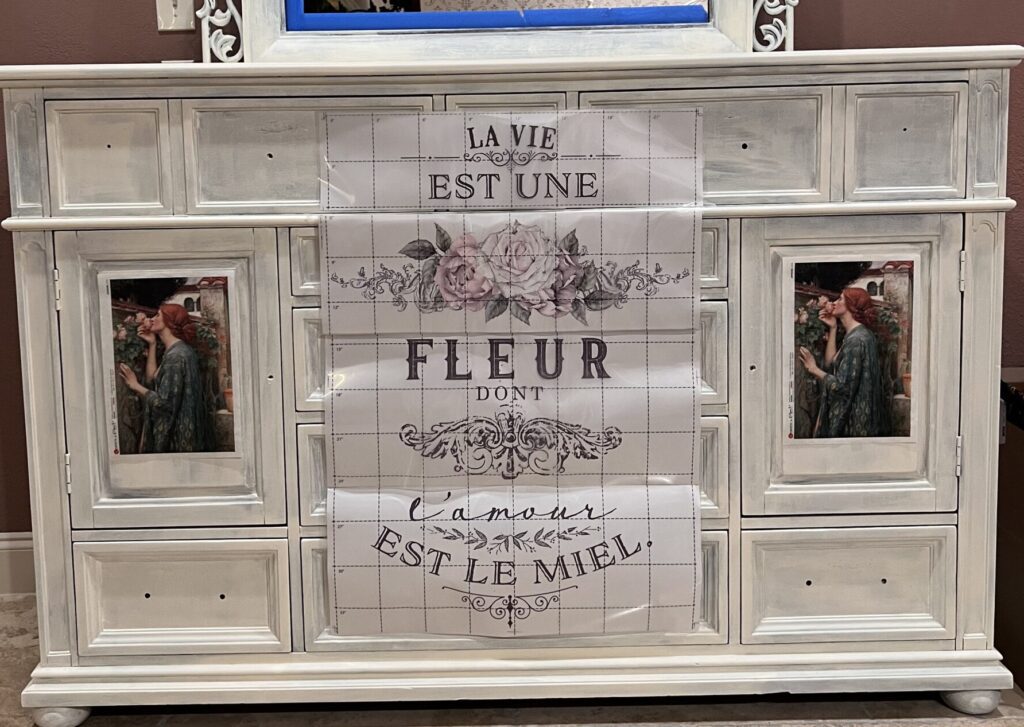
After I saw these laying on my craft table in the garage, I had a feeling they might be the perfect size for the dresser doors. Each of these came with a pack of 2 each, so I had 2 designs and 2 of each design.
I brought them to my room, got some scotch tape, and held it up to the door…perfect fit inside the door panel! I said ok, this is meant to be!
The next question was…do I do both doors the same (since I have 2 of each) or do I do one on each side? I taped them up in different ways and then I stewed it over it until the next day. I was pretty sure I knew I was going to go with one of each.
I took the vote to my Coffee Mom Club and they agreed with me, a different one on each side! That was it. I grabbed some Mod Podge, a plastic plate, a foam brush, a paint brush, and I was ready!
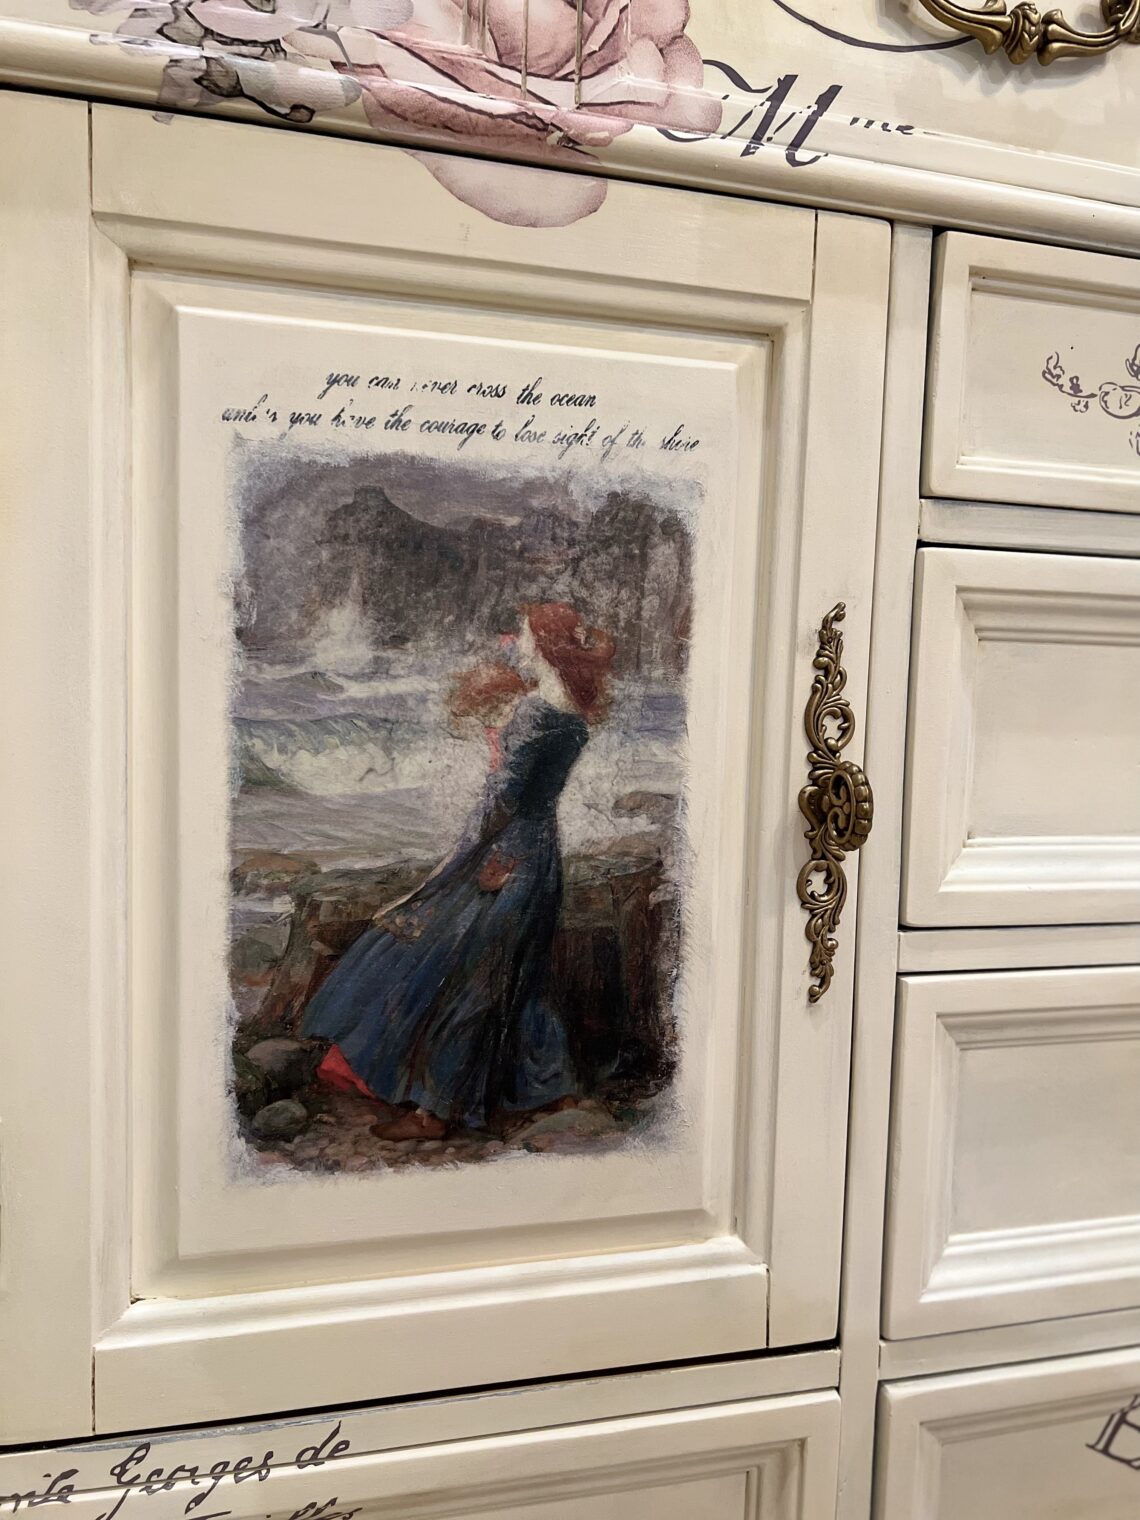
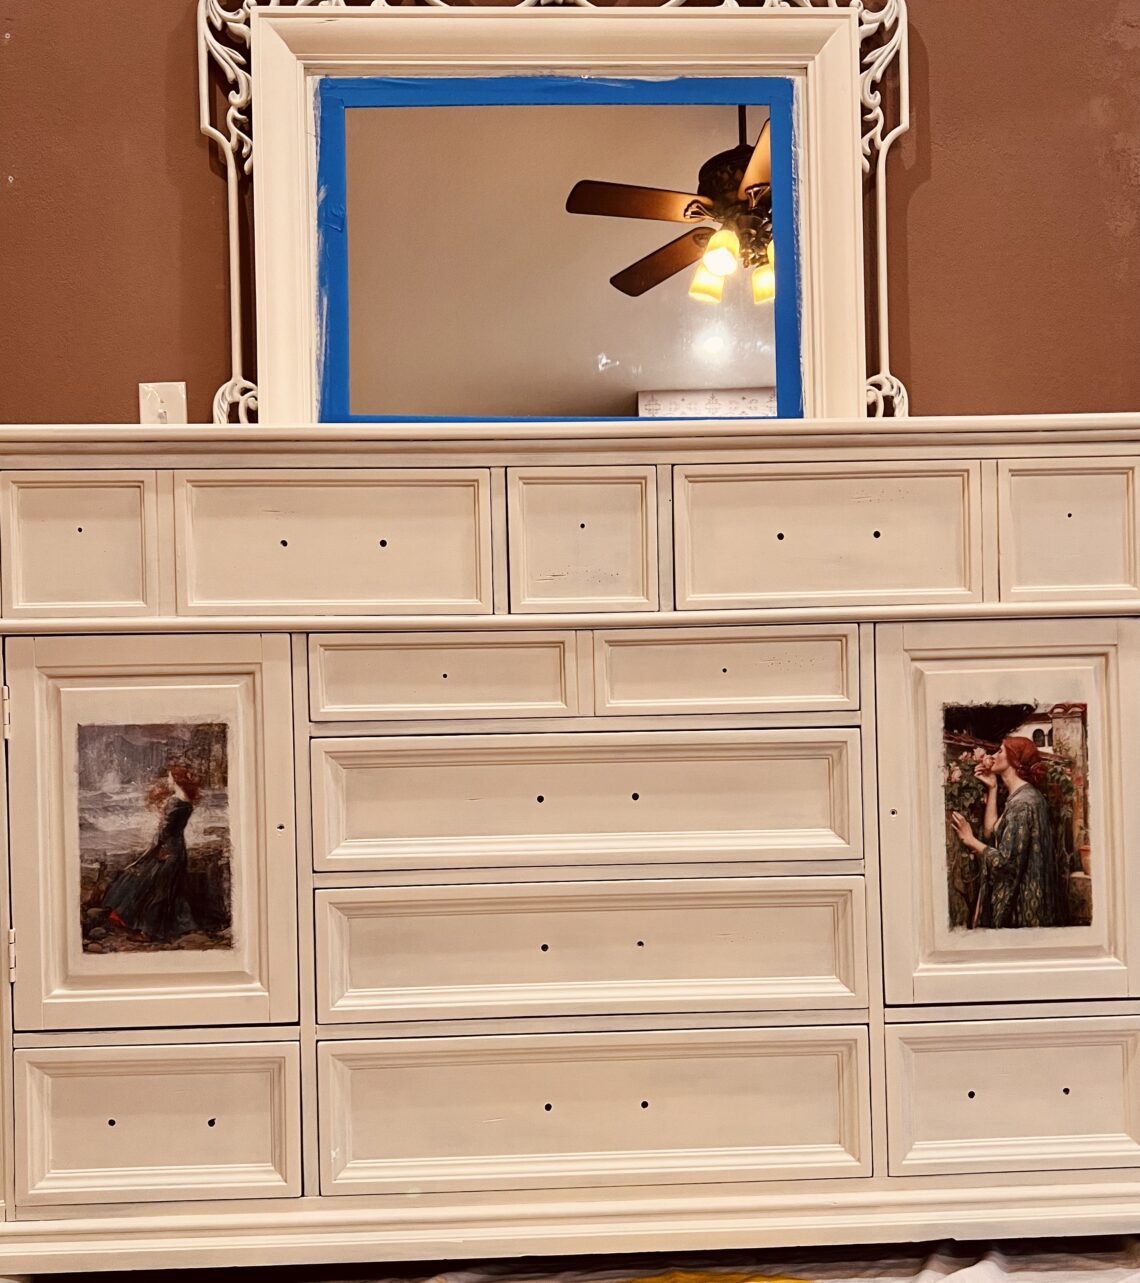
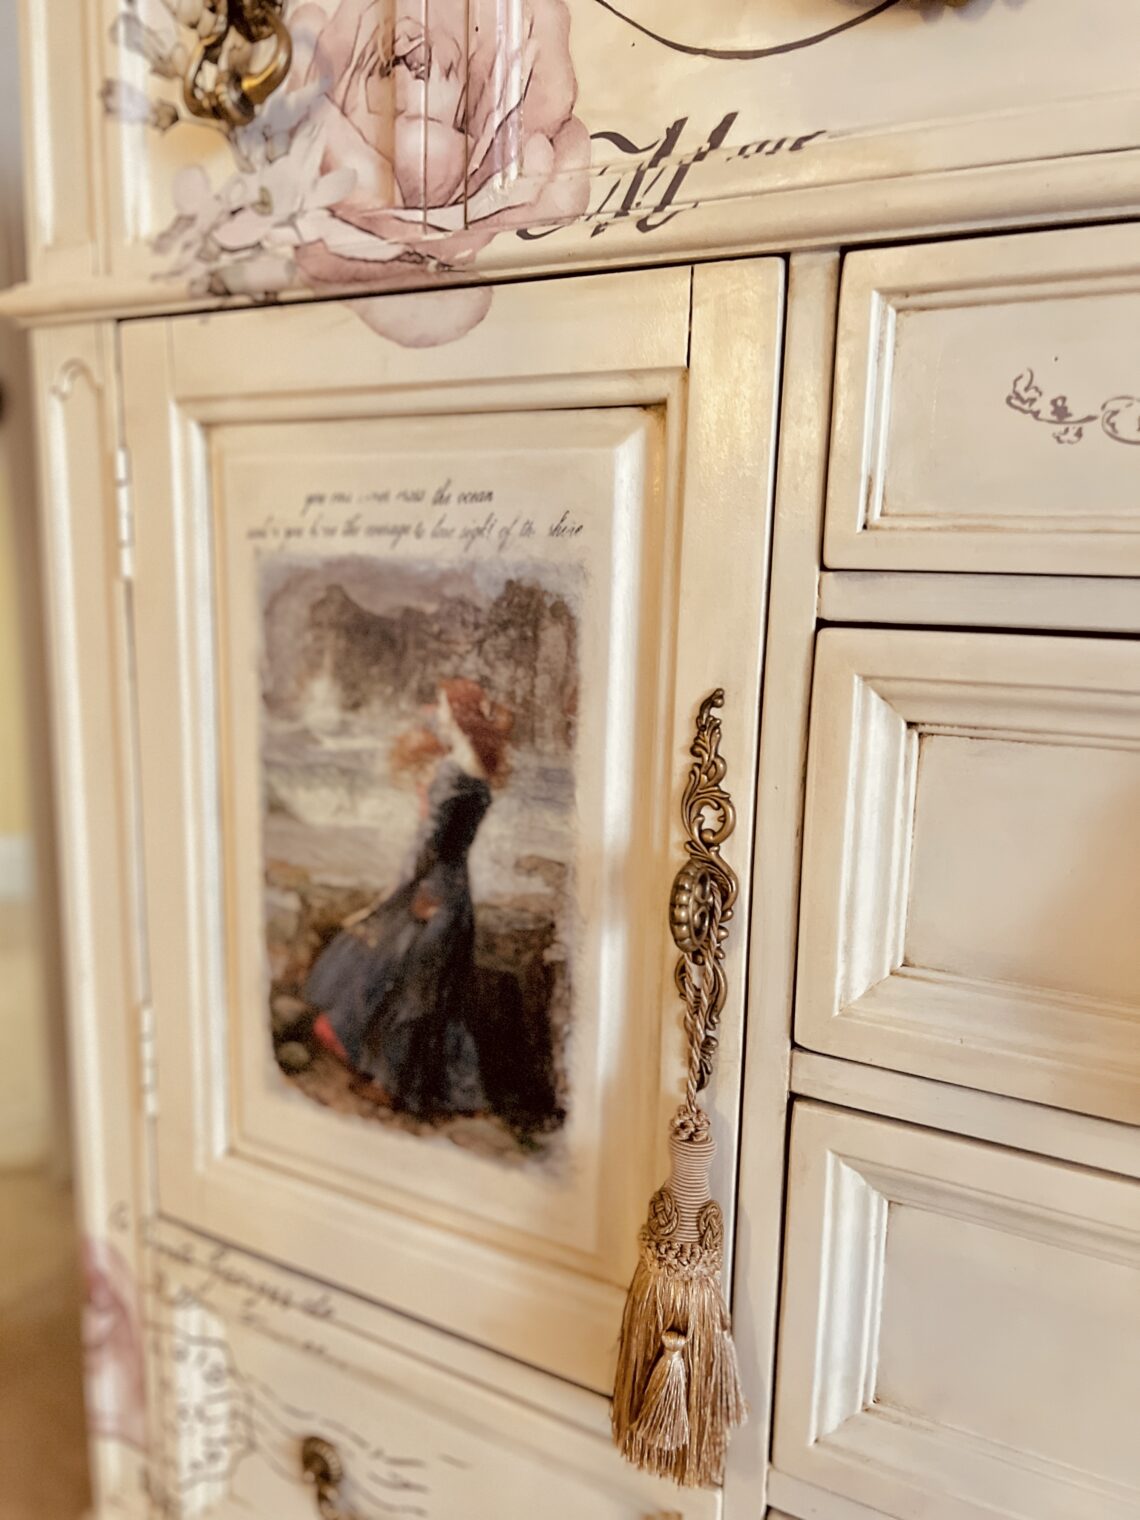
The artwork comes with a white “edge” around the rice paper painting. In lieu of cutting it off, I tore off the white edge so the edges would have a frayed look and I could paint and blend around them on the door.
Using Mod Podge is very easy! I painted a thin layer onto the door panel with the foam brush, and a thin layer onto the back of the rice paper artwork. Line it up, smooth it out. After it is all smooth I add a final layer of Mod Podge on top to seal it.
Stepping back again, admiring the art pieces on the doors and the French transfer down the middle of the dresser, I realized I still needed something either around the art, or above it. It just looked a bit, empty.
Back to the garage workshop I went and I ended up looking through the “quotes” that were in the “never ending story rub on transfer” set. I found one that matched the ocean picture perfectly, and luckily, cutting it to size, it worked perfectly! The next quote was just so, me, and it just felt like it went with the whimsical redhead stopping to smell the roses. Perfectly perfect even in their own imperfection! A rose by any other name…
Tip - Apply a THIN layer of Mod Podge
TIP: Be careful unrolling rub on transfers. One of mine stuck to another and then it got ruined…there is no fixing it if it sticks to something it shouldn’t.
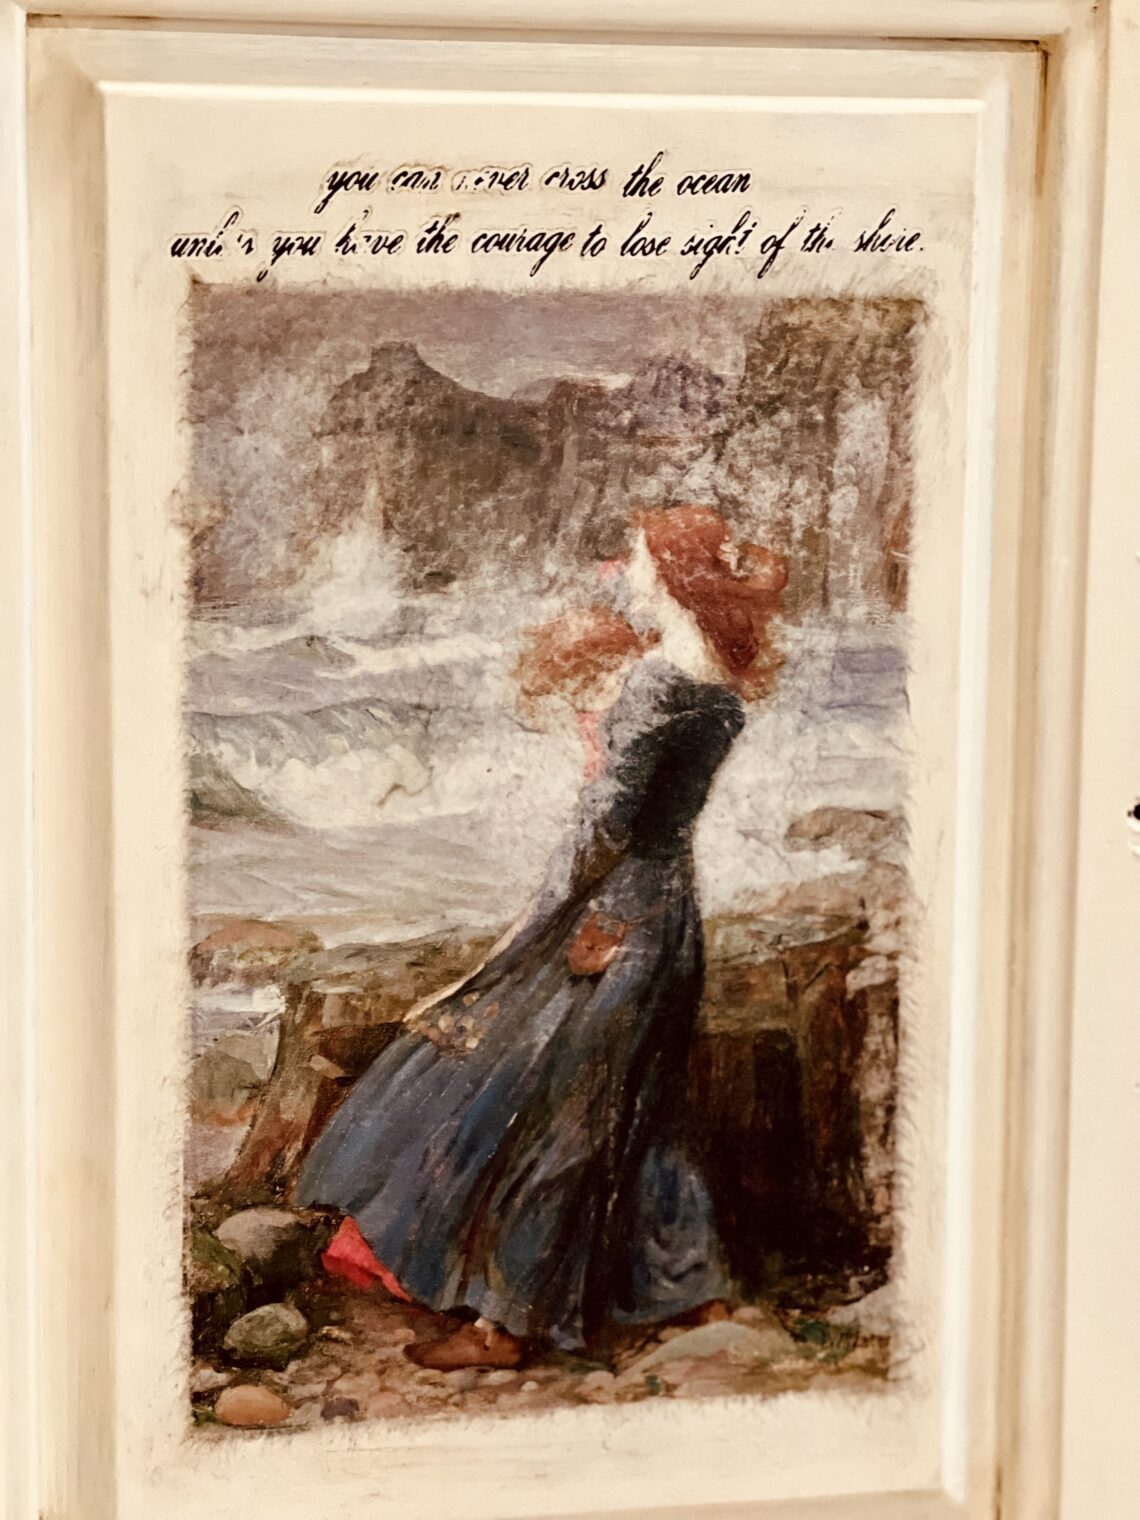
For the quotes I cut out pieces of the rub on transfer and lined them up over the top of each painting. Then I used my rub on tool to add them just above the artwork on each door.
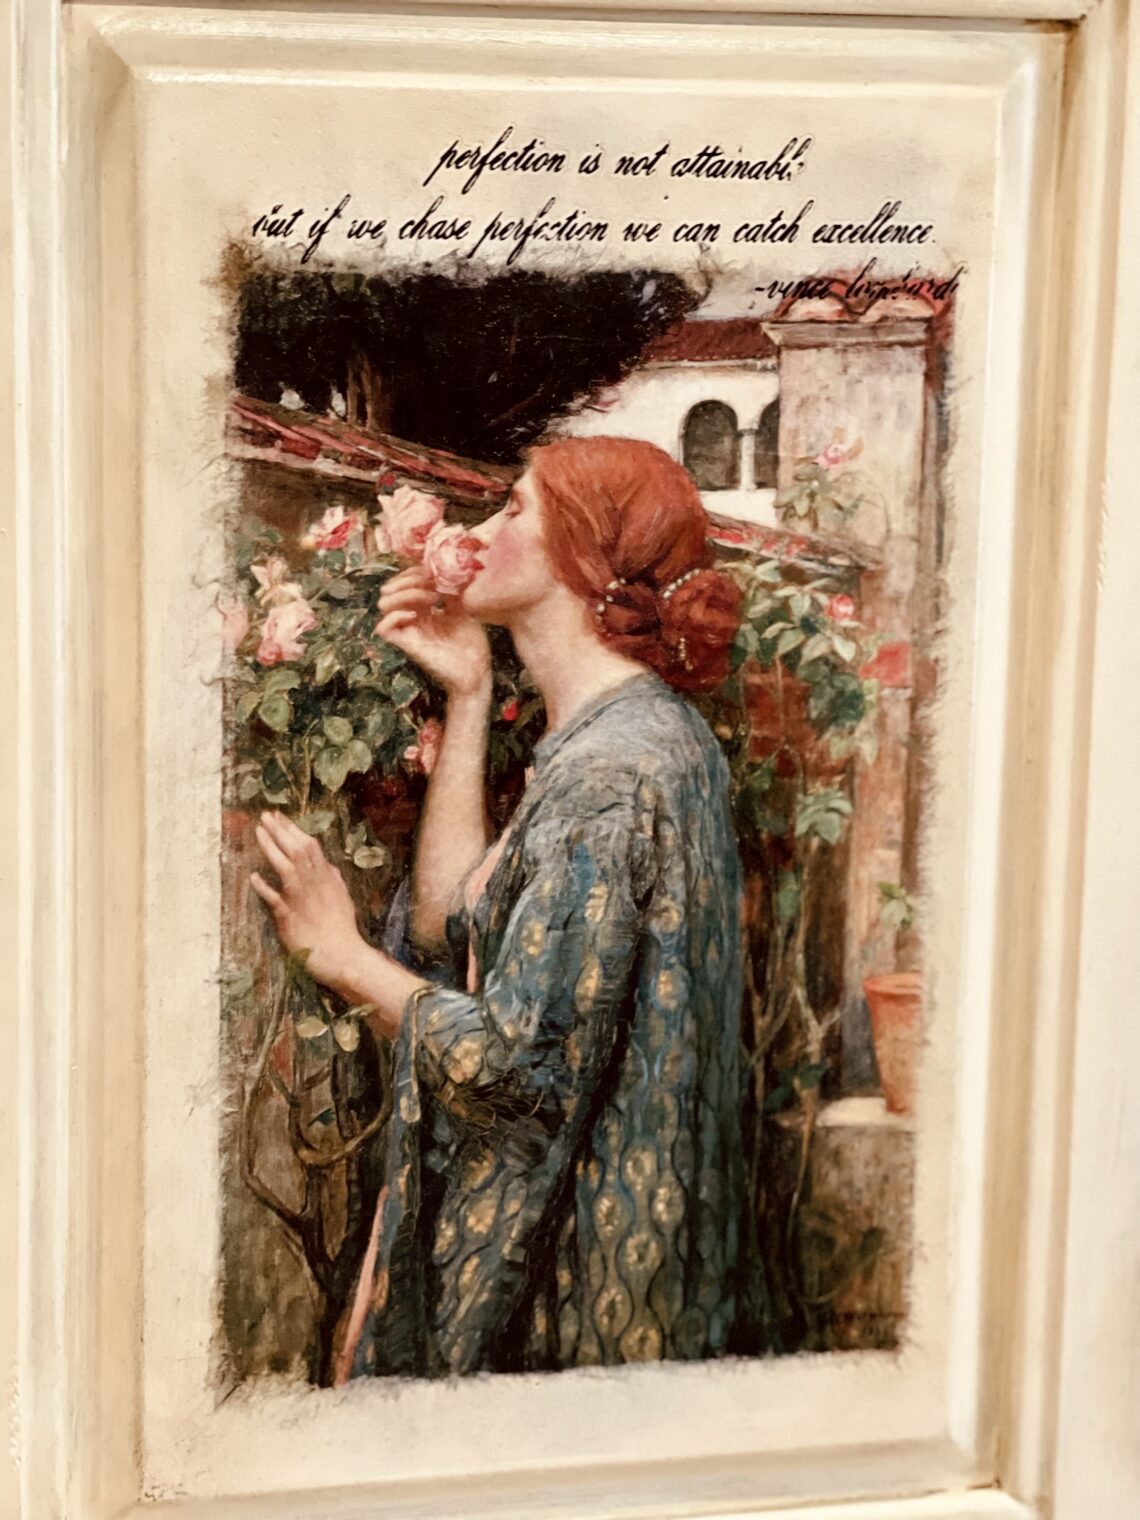
You need to plan your design and keep in mind where drawers meet, and doors open, etc. Take my advice here, I did not plan my armoire as well as I liked and then I had to try to “fix it”.
It is not easy to “fix”, so plan first, align with tape before you attach it, cut to size to make it easier to line up and center.
Lesson learned…once the rub on transfers are on there…they are staying on there! Always finish with a protective top coat.

If you have never tried using these rub on transfers or Mod Podge, I suggest practicing first! Use something that will still be cute even if you mess up.
I like to get wood slice coasters, and wood slices for art crafts and use those for practice. You can also look for cute little wood serving boards like the ones I got from Target (2 pack for $5). If you mess it up, no big deal! But as you can see, it was not hard and they came out amazing!
This year I made some beautiful wood slice coasters and décor using a ‘Eucalyptus Dreams’ rub on transfer. I LOVED IT! This was great for practice, and it made something really lovely too! Take a look at my post on 7 Easy Neutral Spring Décor Ideas that are Charming and Elegant.
- Unroll the rub on transfers carefully
- Lay transfer sheets out so they can flatten
- Make a plan for your design before you start adding it anywhere
- Use painters tape to attach to get an idea how it will look
- Cut pieces into smaller sections, it makes it easier to apply in difficult areas
- Use the specialty tool for edges and grooves.
- Cut between drawer and door openings, then rub down edges.
- Seal with a topcoat
TIP: Get Disposable Gloves - when using Mod Podge, it will ruin a manicure and fake nails - use gloves! Trust me!
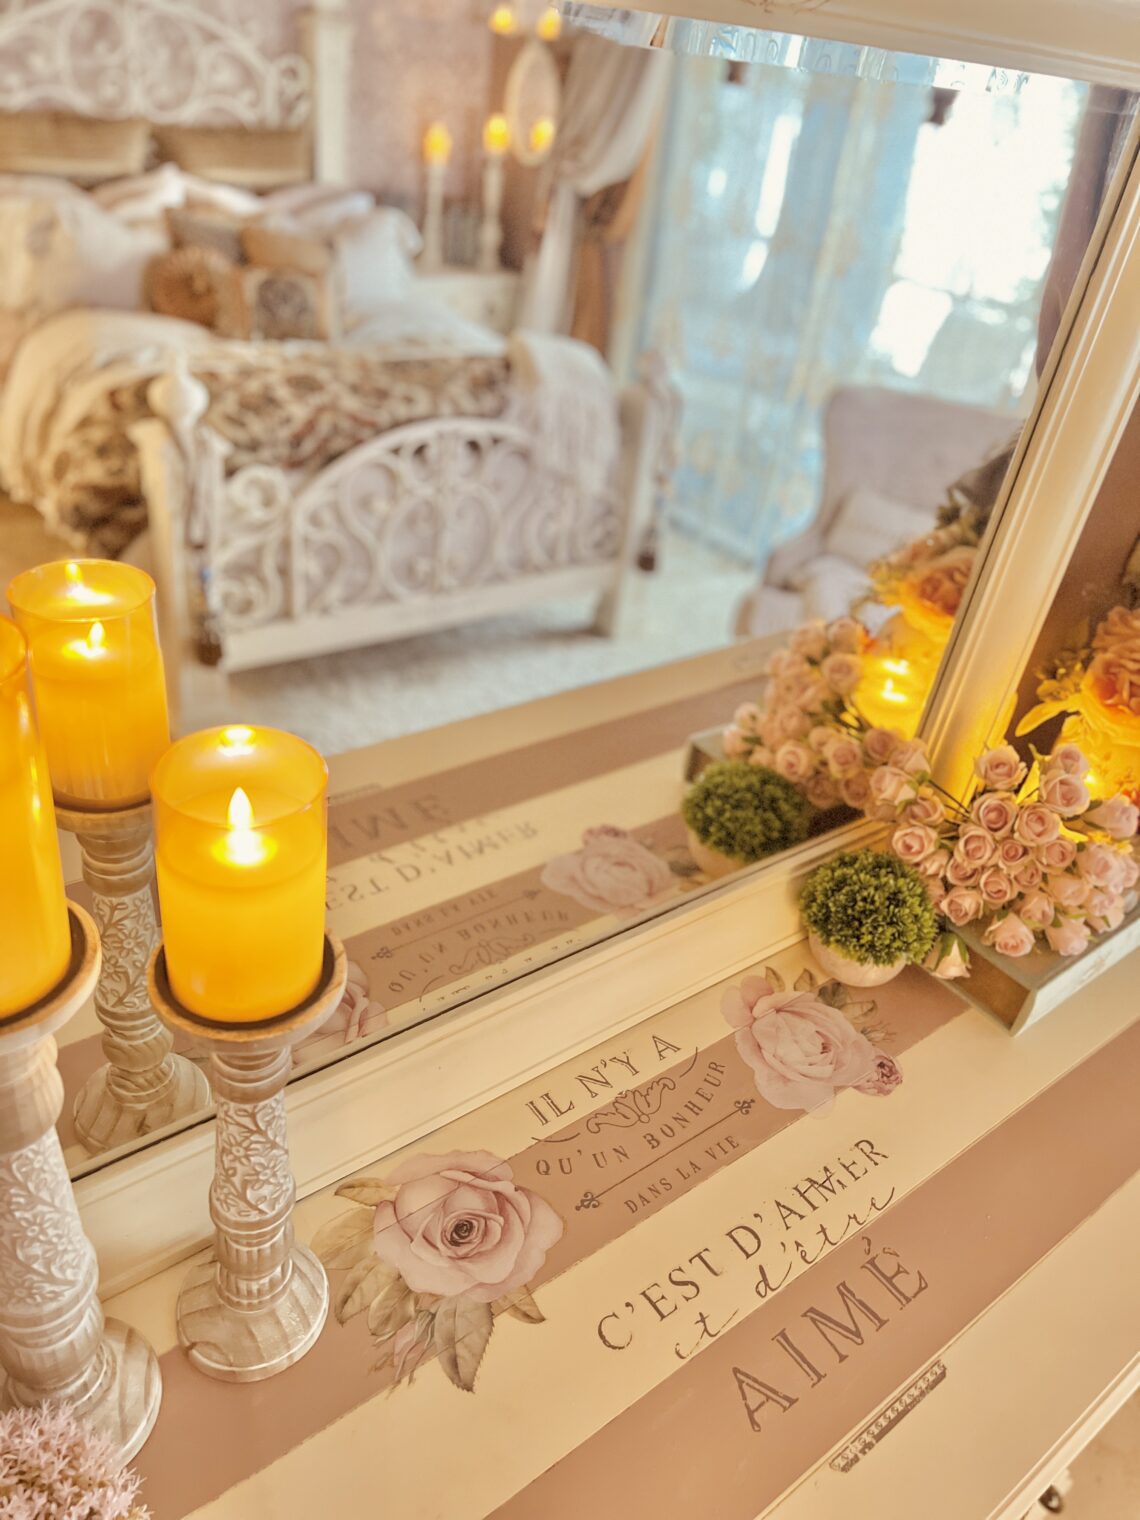
TIP: Get the special rub on tool to get into the grooves on drawers
Tip: Seal with a topcoat or clear wax
Check out ALL Episodes in this French Country Bedroom Makeover Series:
- The Nightstand Experiment
- Decoupaging the drawer sides
- Decoupaging inside drawers
- Hardware makeover – Getting a good Gilding!
- Painting the Wrought Iron Headboard & Footboard
- Dresser & Mirror with wrought iron
- Dresser – adding rub on furniture transfers
- Dresser – adding decoupage rice paper Artwork
- Creating a French Country Cozy Bedroom – bedding and décor
- Dress Form makeover (COMING SOON)
- Armoire: my success and failure (COMING SOON)
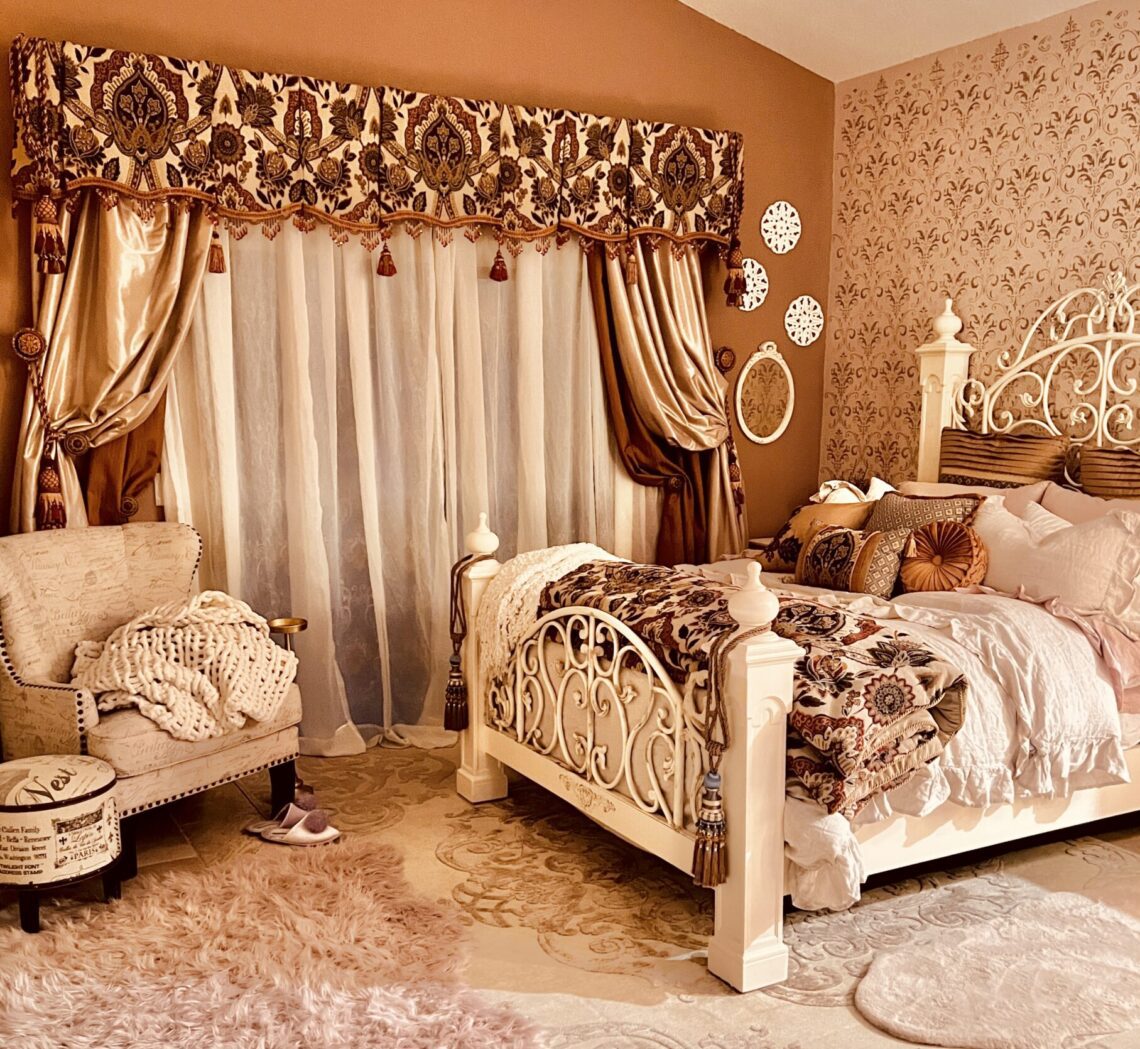
When I think French bedding I think about soft linens, white and neutral linen colors, ruffles, soft, comforting, inviting…
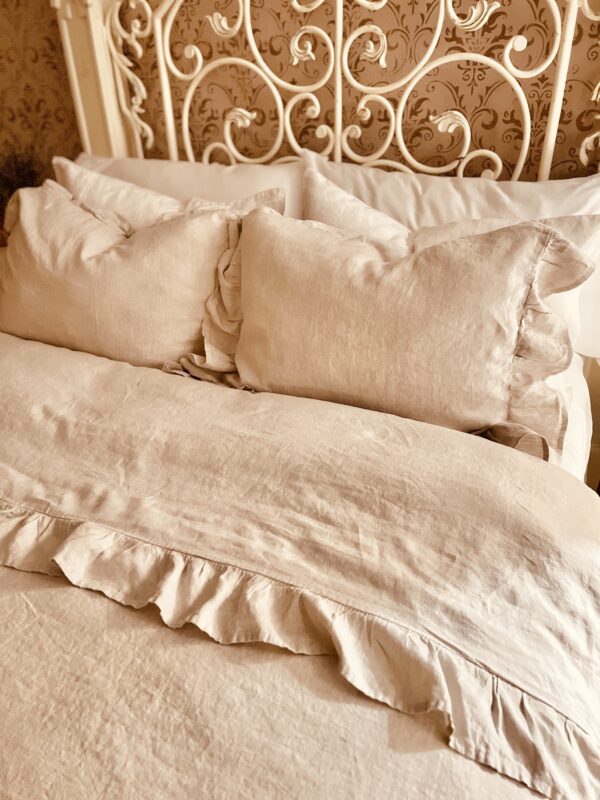
This set of white linen sheets I bought are quite lovely! Yes, they need ironed, unless you have some miracle I haven’t found with linen. They are very soft! Feels like your favorite pair of linen pants! I know pictures can’t show you how SOFT something is, so check out my Idea pins to see videos of the “squishy-ness” of the bed!
Here are the French bedding finds I have on my bed right now. I just ordered the floral sheets, so once I get them I’ll give you an update with those pics! I love the ruffle sheets, they have a really nice piped edge on the fitted sheet too! Very nice!
These linens really helped create that soft French country feeling!
At this point I have not ironed the linens, so everything you see in the pictures so far show the linens simply washed and dried!
Save & share!
Until next time…
Keep smiling, improve every day, and build a life you love!
Yours Truly,
January Ember
Question or comment? I'd love to hear from you! Drop me a line and Subscribe for updates!


You May Also Like

French Country Bedroom Makeover Ep 4 gilding hardware
June 6, 2022
French Country Bedroom Makeover Series: Episode 1 – Brightening Nightstand Experiment
May 18, 2022