French Country Bedroom Makeover Ep 4 gilding hardware
Hey guys! Welcome back for Episode 4 of my French country bedroom makeover!
Here I'm going to show you how easy it is to completely transform your hardware using gilding wax!
$20-20 minute transformation!
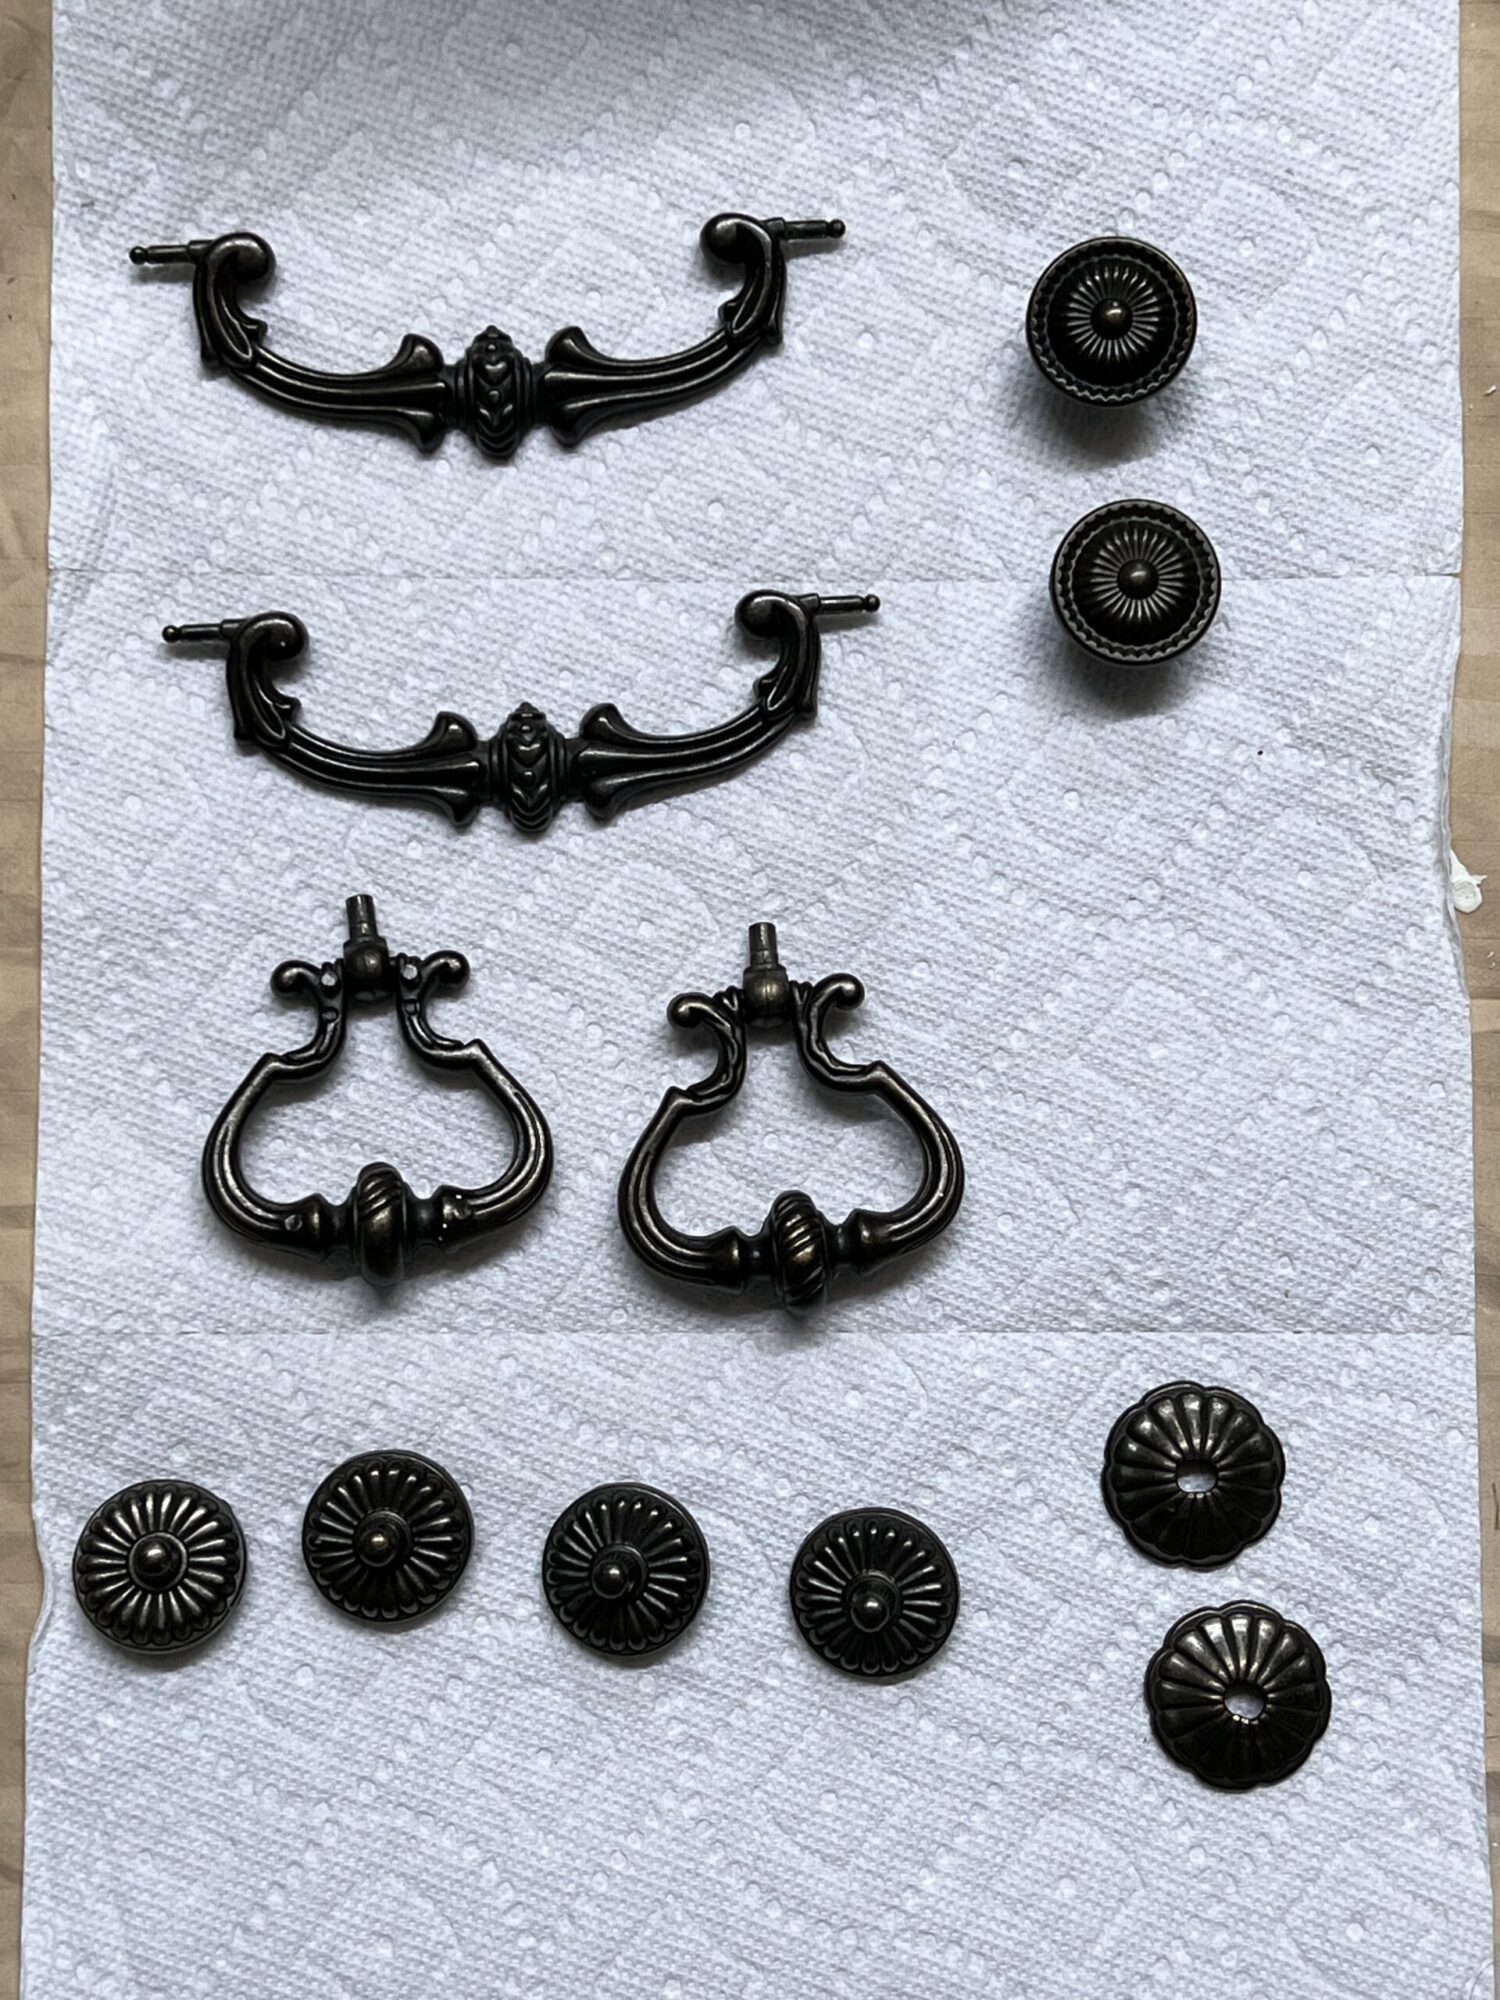
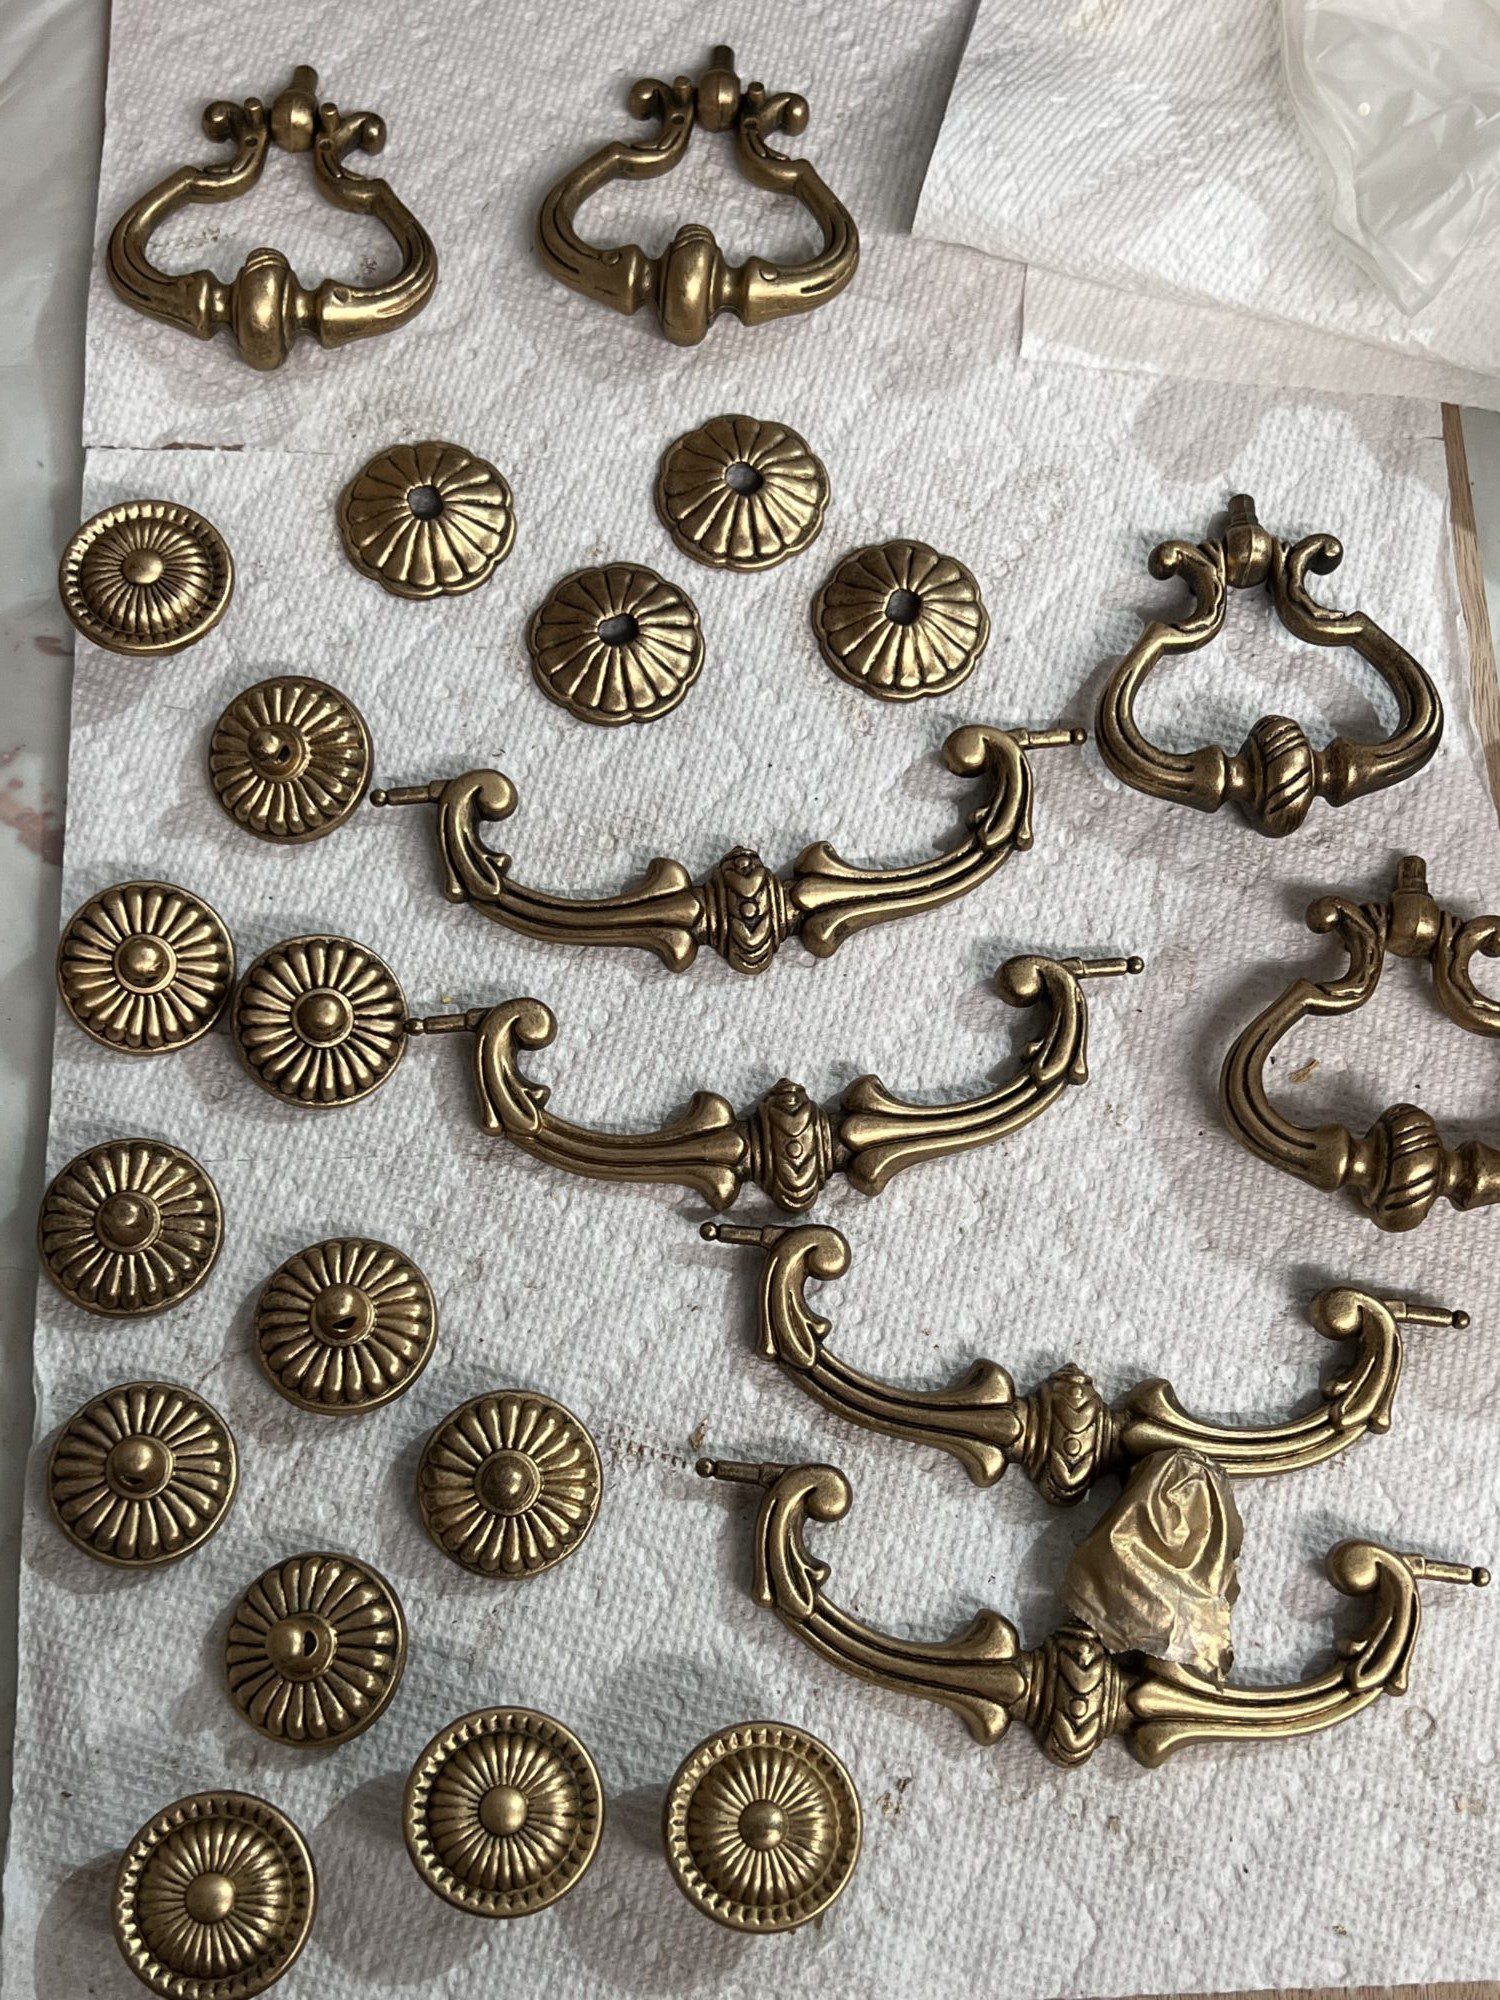
This process is so easy my 9 year old started helping me!
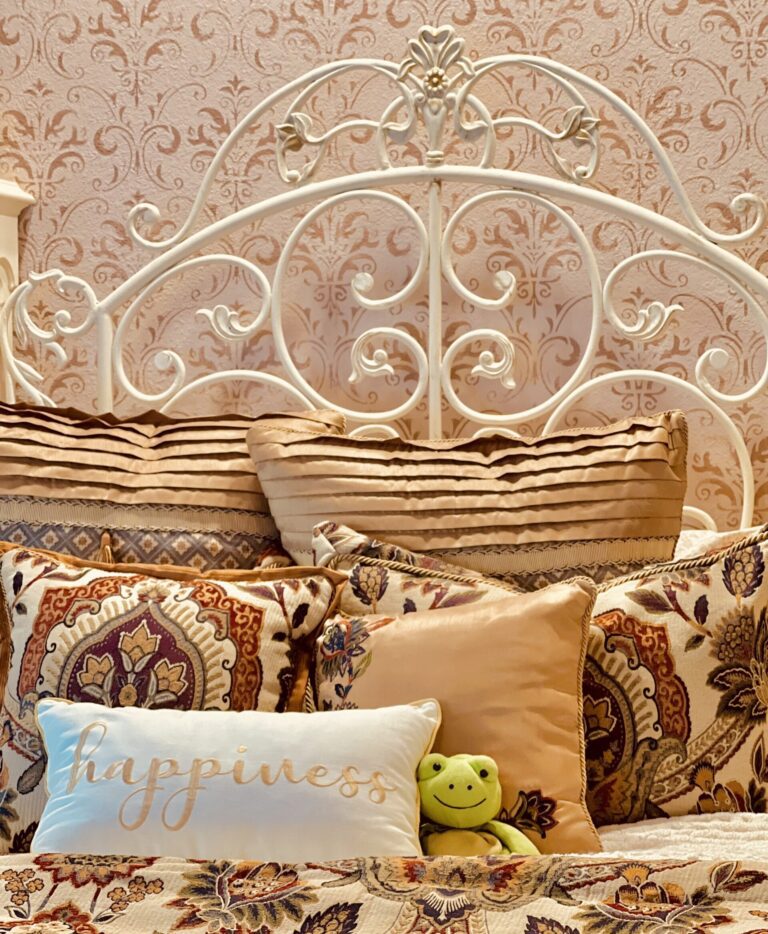
My daughter gilded several of the knobs herself! Froggy refused to help however, and abruptly called her back to play!
I don’t mind being dumped for Froggy when it is an easy project like this!
Let me start by telling you a little bit about my love for gilding wax. Why do I love it you ask? Let me tell you…
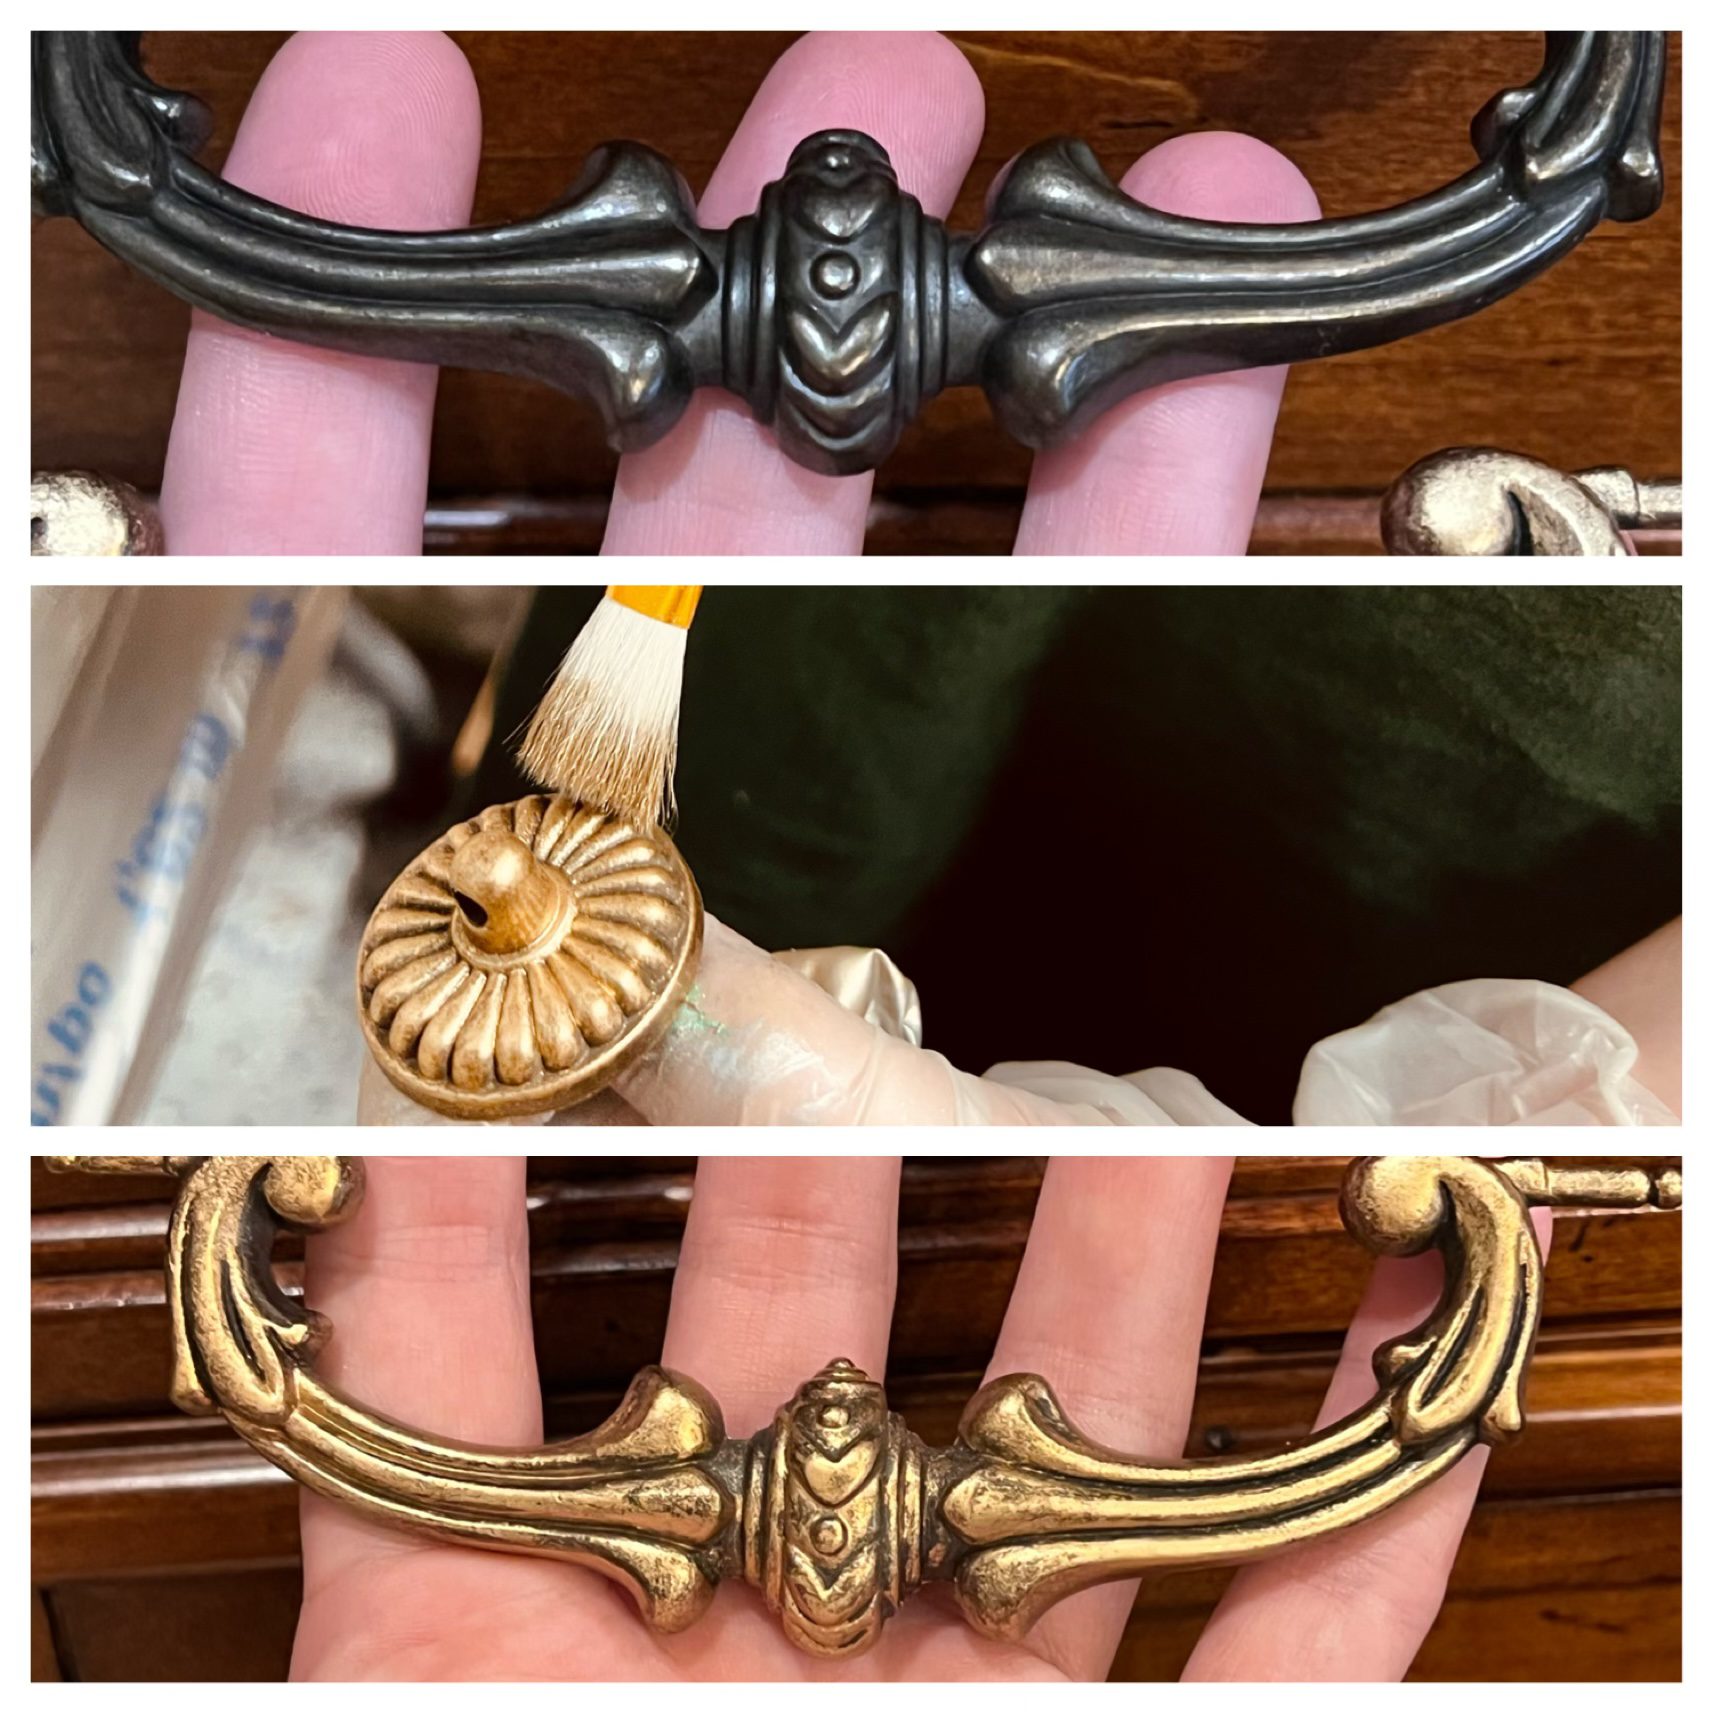
Why I love gilding wax:
- gilding wax is very easy to use – Easy = LOVE!
- creates instant stunning transformations – even on $1 craft items…FAST=Love!
- The Price is right! At around $20! Cheap=Love!
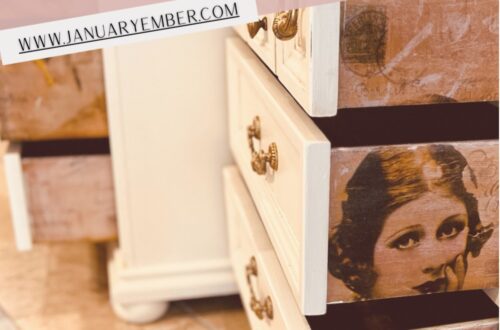
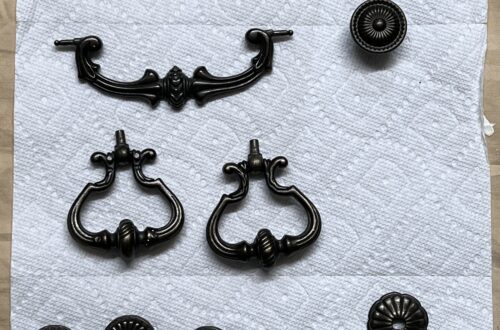
The gilding wax stage of my nightstand makeover started during Episode 1 – the French County Bedroom makeover nightstand experiment. After I painted the entire dark wood nightstand white, I put the old hardware back on to see how it looked.
Truth: I wanted to show you guys how it looked! Sometimes you just need to see it right?!
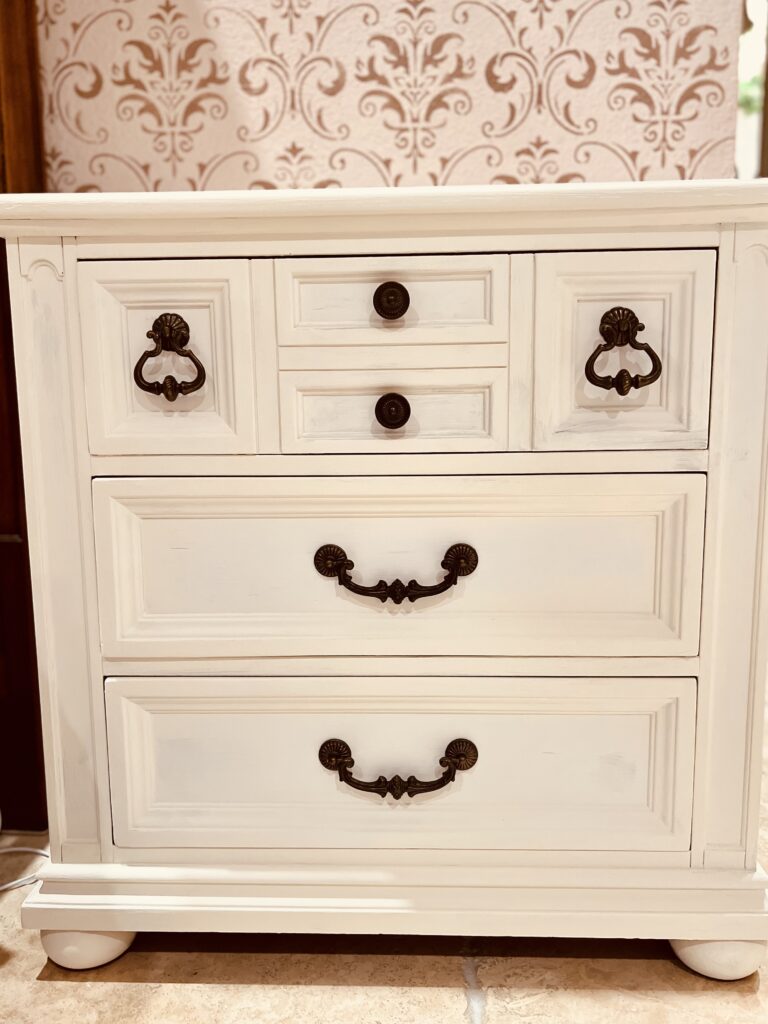
Even if I don’t get every picture along the way, though I try, just know I do a lot of this stuff just for you guys! Putting the handles back on and taking pictures was 80% for you, and 20% for me!
Before I even put the hardware back on I knew it was too dark. You can’t see all the gorgeous details on it! I knew the waxing was coming!
Plus, I am addicted to gilding wax so there was no avoiding this! Every time I buy something my Aunt says, “I bet you’re going to gild that aren’t you?!”! LOL Most of the time, she is 99% correct!
You’d be amazed how different everything looks after using gilding wax! It makes you want to grab stuff and just rub it all over to see how it will look!
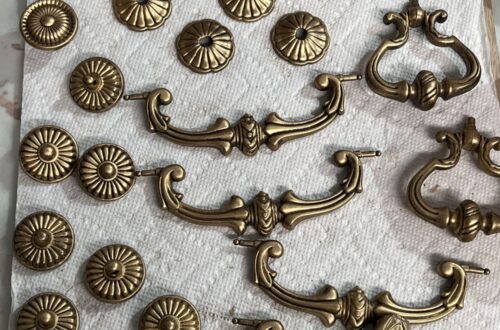
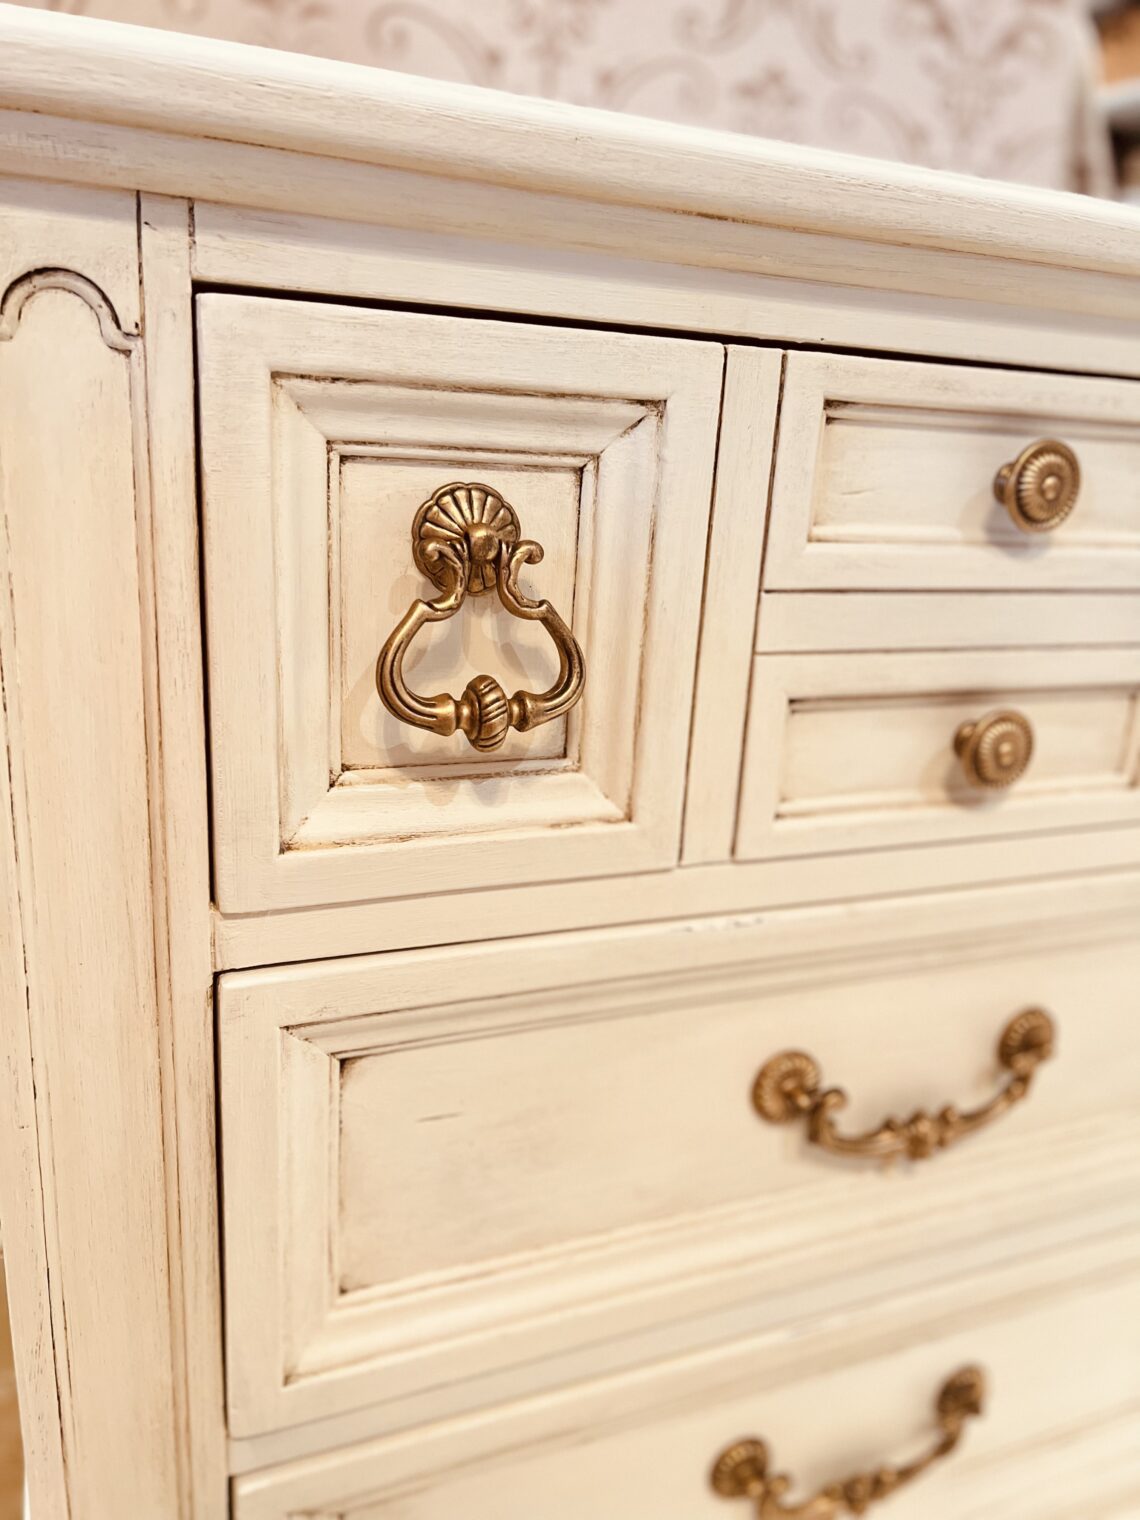
I love the way gilding wax highlights details and adds so much dimension! Take a look at details popping out now! I never saw the little heart shapes on the handles before!
If you can do nothing else, I say, just use gilding wax and makeover the hardware! 20 minutes and $20 later and you have a complete transformation!
I keep kicking myself for not gilding the hardware first and adding it to the old dark brown, just to see how it looked then! I held it up, but never attached it and took any pictures.
Let's get into the gilding!
Alright, let’s get into some of the details in this DIY project. I find there is not much to say since it is so easy!
- I like to use gloves, and “rub” on the wax with my fingertips,
- I like easy cleanup – and I reuse the gloves for more waxing!
- sometimes I use the gilding brush for:
- blending, or to
- pick up loose wax
- add highlights with another wax color
- experiment: mix the antique and gold leaf colors, layer, etc.
Here is my amazing 3rd grader, helping mommy! She’s really good at it too! She wears her gloves like a pro and likes to use the gilding wax brush, as you can see!
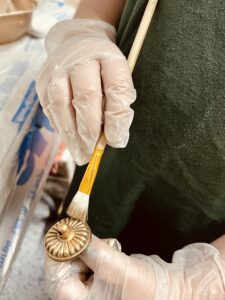
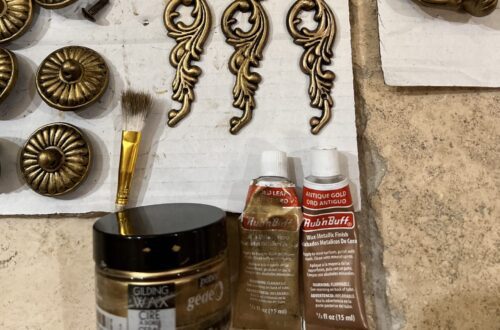
I have had my little jar of Gede gilding wax for 2 years! The King’s Gold gilding wax is the one I use all the time!
I recently went to Hobby Lobby and picked up some of the ‘Rub n’ Buff’ gilding wax tubes. These tubes seem to empty a bit faster, but they are smaller and cheaper per tube, so I guess it makes sense.
All of the different colors available in the Rub n’ Buff are nice too! I love options!
A quick note about some differences I’ve noticed between these 2 types of gilding wax:
- the ‘Rub n’ Buff’ dries pretty quickly – minutes really!
- the ‘Gede’ – 24 hour dry time for my climate (Humid!)
- the ‘Gede’ will move around longer and can still wipe off (can be good or bad)
Tip: Don't use too much wax, it only takes a little of any type!
This was my first time using Rub n’ Buff and I have to say I like it a lot too!
While I worked on the dresser makeover, I experimented and mixed some of the different gilding wax colors and brands.
Using the gilding wax brush helped to “layer” the different gilding wax colors to create a more dimensional “gilded-age” look.
As you can see, using gilding wax on the hardware really made a huge difference! The gold really pops on the white now!
Give this a try and let me know how it goes for you! Fair warning, it can be addicting!
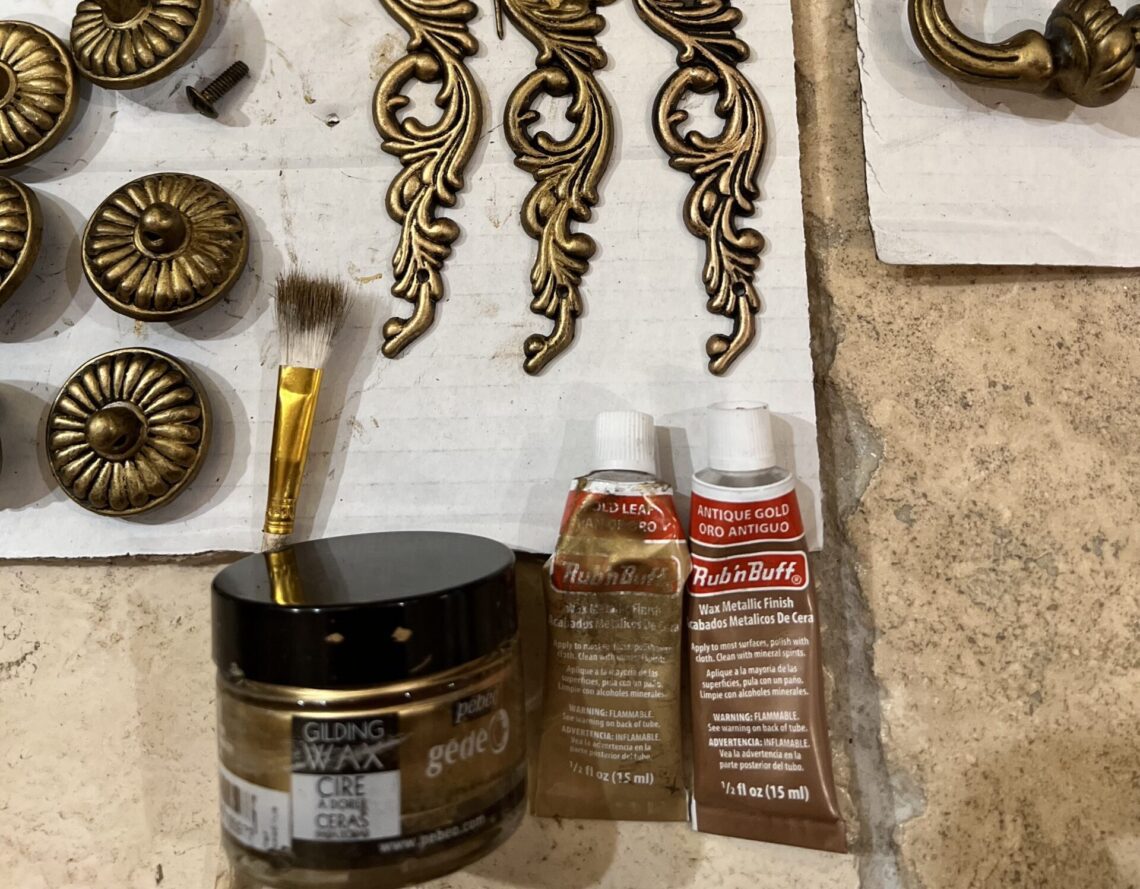
Expirementing with 3 different variations of gold gilding wax. Far left is the one I use most often, Gede gilding wax in King’s Gold, the next one (middle) is Rub n Buff Gold Leaf, and left is Rub ‘n Buff Antique Gold.
Which color do you like best? Try different ones and have fun with it!
If I did nothing else, I would gild the hardware first!
This French Country Bedroom Makeover project taught me a lot along the way. I hope some of my trials and tribulations may help save you some time in your own DIY endeavors.
- Wear disposable gloves!
- Don’t use too much – a little goes a LONG way
- “dab” your finger in the wax, and rub. One dab should cover an entire handle and then some
- let some spots stay exposed to create depth
- layer other wax colors for added depth
- let it dry for 24-48 hours before putting it back on furniture
- use a gilding wax brush to:
- remove excess wax
- get into nooks if desired
- layer other wax colors
TIP: Get Disposable Gloves - Quick cleanup!

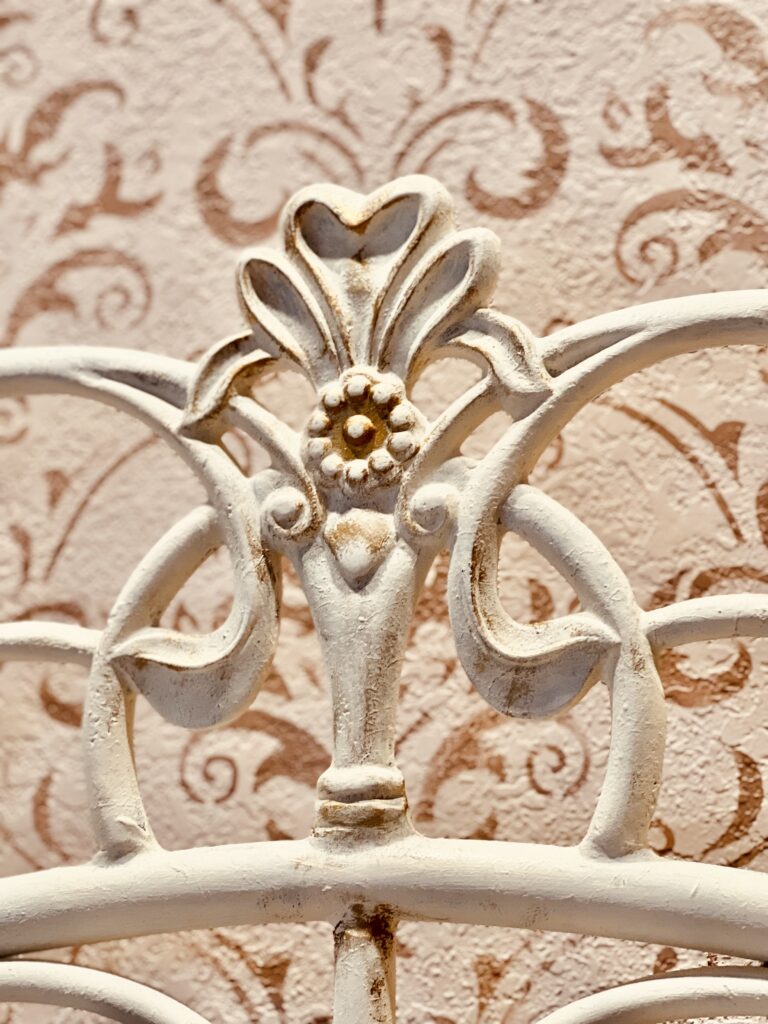
TIP: Try mixing the wax colors...or layering!
Nervous about trying gilding wax? Get some $1 items to practice on!
Check out ALL Episodes in this French Country Bedroom Makeover Series:
- The Nightstand Experiment
- Decoupaging the drawer sides
- Decoupaging inside drawers
- Hardware makeover – Getting a good Gilding!
- Painting the Wrought Iron Headboard & Footboard
- Dresser & Mirror with wrought iron
- Dresser – adding rub on furniture transfers
- Dresser – adding decoupage rice paper Artwork
- Creating a French Country Cozy Bedroom – bedding and décor
- Dress Form makeover (COMING SOON)
- Armoire: my success and failure (COMING SOON)
Subscribe and follow to see how the transformation continues! It never stays the same for vary long!
Save & share!
Until next time…
Keep smiling, improve every day, and build a life you love!
Yours Truly,
January Ember
I had a look in my mind originally, inspired from a dresser I saw on Pinterest. I really loved how she did this so I started with this concept in mind…but it transformed and the vision changed…and changed and changed! https://pin.it/p6bdbDu
Question or comment? I'd love to hear from you! Drop me a line and Subscribe for updates!
I had a look in my mind originally, inspired from a dresser I saw on Pinterest. I really loved how she did this so I started with this concept in mind…but it transformed and the vision changed! https://pin.it/p6bdbDu


You May Also Like

French Country Bedroom Makeover Ep 5 Cozy Wrought Iron Bed
June 26, 2022
French Country Bedroom Makeover Ep 3 decoupage inside the drawers
June 3, 2022