French Country Bedroom Makeover Ep 3 decoupage inside the drawers
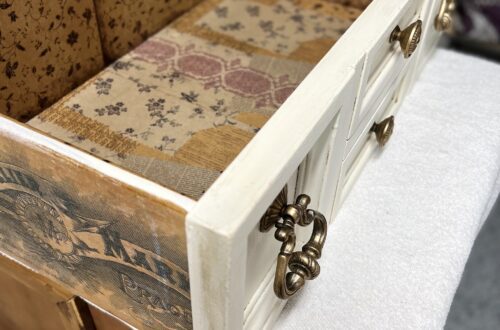
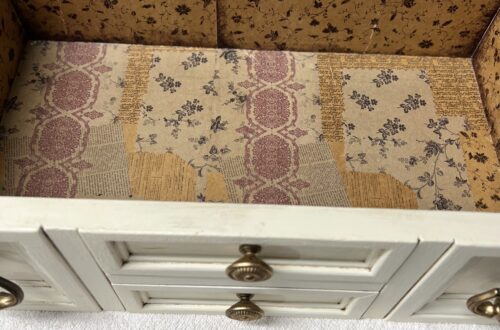
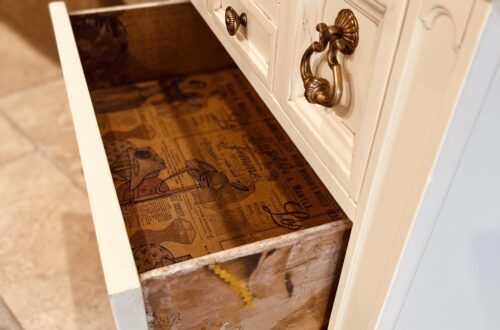
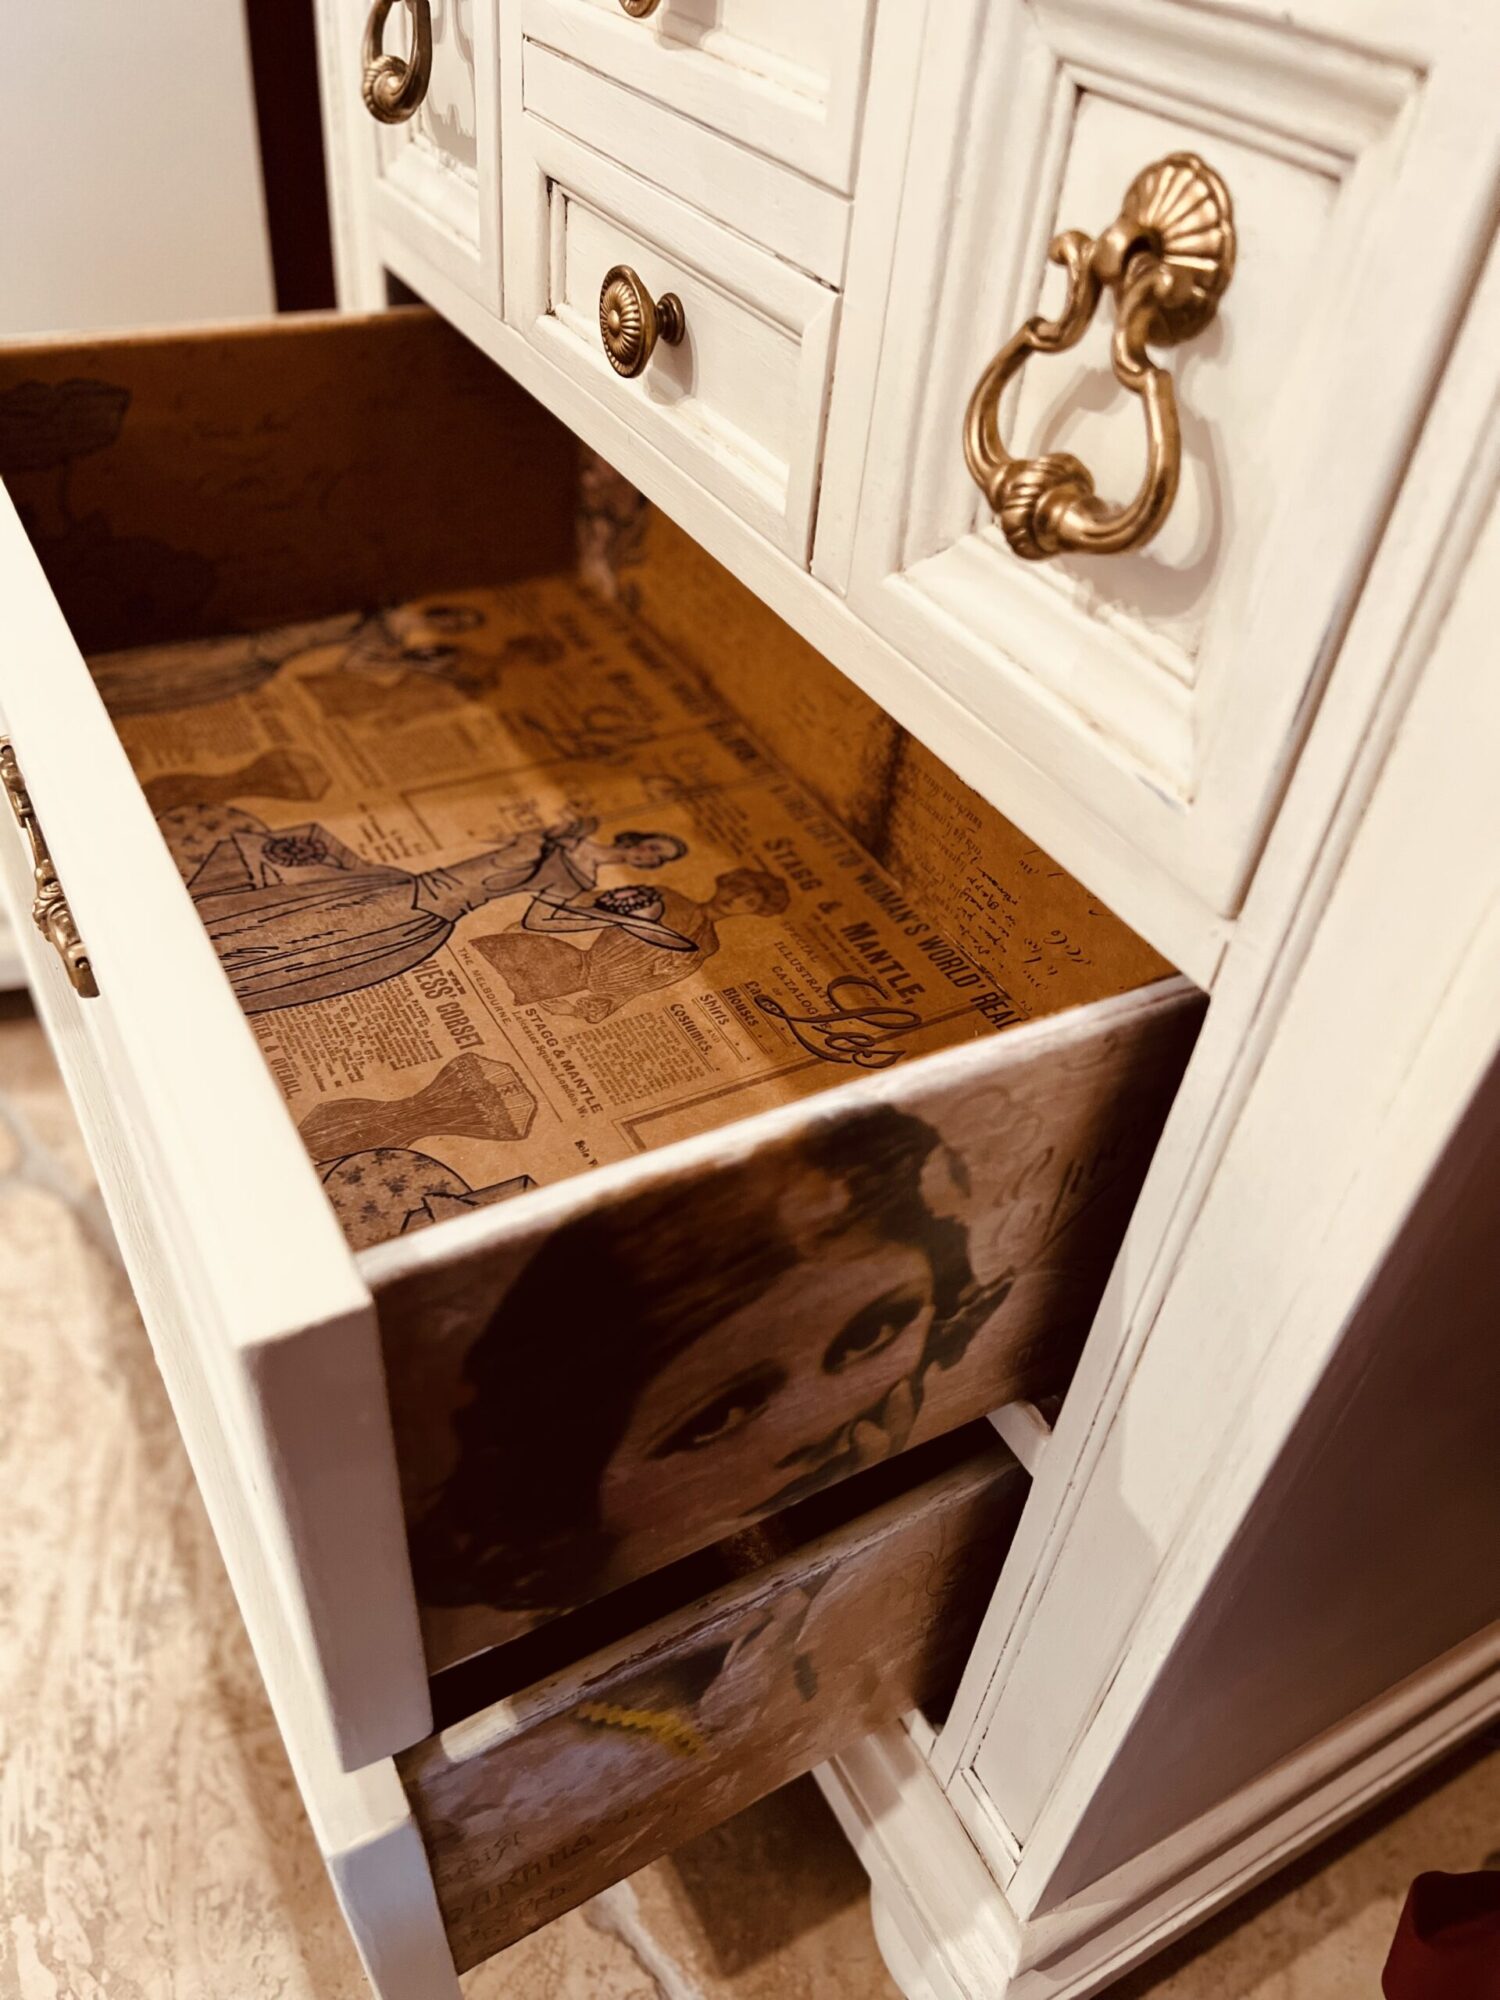
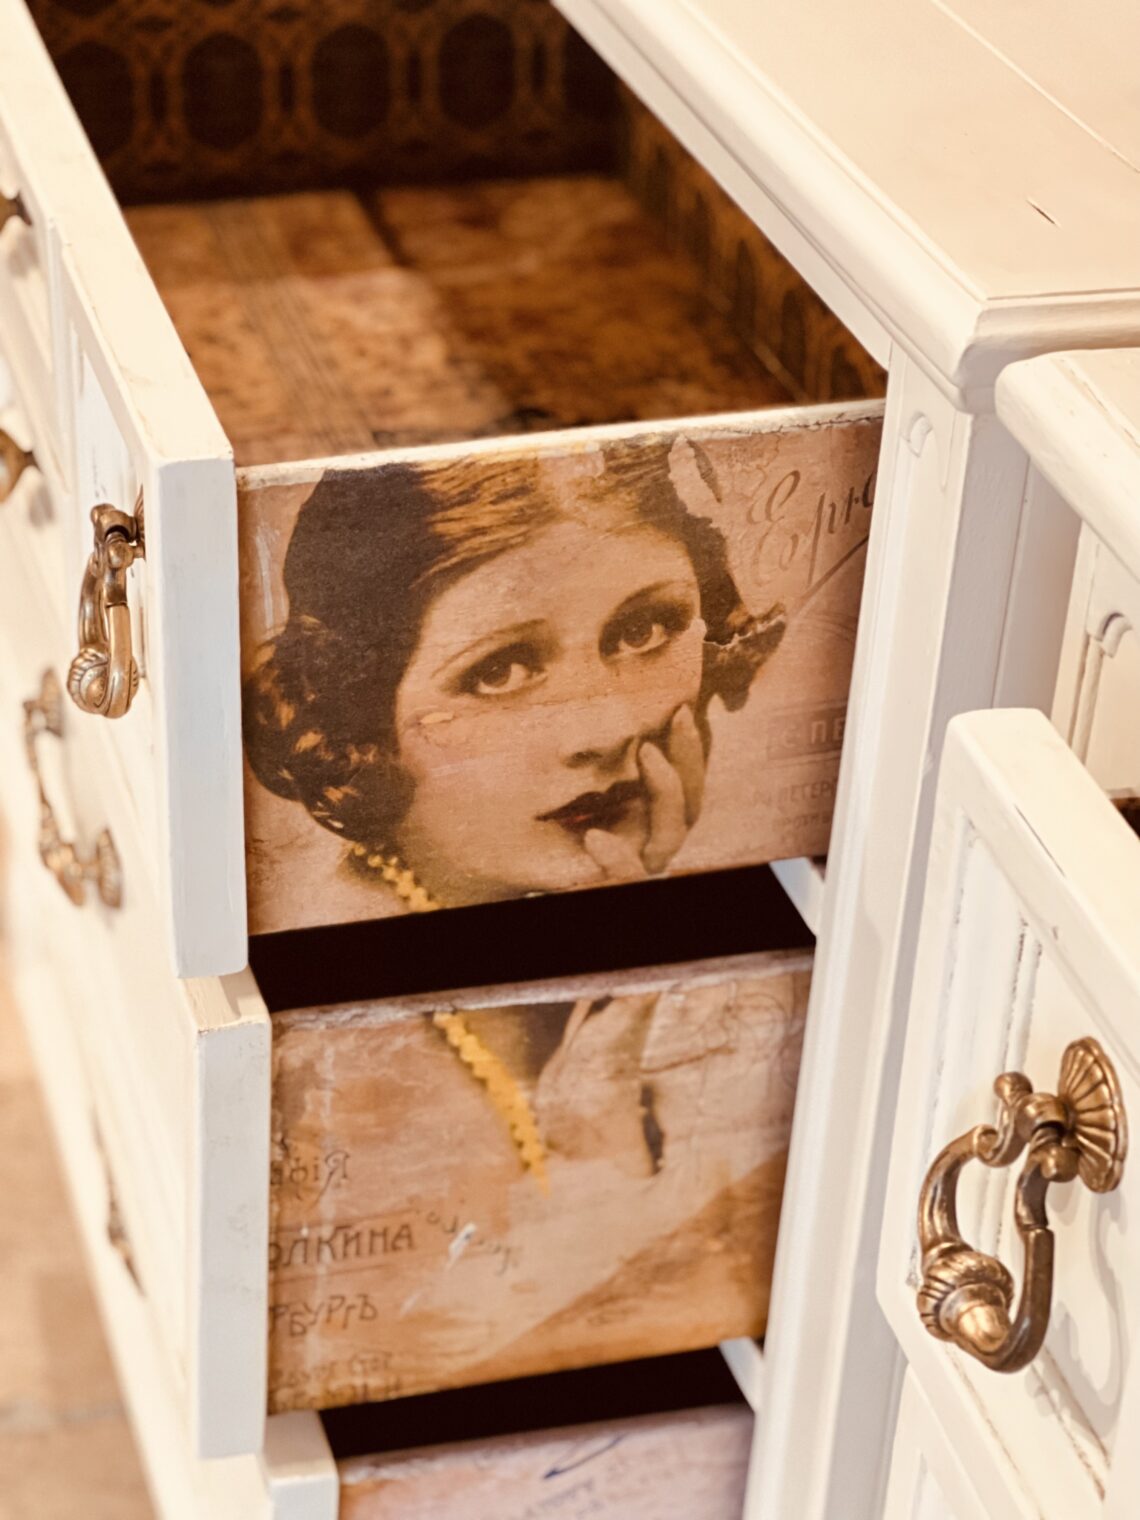
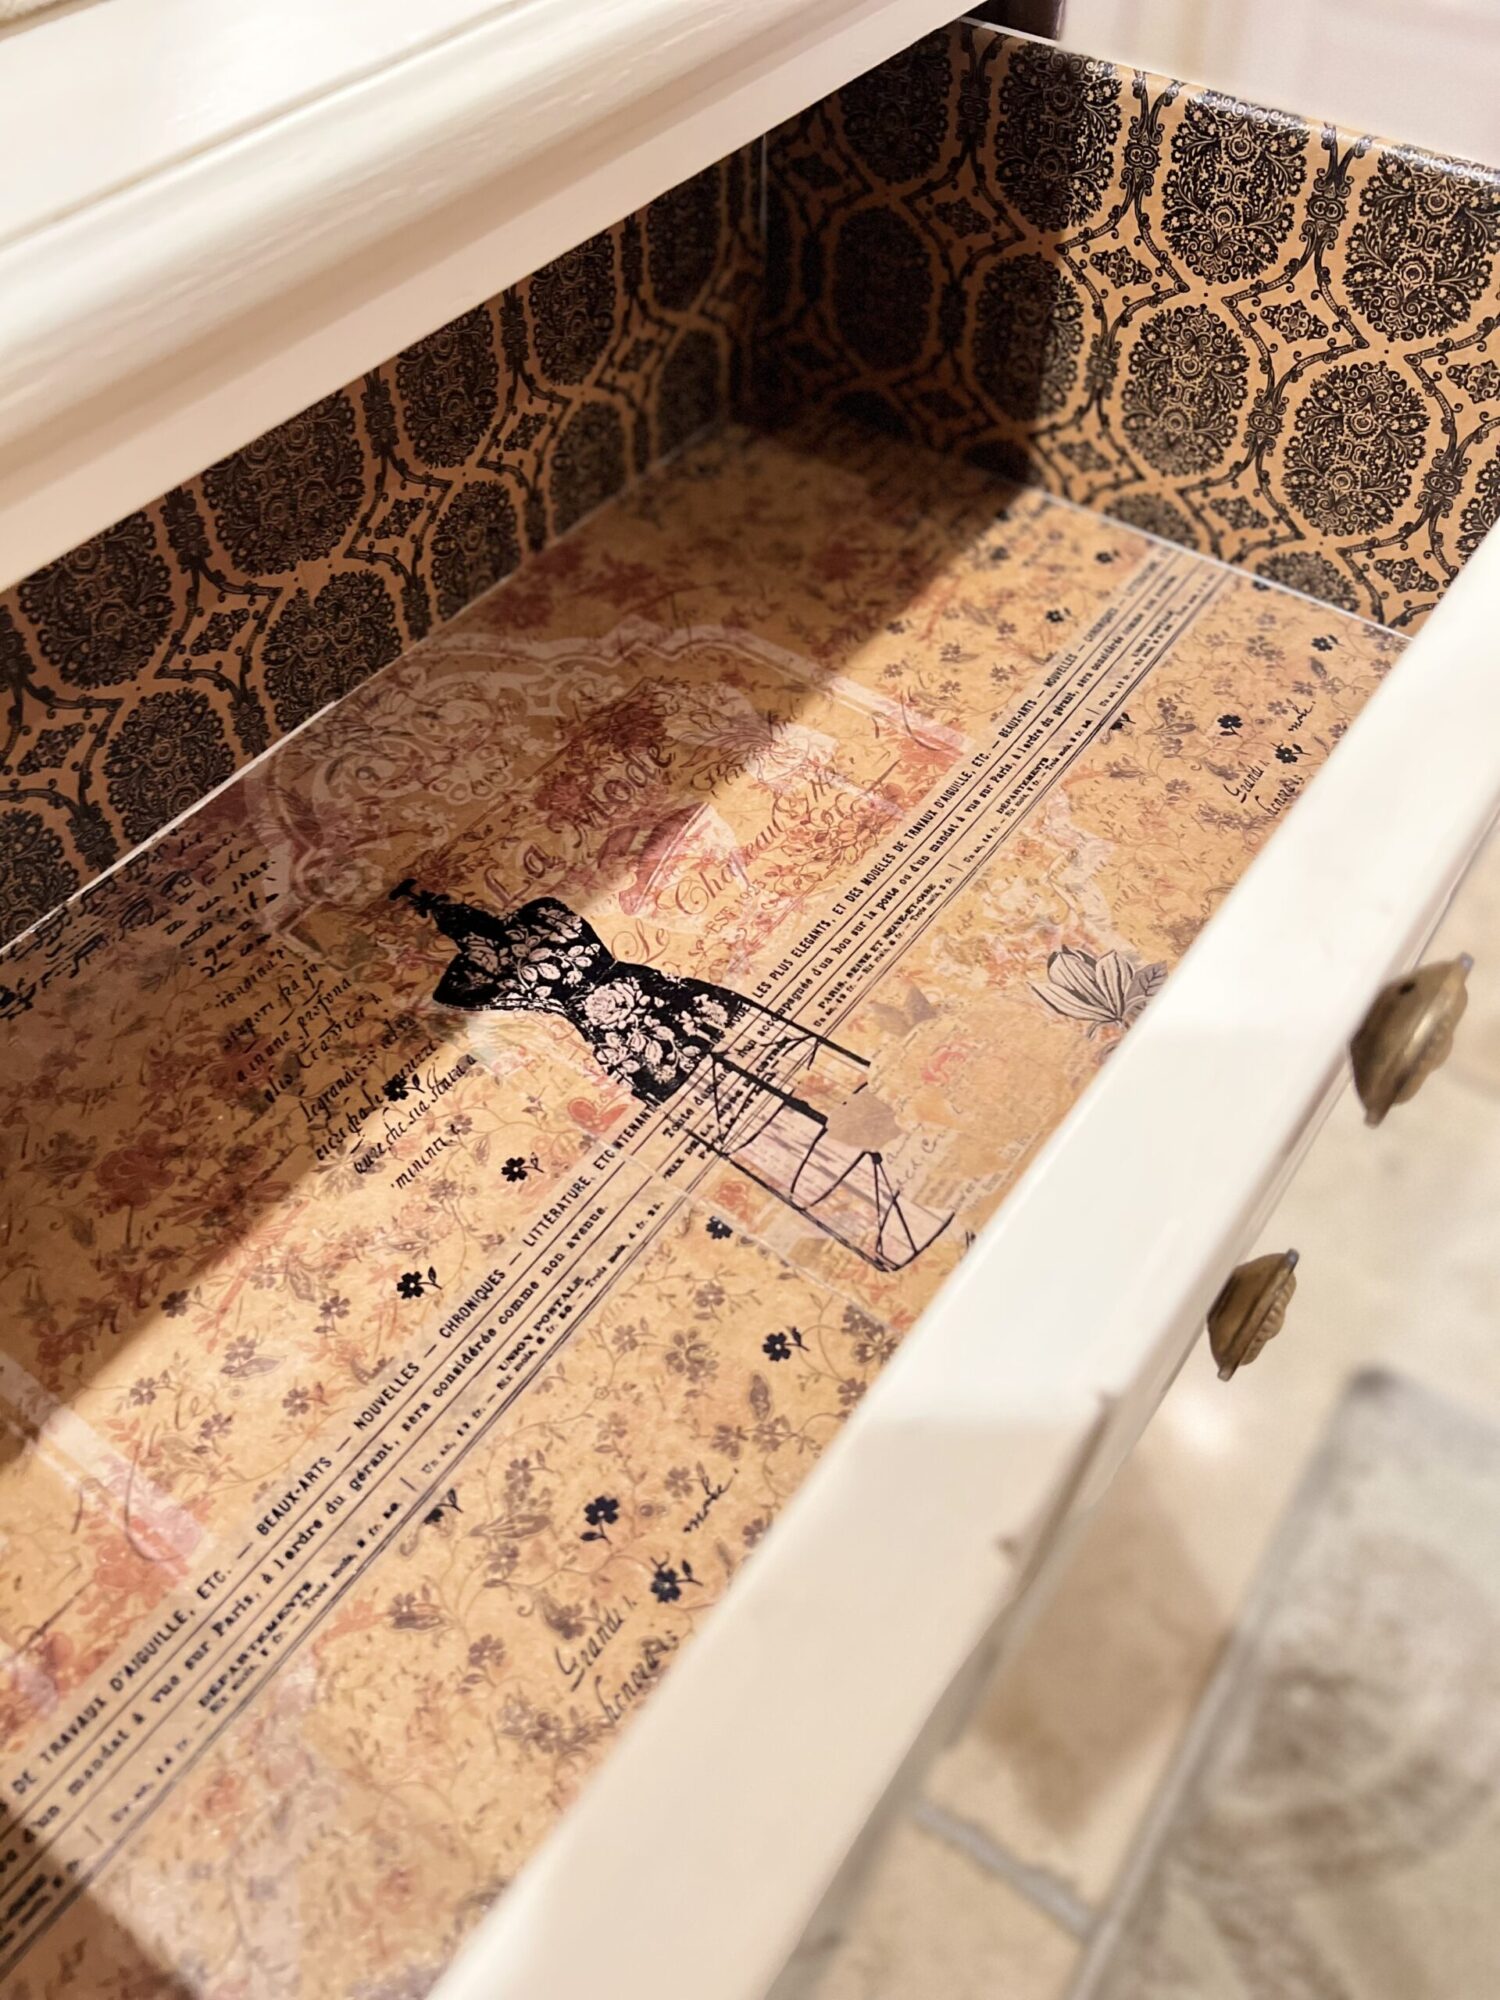
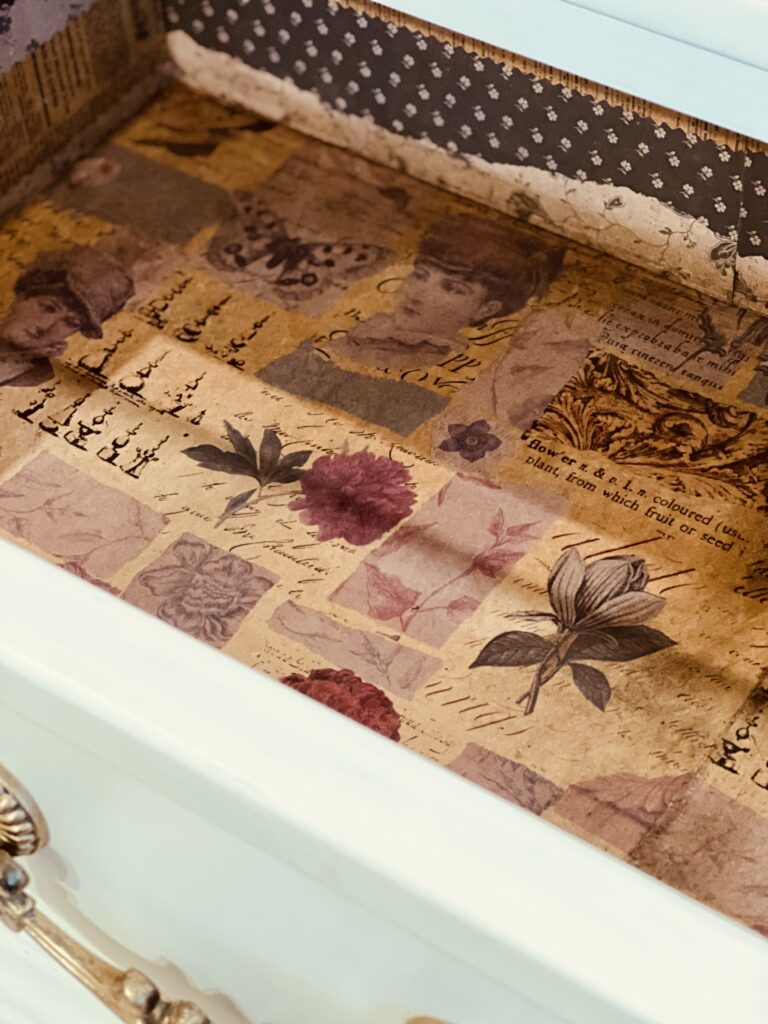
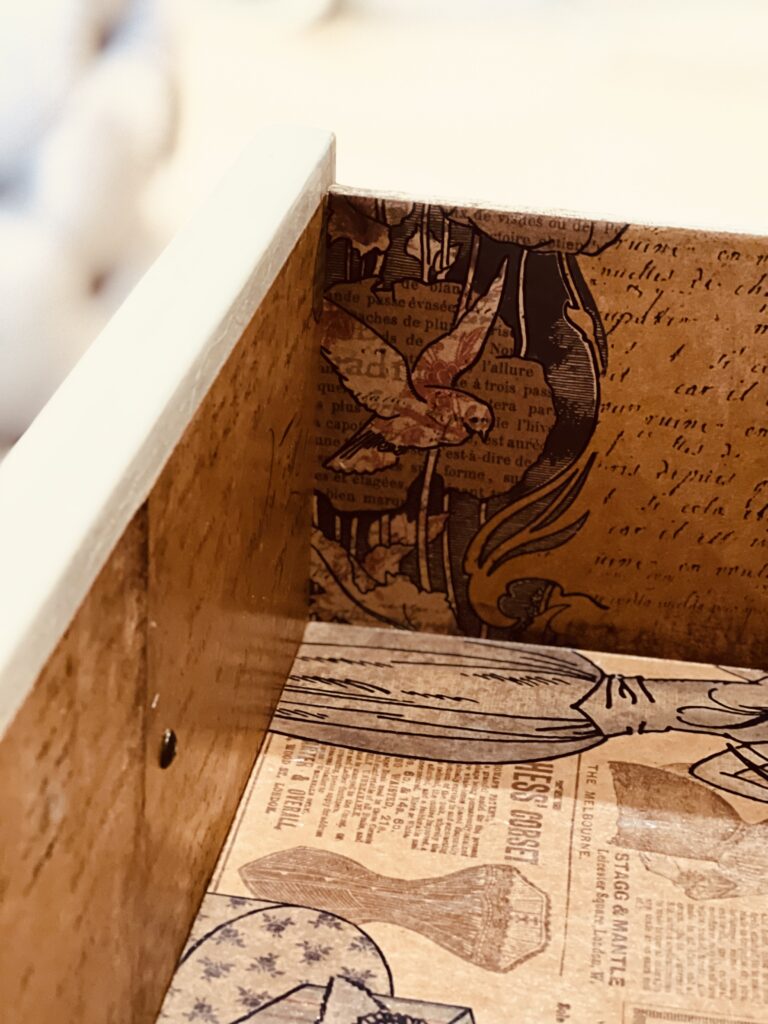
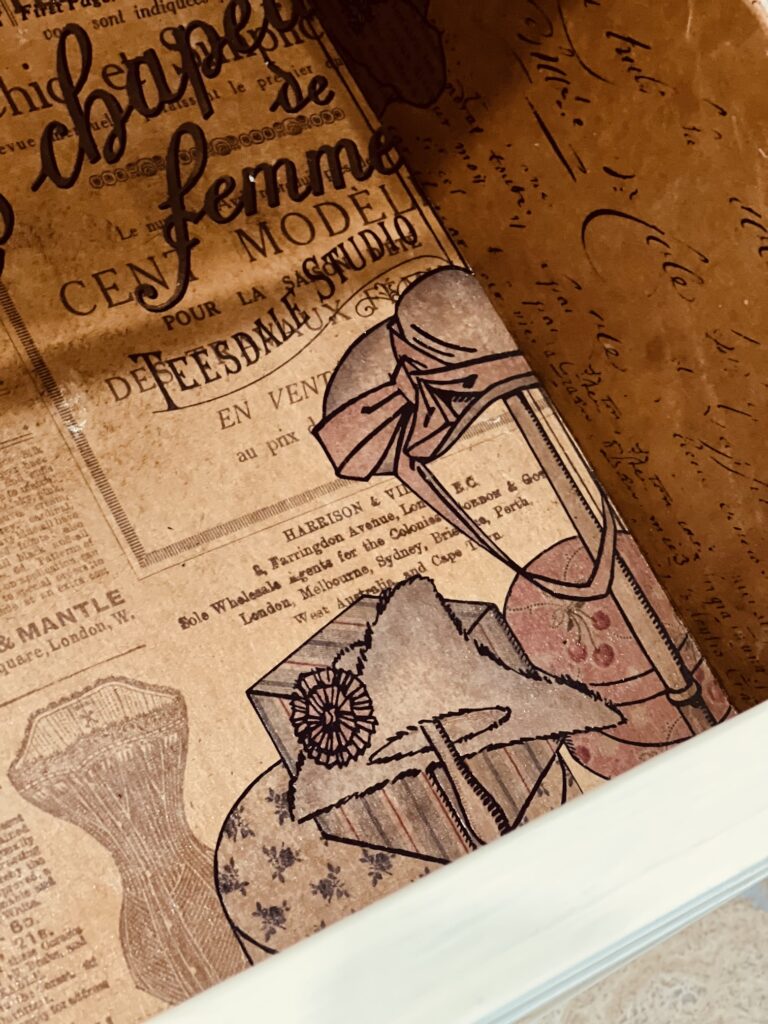
Welcome back for Episode 3 of my French country bedroom makeover; take a look at these drawers and tell me you don't want to go decoupage some drawer somewhere!
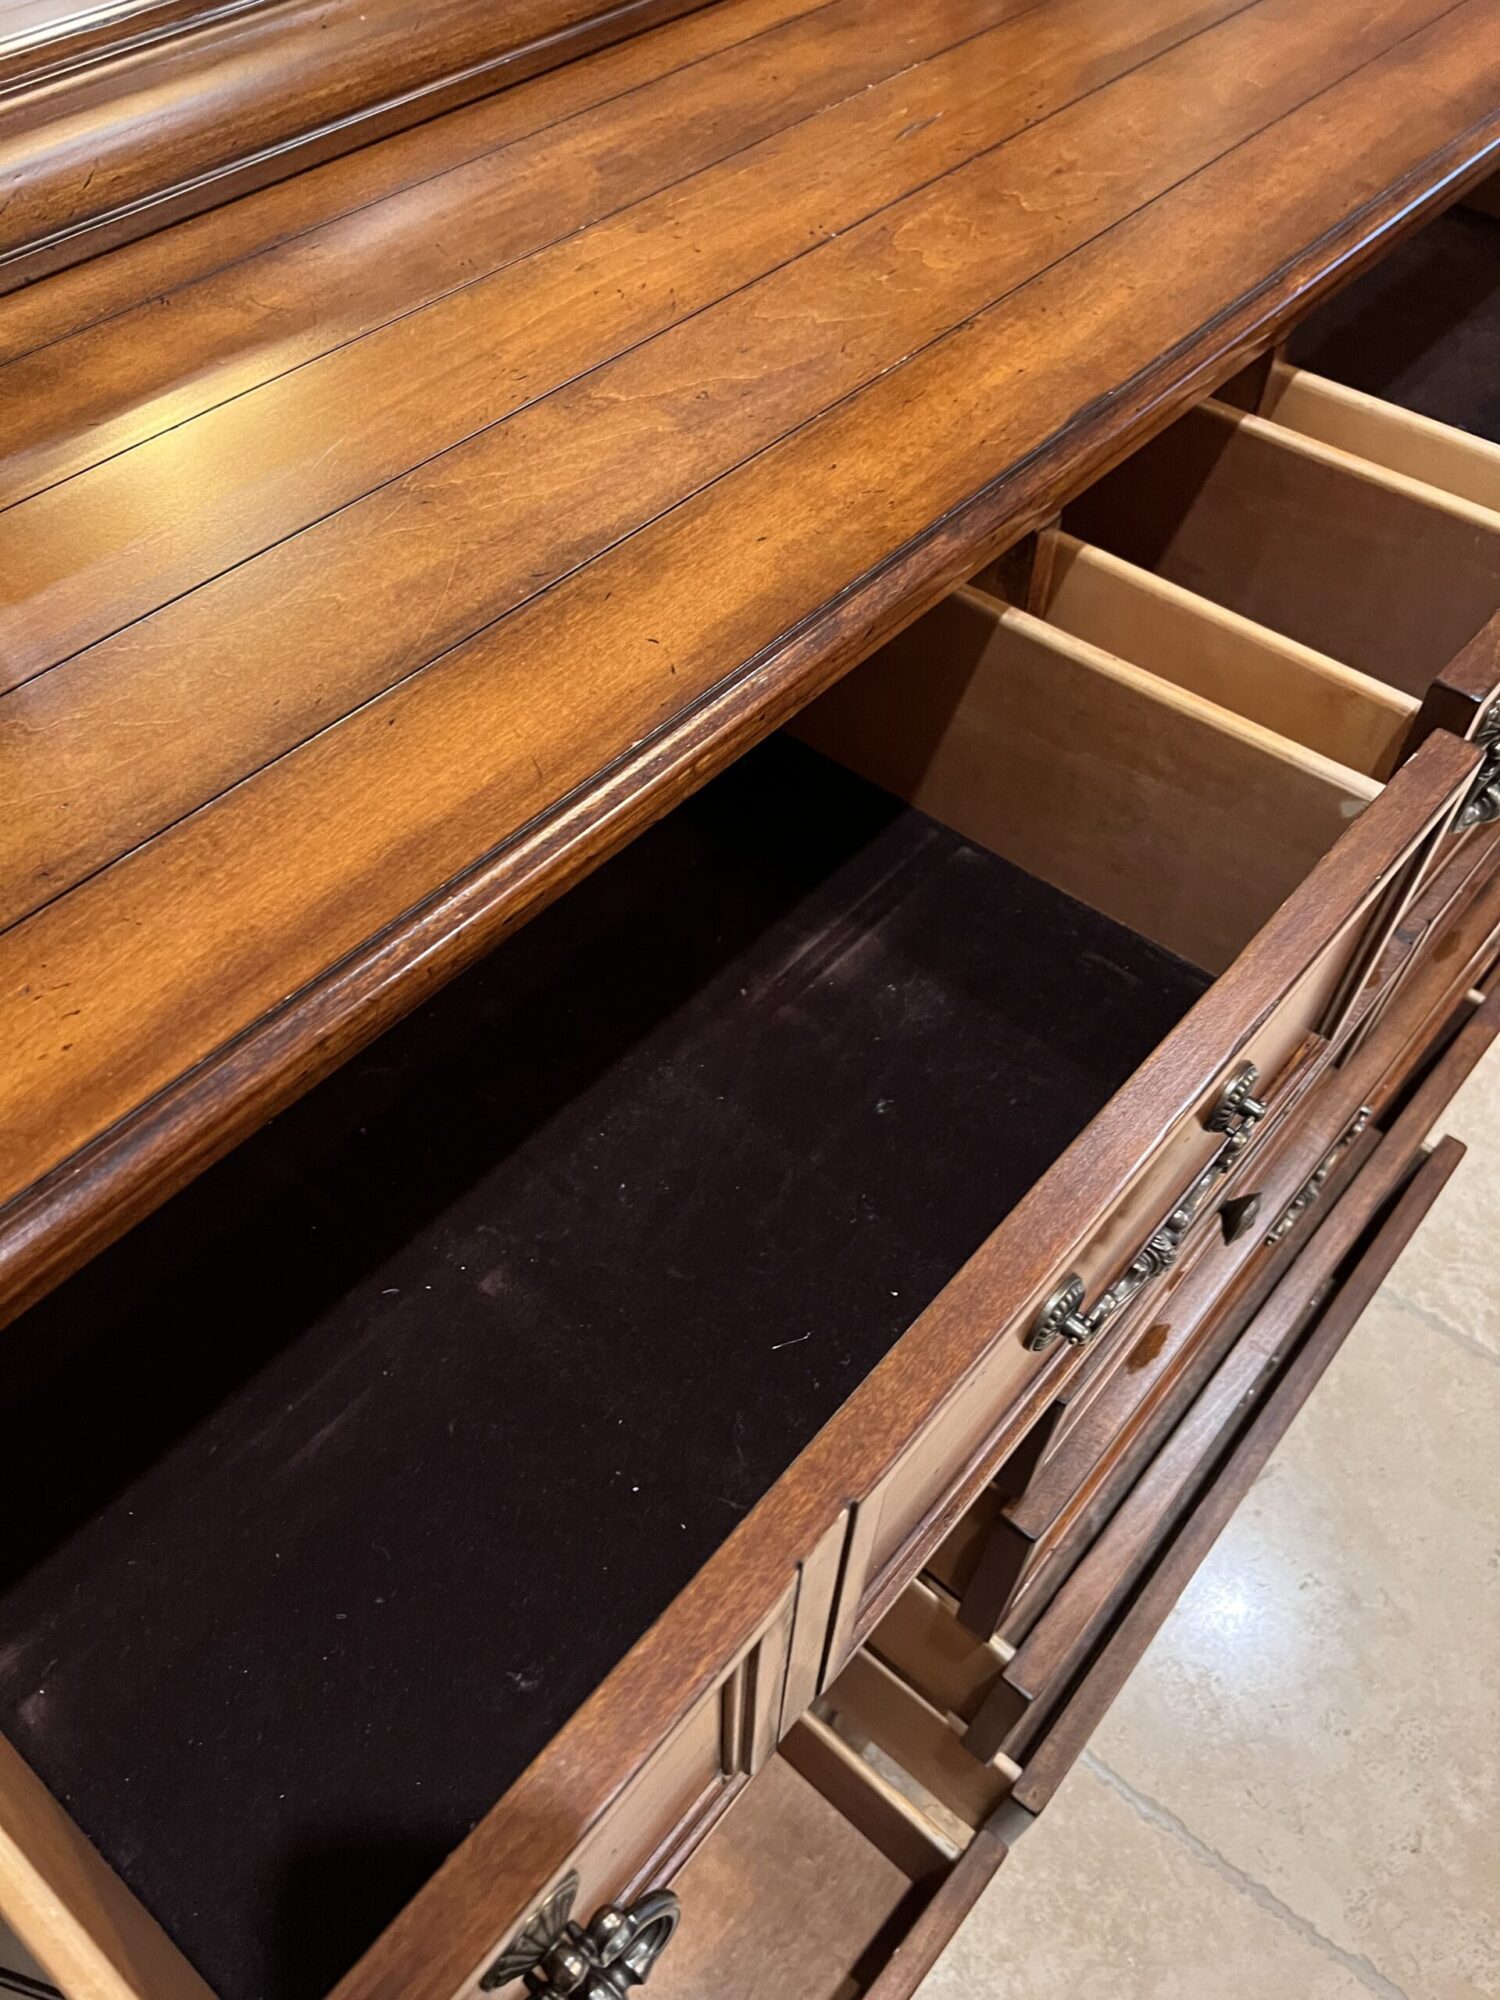
I have to be honest, I botched my attempt at painting inside the drawers (which was my initial thought). As if that weren't bad enough, attempting to paint the felt lined top drawers was an epic failure!
The paint absorbed into the felt lined drawers in a super gross way! I didn't bother to go on! It was then and there I knew I had no choice, decoupage to the rescue!
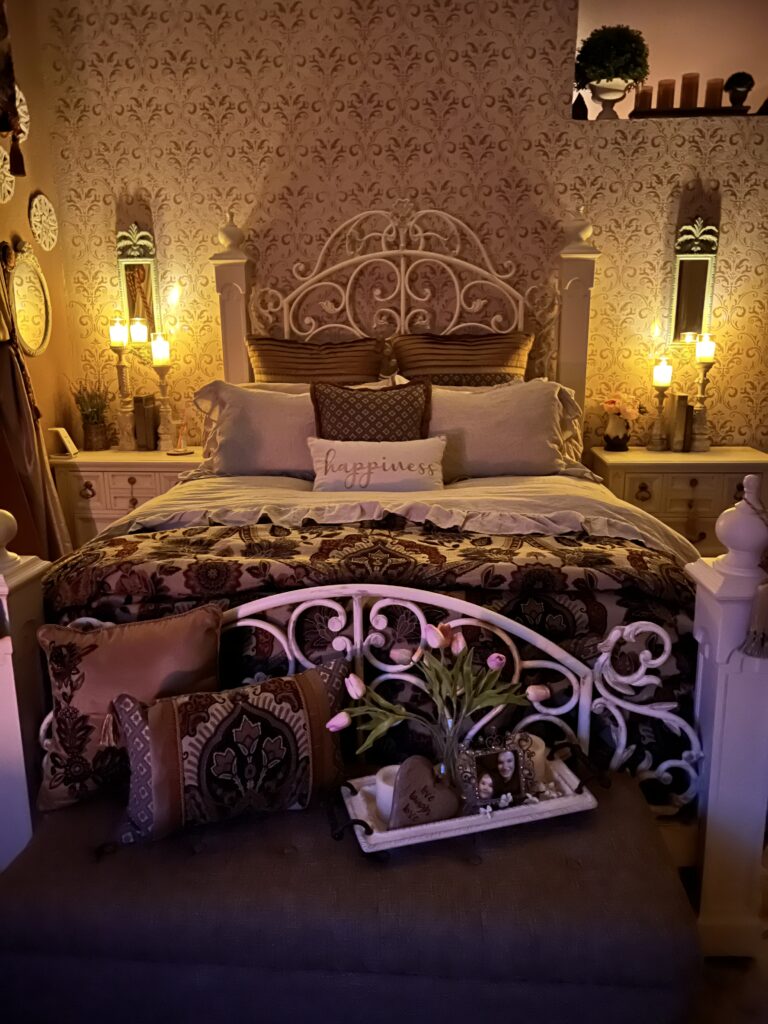
My challenge from the beginning of my bedroom makeover was to brighten the bedroom. As the transformation developed, I realized I really wanted to give it a classy French country feeling!
My antique walnut bedroom set was lovely, it just felt so DARK…I needed change, I needed to feel the light!!!
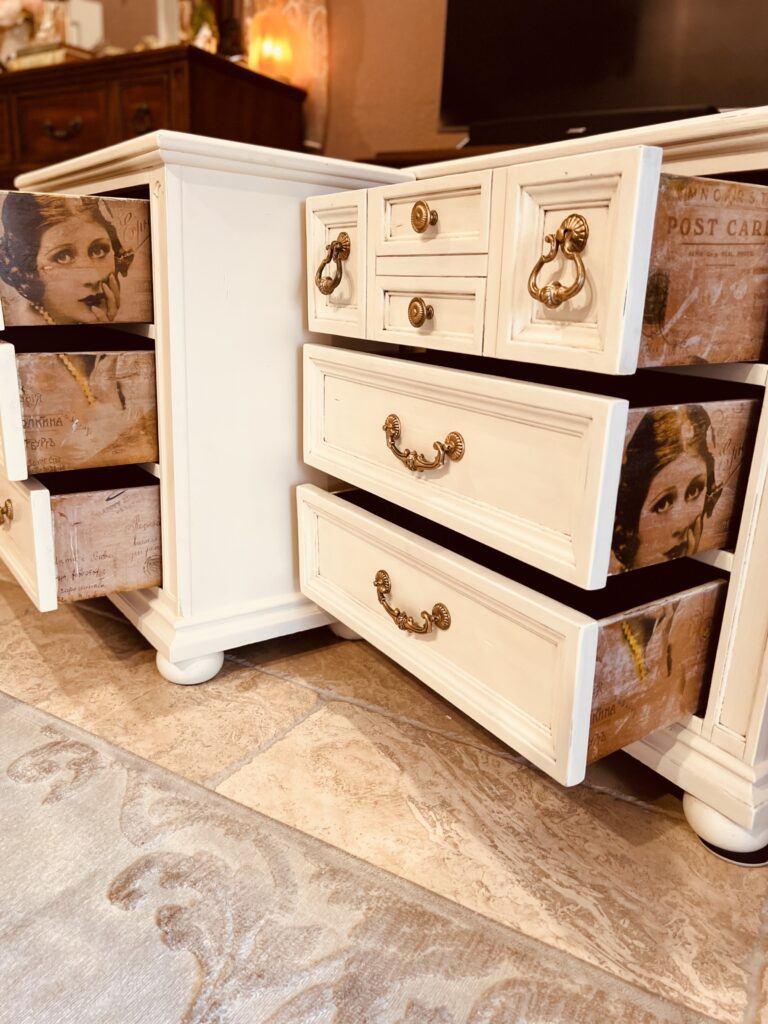
After Episode 1 – the French County Bedroom makeover nightstand experiment went so well, the inspiration continued to flow! I went on to decoupage the sides of the drawers with the lovely tissue paper you see here. I honestly could not believe how much I loved it.
Check out Episode 2 for my post on decoupaging the sides of the drawers. After I did the drawer sides, and messed up the top drawer, I couldn’t leave the insides alone.
As if that wasn’t bad enough, the top felt lined drawer of my nightstand was really beat up and there was just know saving it…so one way or another, it had to be covered!
I toyed around with a few ideas including painting over the felt (epic fail)! There was no way I was going to attempt using tissue paper. You only get one shot lining that up and edges are tricky. God bless anyone who can make it happen, I am not brave enough to try that yet!
FYI - Scrapbook paper is thick, firm, and you can move it around - that's why I loved it for decoupaging inside of these drawers!
I am still what I guess you would call a “novice” at decoupaging. I have much to learn, this I am sure of! Over the years, however, I have experimented with a few projects that all went absolutely fantastic. That leads me to think maybe I am a master in the making.
In lieu of assuming everyone knows everything about Mod Podge, let me say a quick word about it for anyone at my level or below (self-proclaimed novice). Skip along if you’re only here for the pretty pictures! 🙂
- I find Mod Podge, and the technique to apply it, quite easy to do.
- Mod Podge is basically like a clear glue, that adheres to just about anything
- (there are different types and finishes)
- Use a foam brush and paper plate to apply (easy peasy)
- A thin layer of Mod Podge applied to the surface
- A thin layer of Mod Podge applied to the Paper
- (if a thicker paper, skip this if using tissue paper)
- Smooth out with roller and/or flat surface tool
- Cover with another thin coat of Mod Podge to seal it (matte or shiny finish)
Now that we've covered some basics you have an idea of how the process works. I did not take a zillion pictures of every step along the way and there is no need to bore you with every one of those anyway. You do not want to get Mod Podge on your phone! LOL
Here is a quick summary of the 3 different experiences I went through with decoupaging the inside of these nightstand drawers:
- covering a plain wood drawer – easiest and smoothest
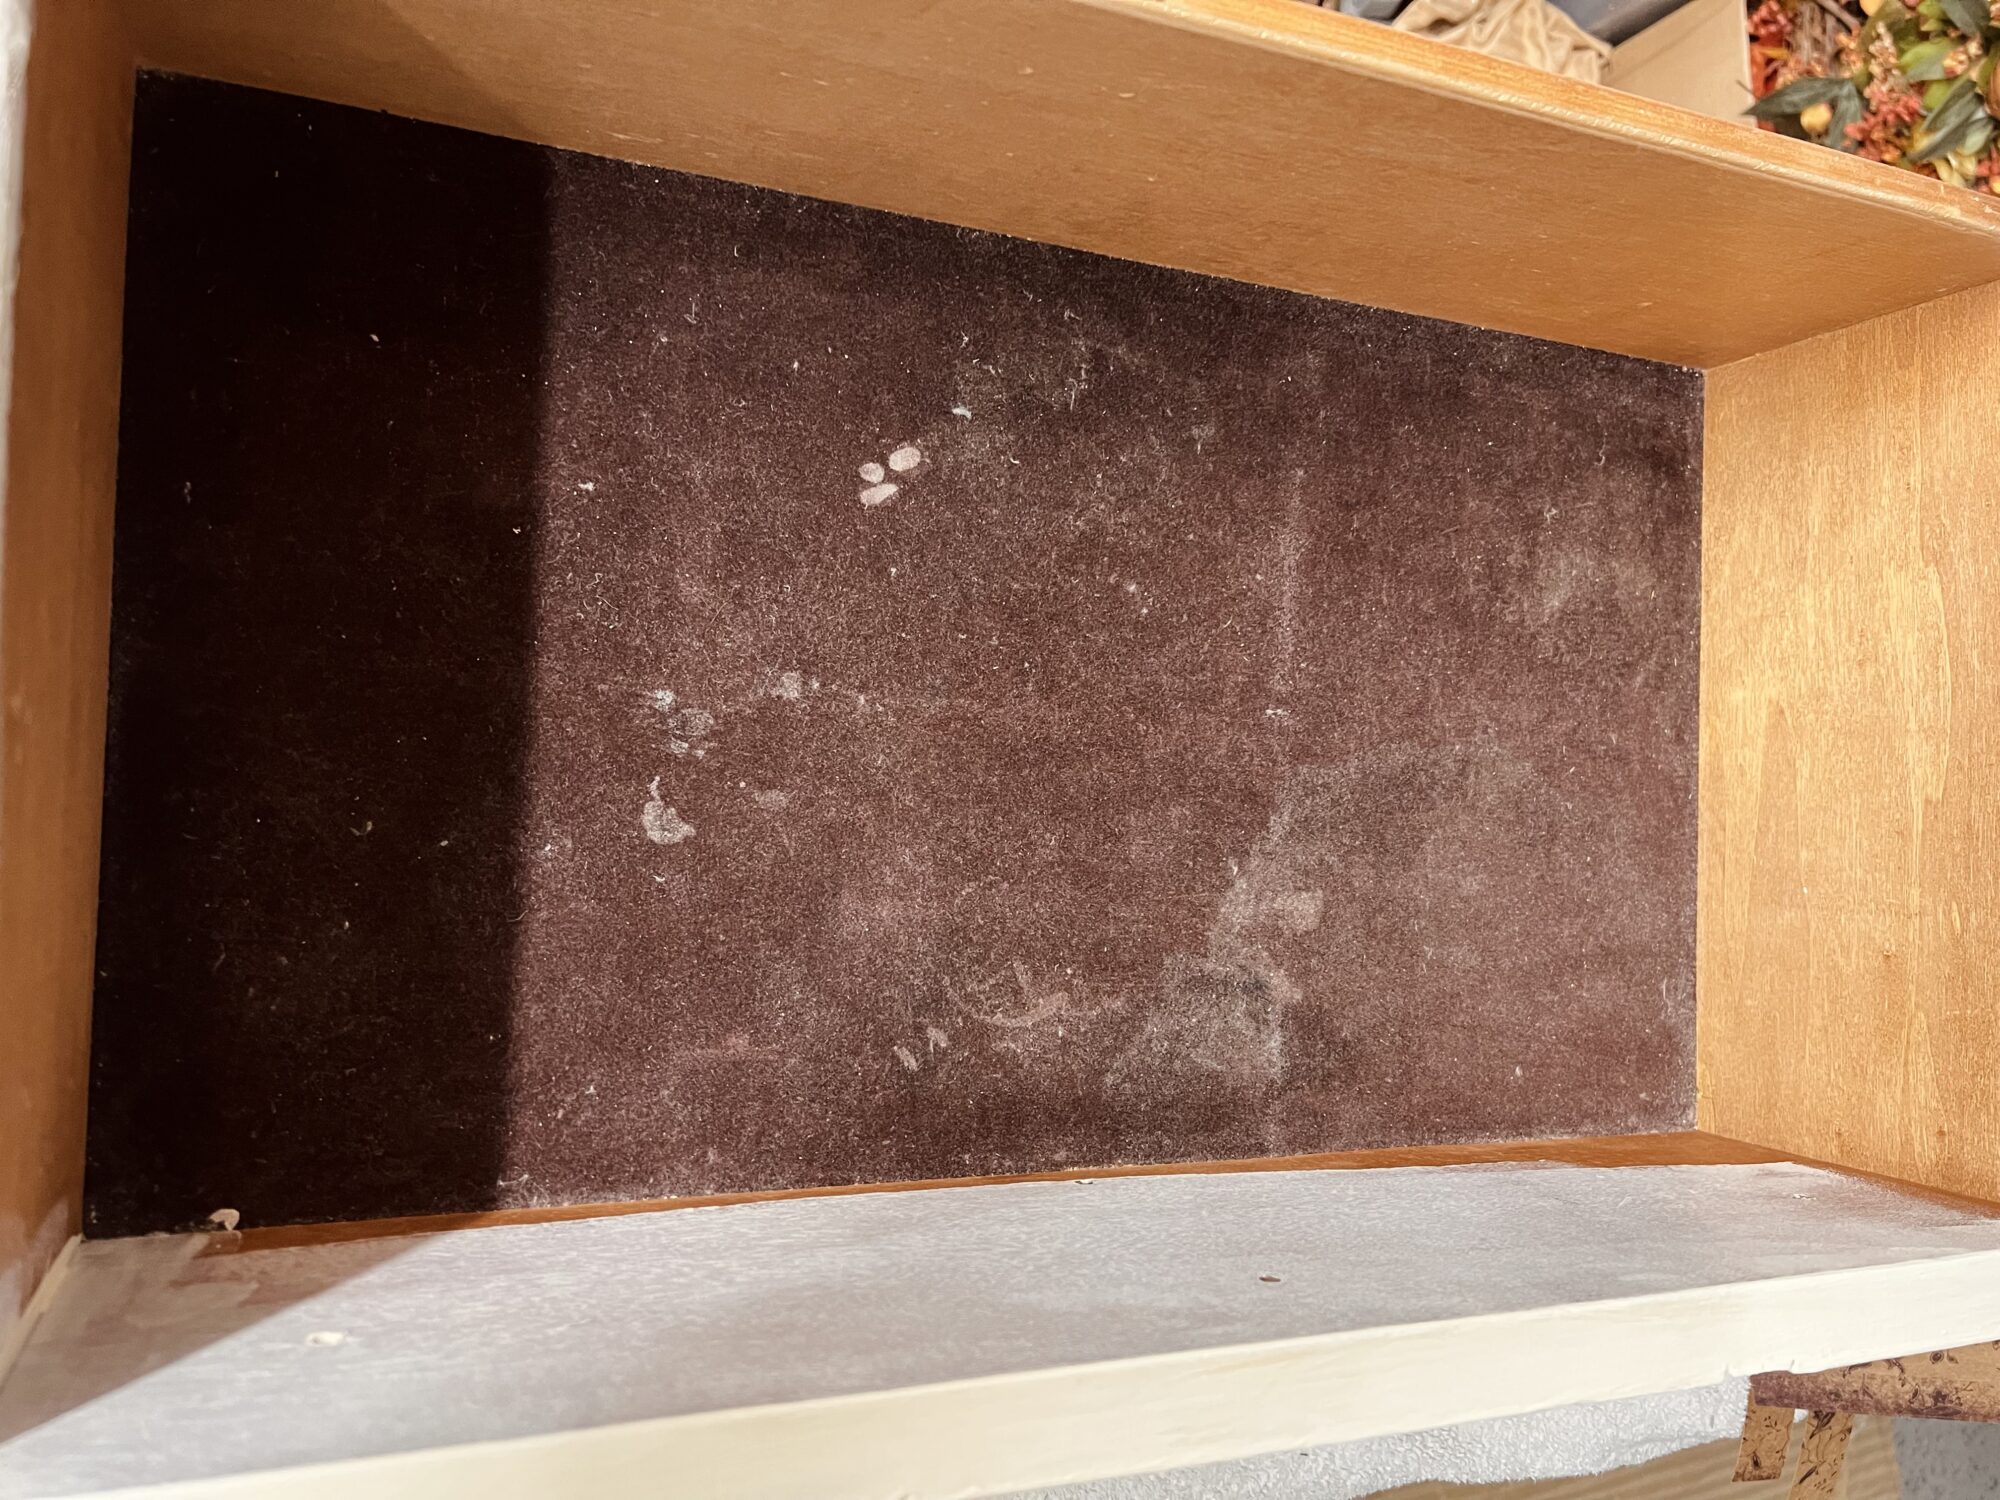
- covering the paint covered felt – not very easy, but it worked out with no noticeable “raising” up
- covering the felt – the mod podge also soaks into the felt, more difficult to cover this way and keep smooth.
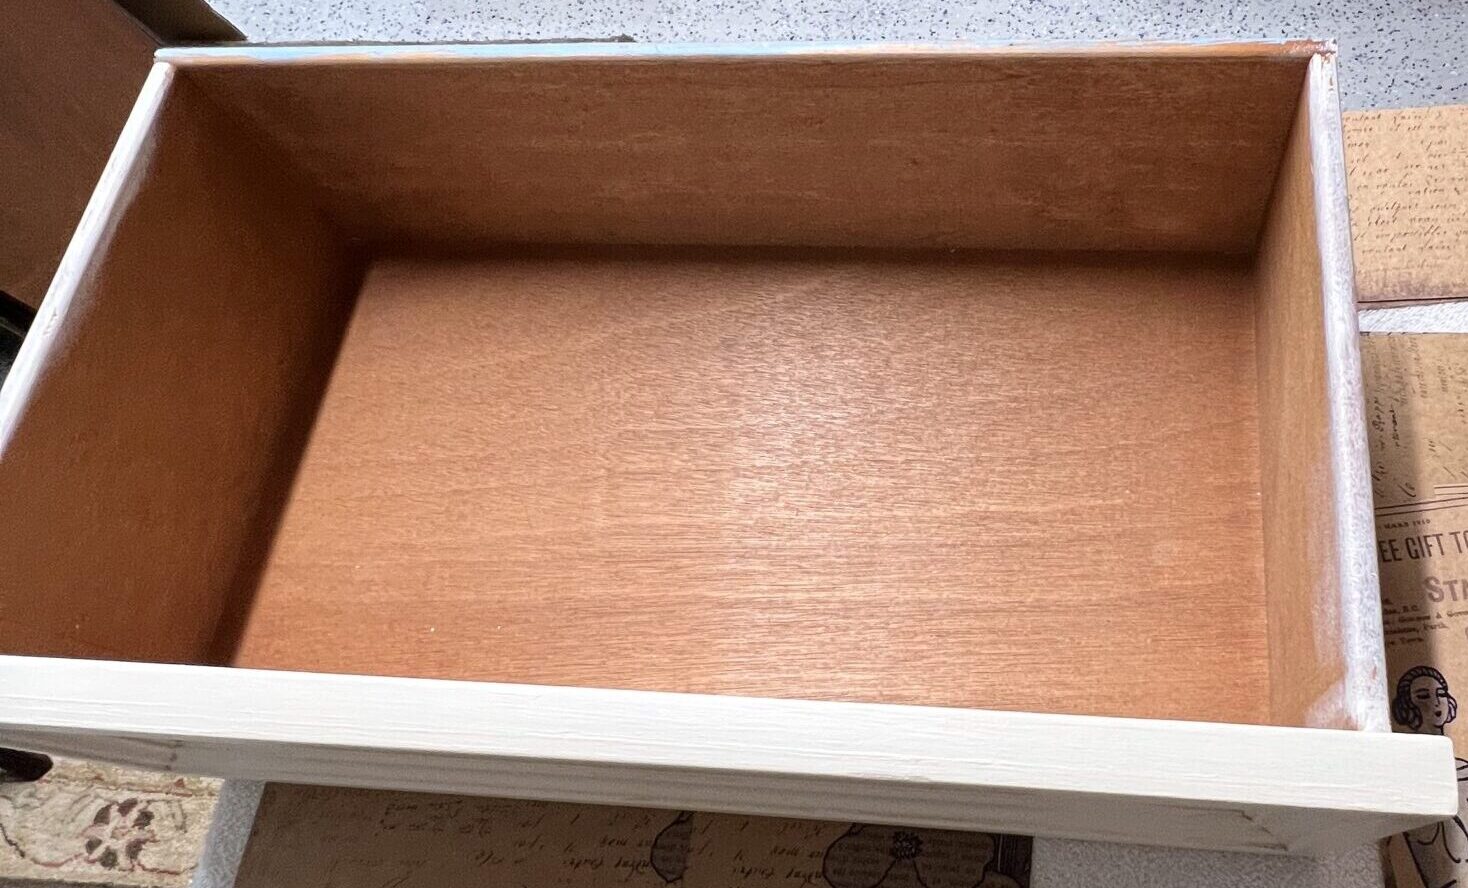
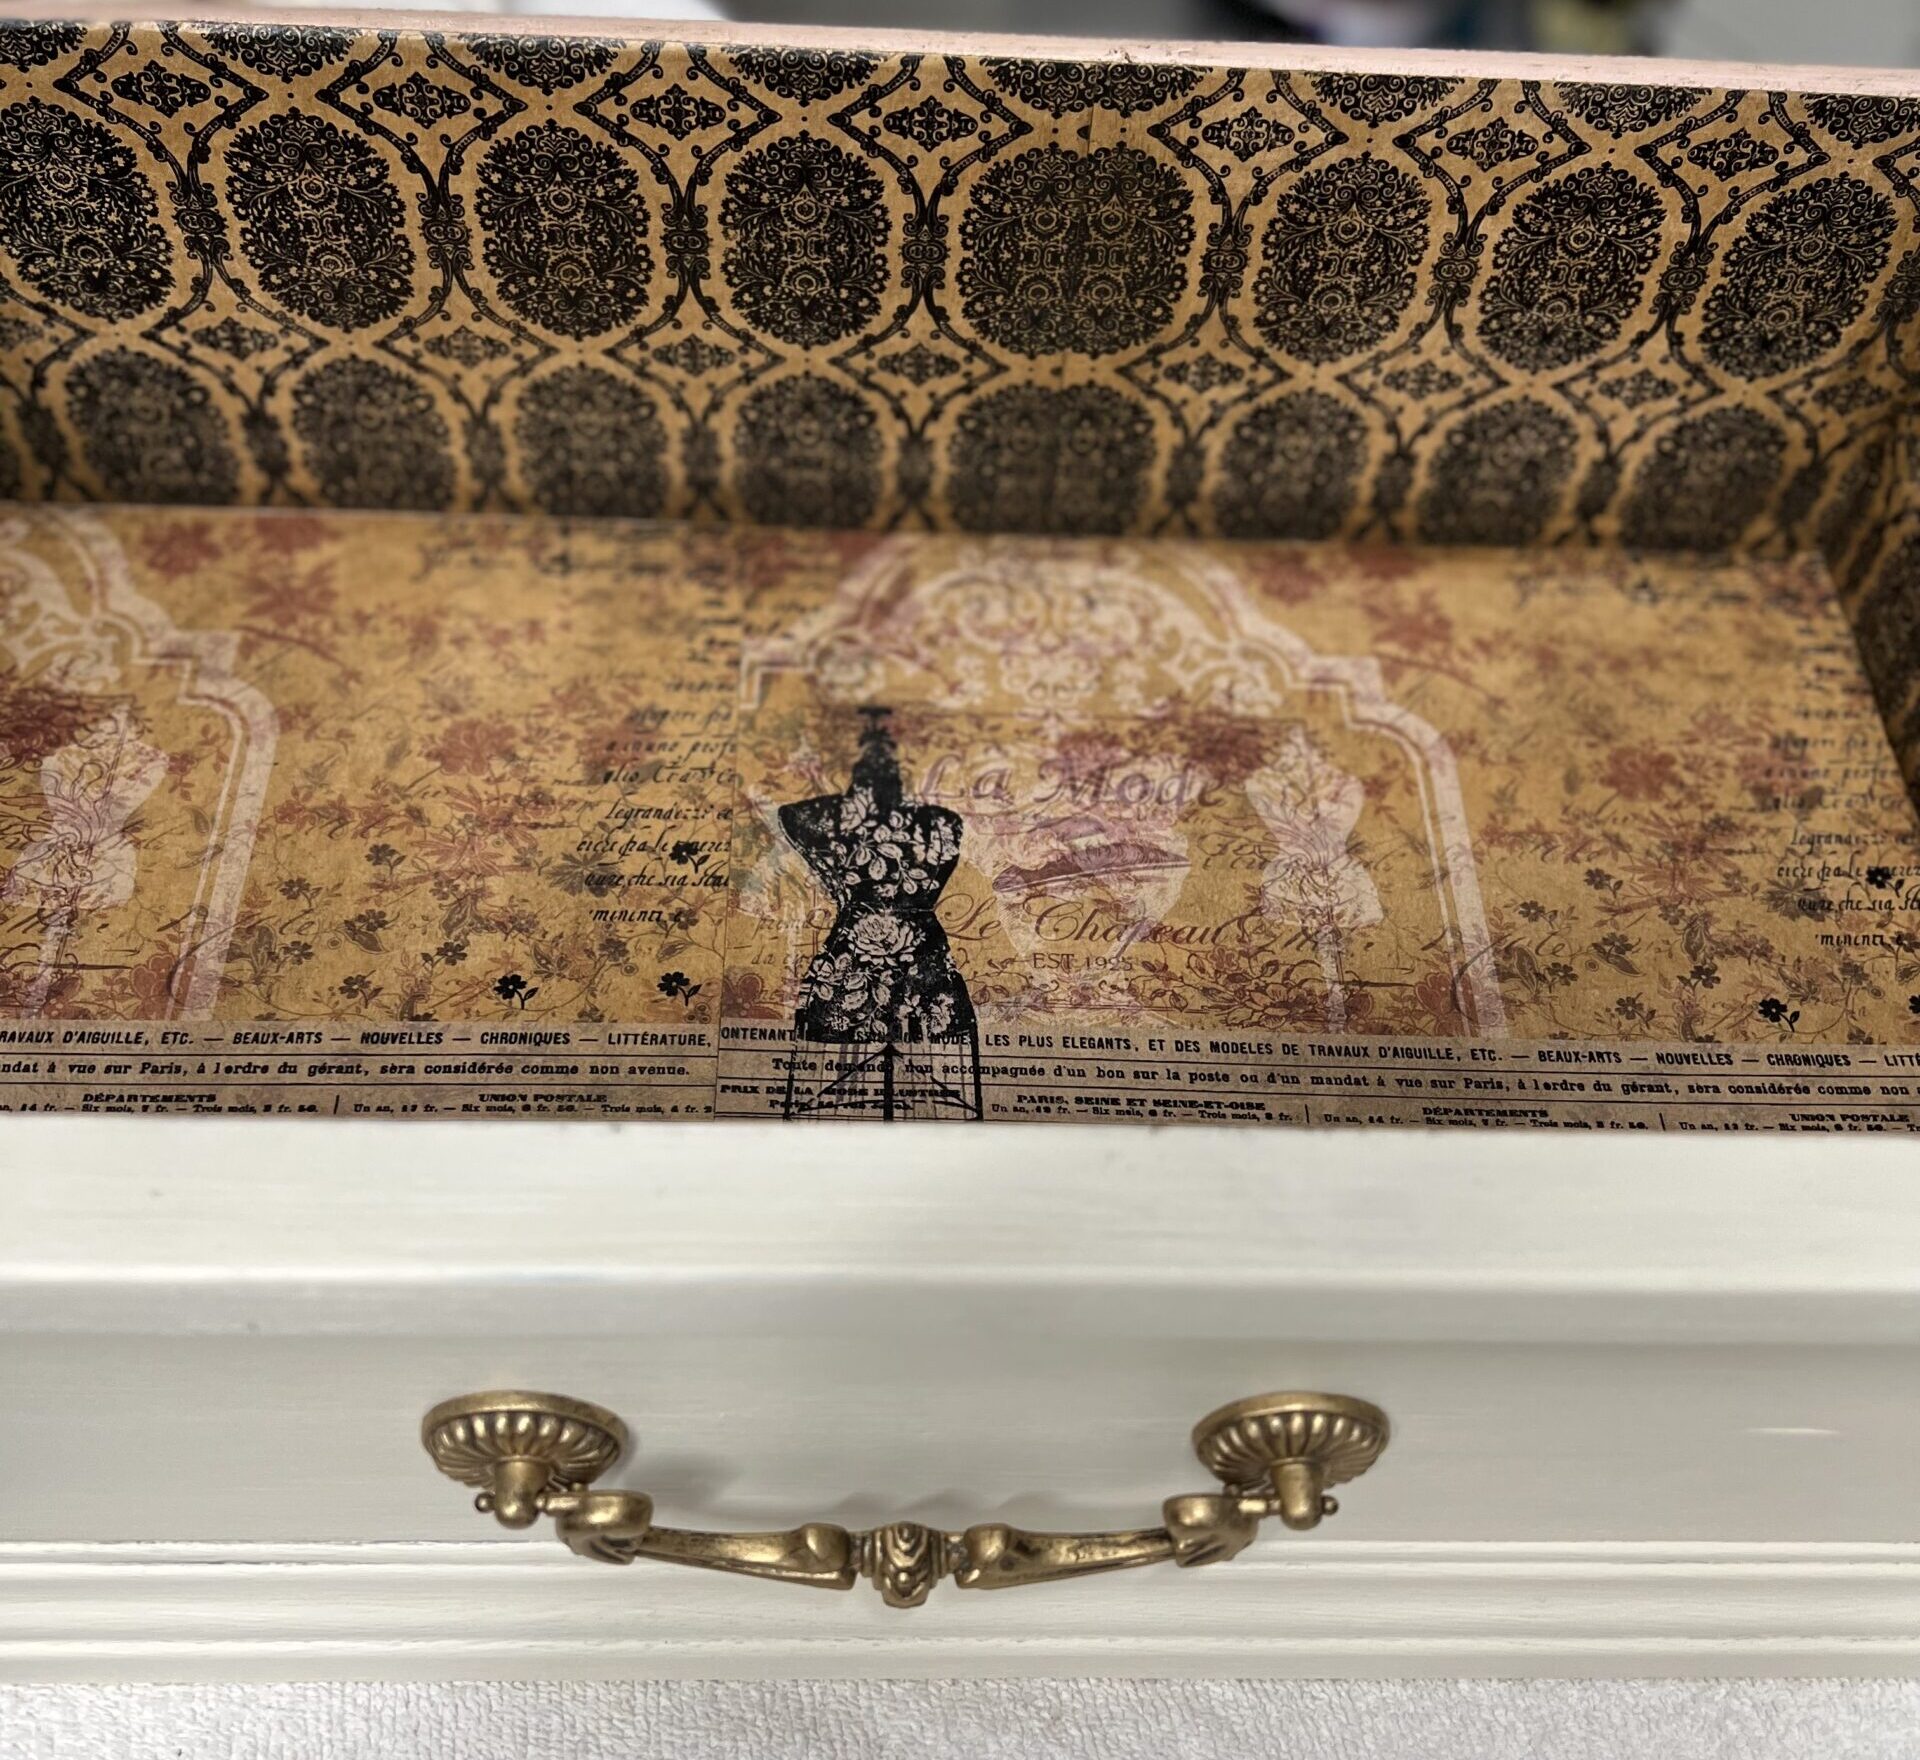
When I started this process I hadn’t planned on making a template, but it worked out that way and I HIGHLY recommend it! Talk about a time and life saver!
Building my template: Initially I
- started with some old scrapbook paper (I’d had this one for years) then
- lined it up inside the drawers,
- folded the edges,
- at first I old school cut them to size with scissors and the ‘bend and lick’ method, which creates a nice frayed edge look…
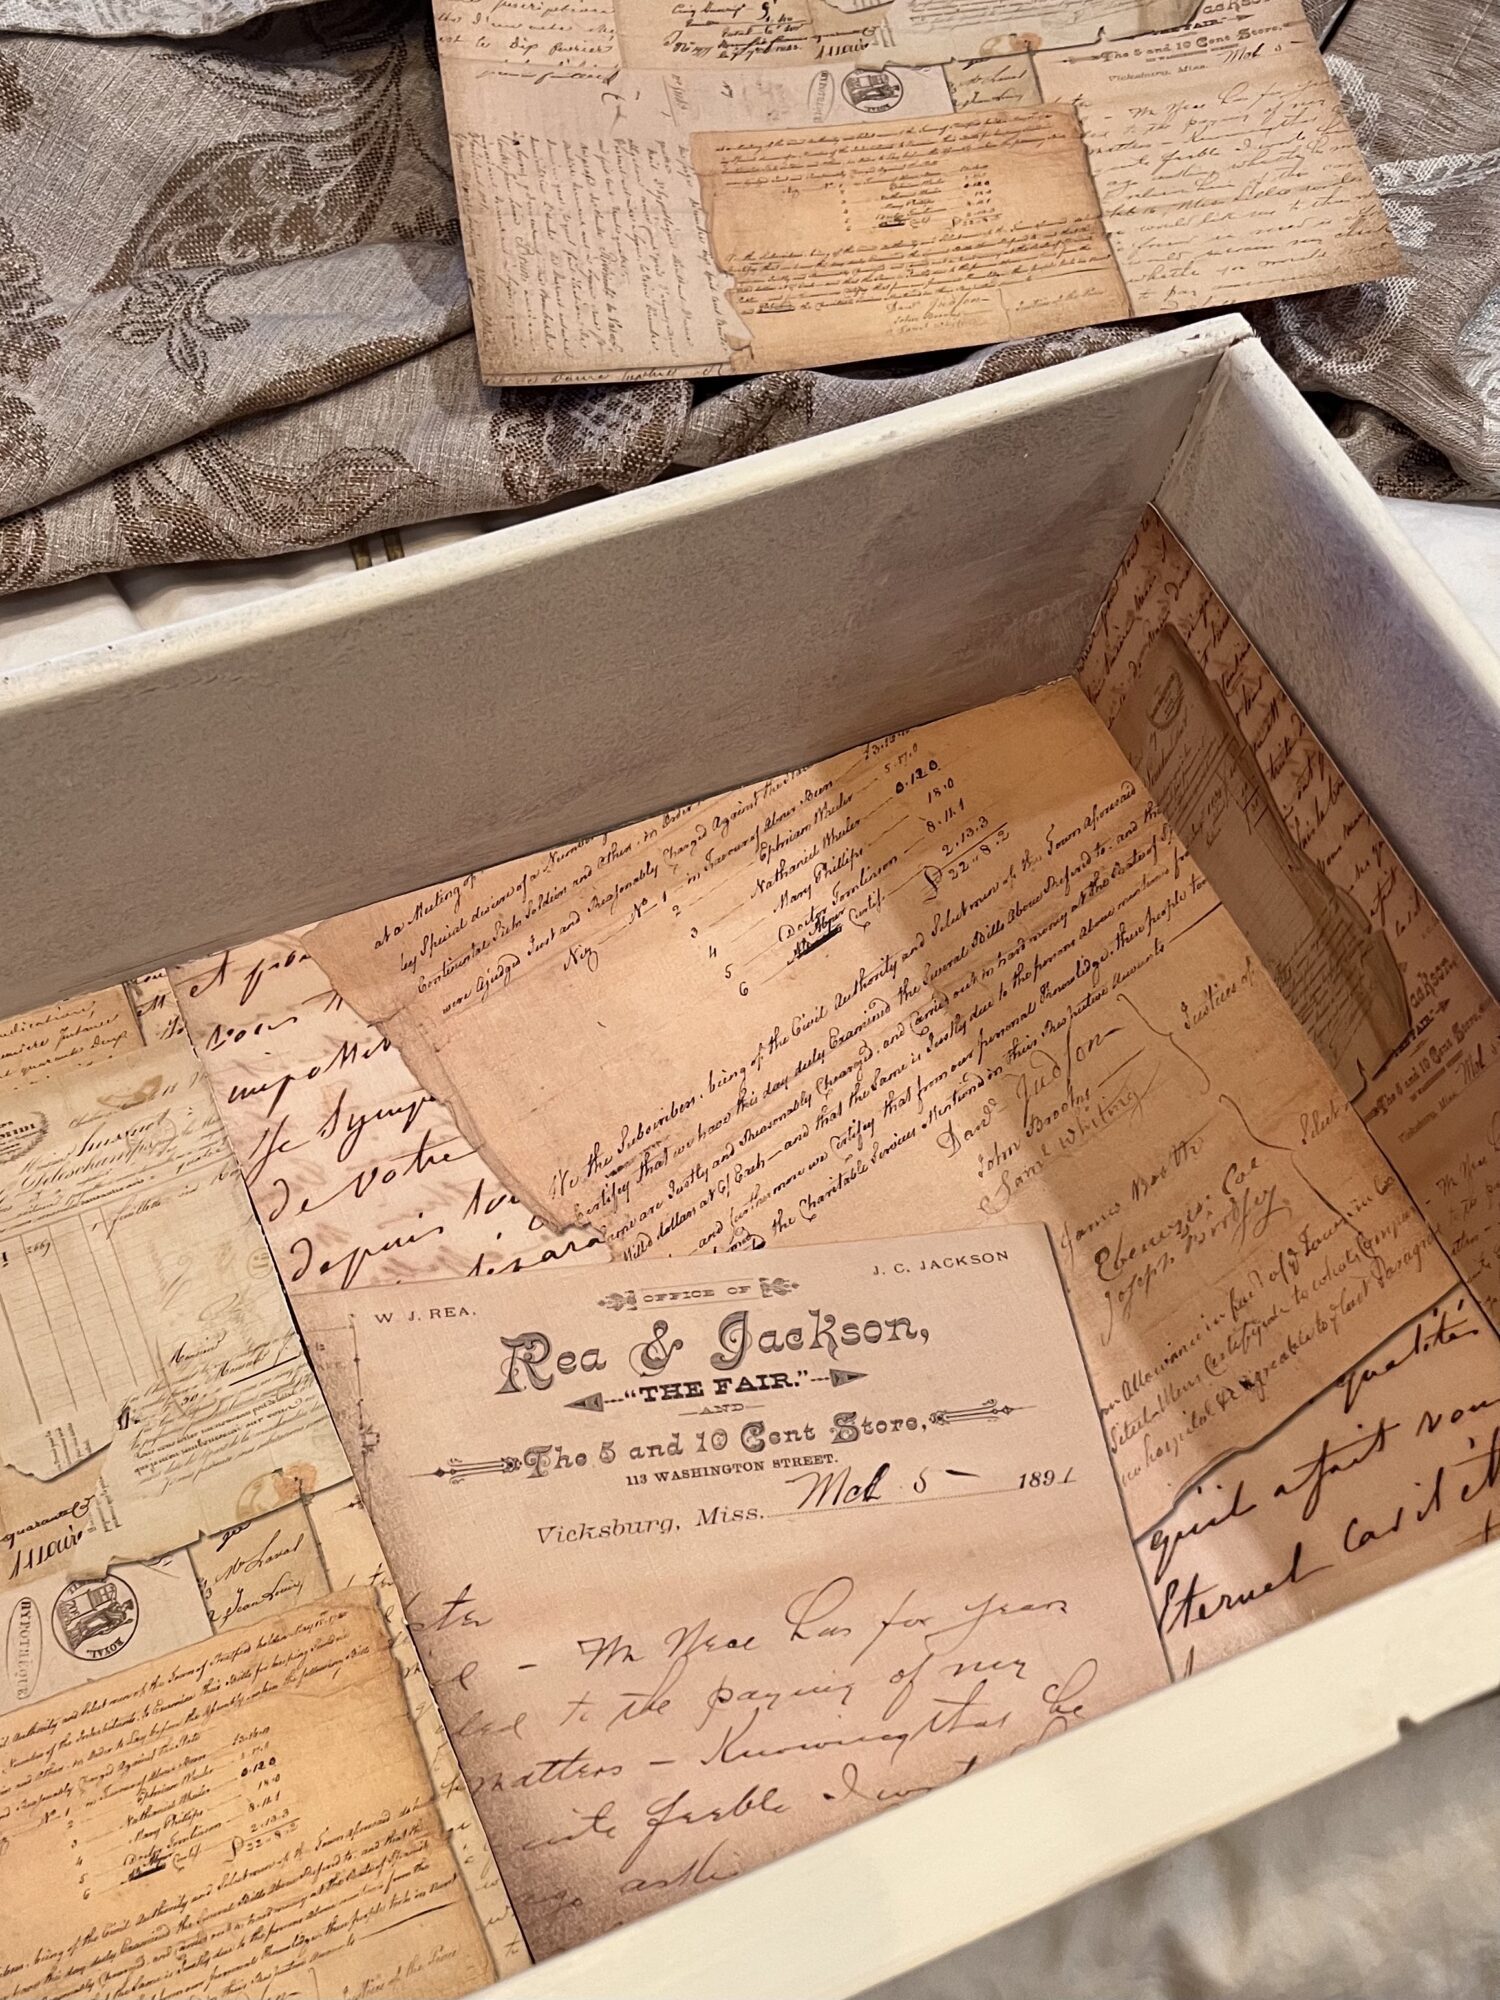
I learned a little late, but then I got this cutter and it really helps! Measure, and then cut! Save yourself the heartache! For the drawers, if you want them even, and matching, this is necessary!
Creating a template made this so much easier! All of the drawers are the same (in my case here), the template made it super fast to crank out the other 5 drawers! My beat up nightstand became my “trial and error” drawer!
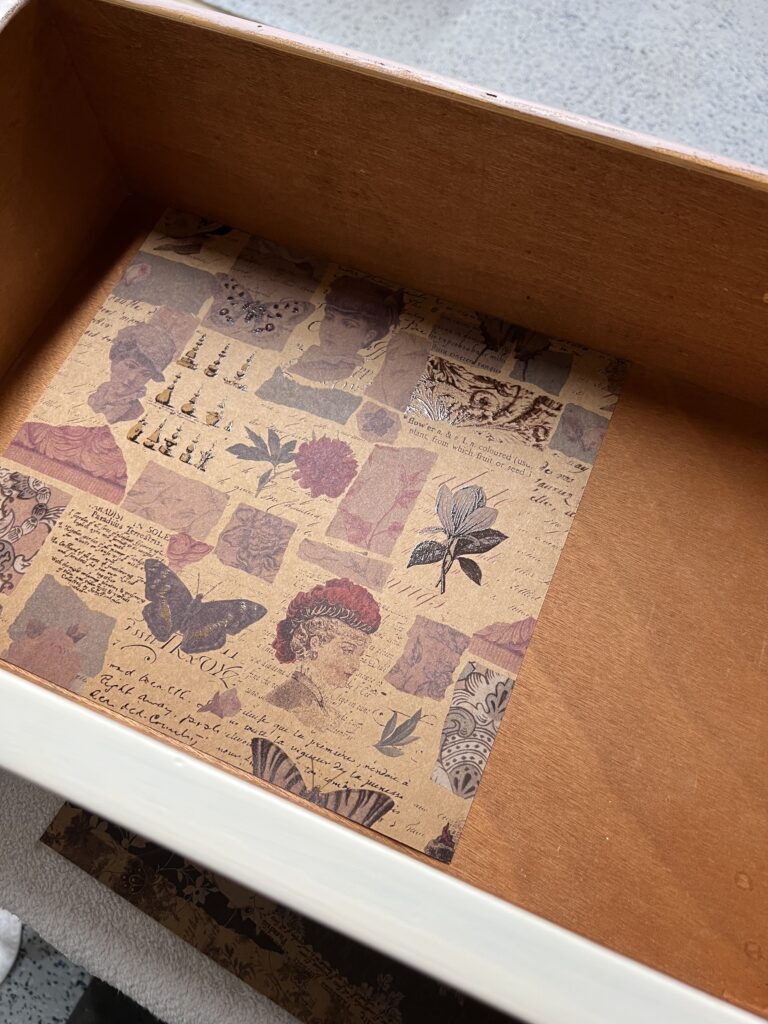
Once you have your template made,
- use that to cut the rest of your drawer pieces.
- Lay them out,
- design the concept first, and
- make a plan for how you want the drawers to look and if you want them to match:
- lesson learned!
- I used one style for each drawer border and then chose a piece that coordinated for the bottom!
- Glad I bought 2 of these haberdashery style scrapbook page books. Get 2 or more if you want to create matching designs!
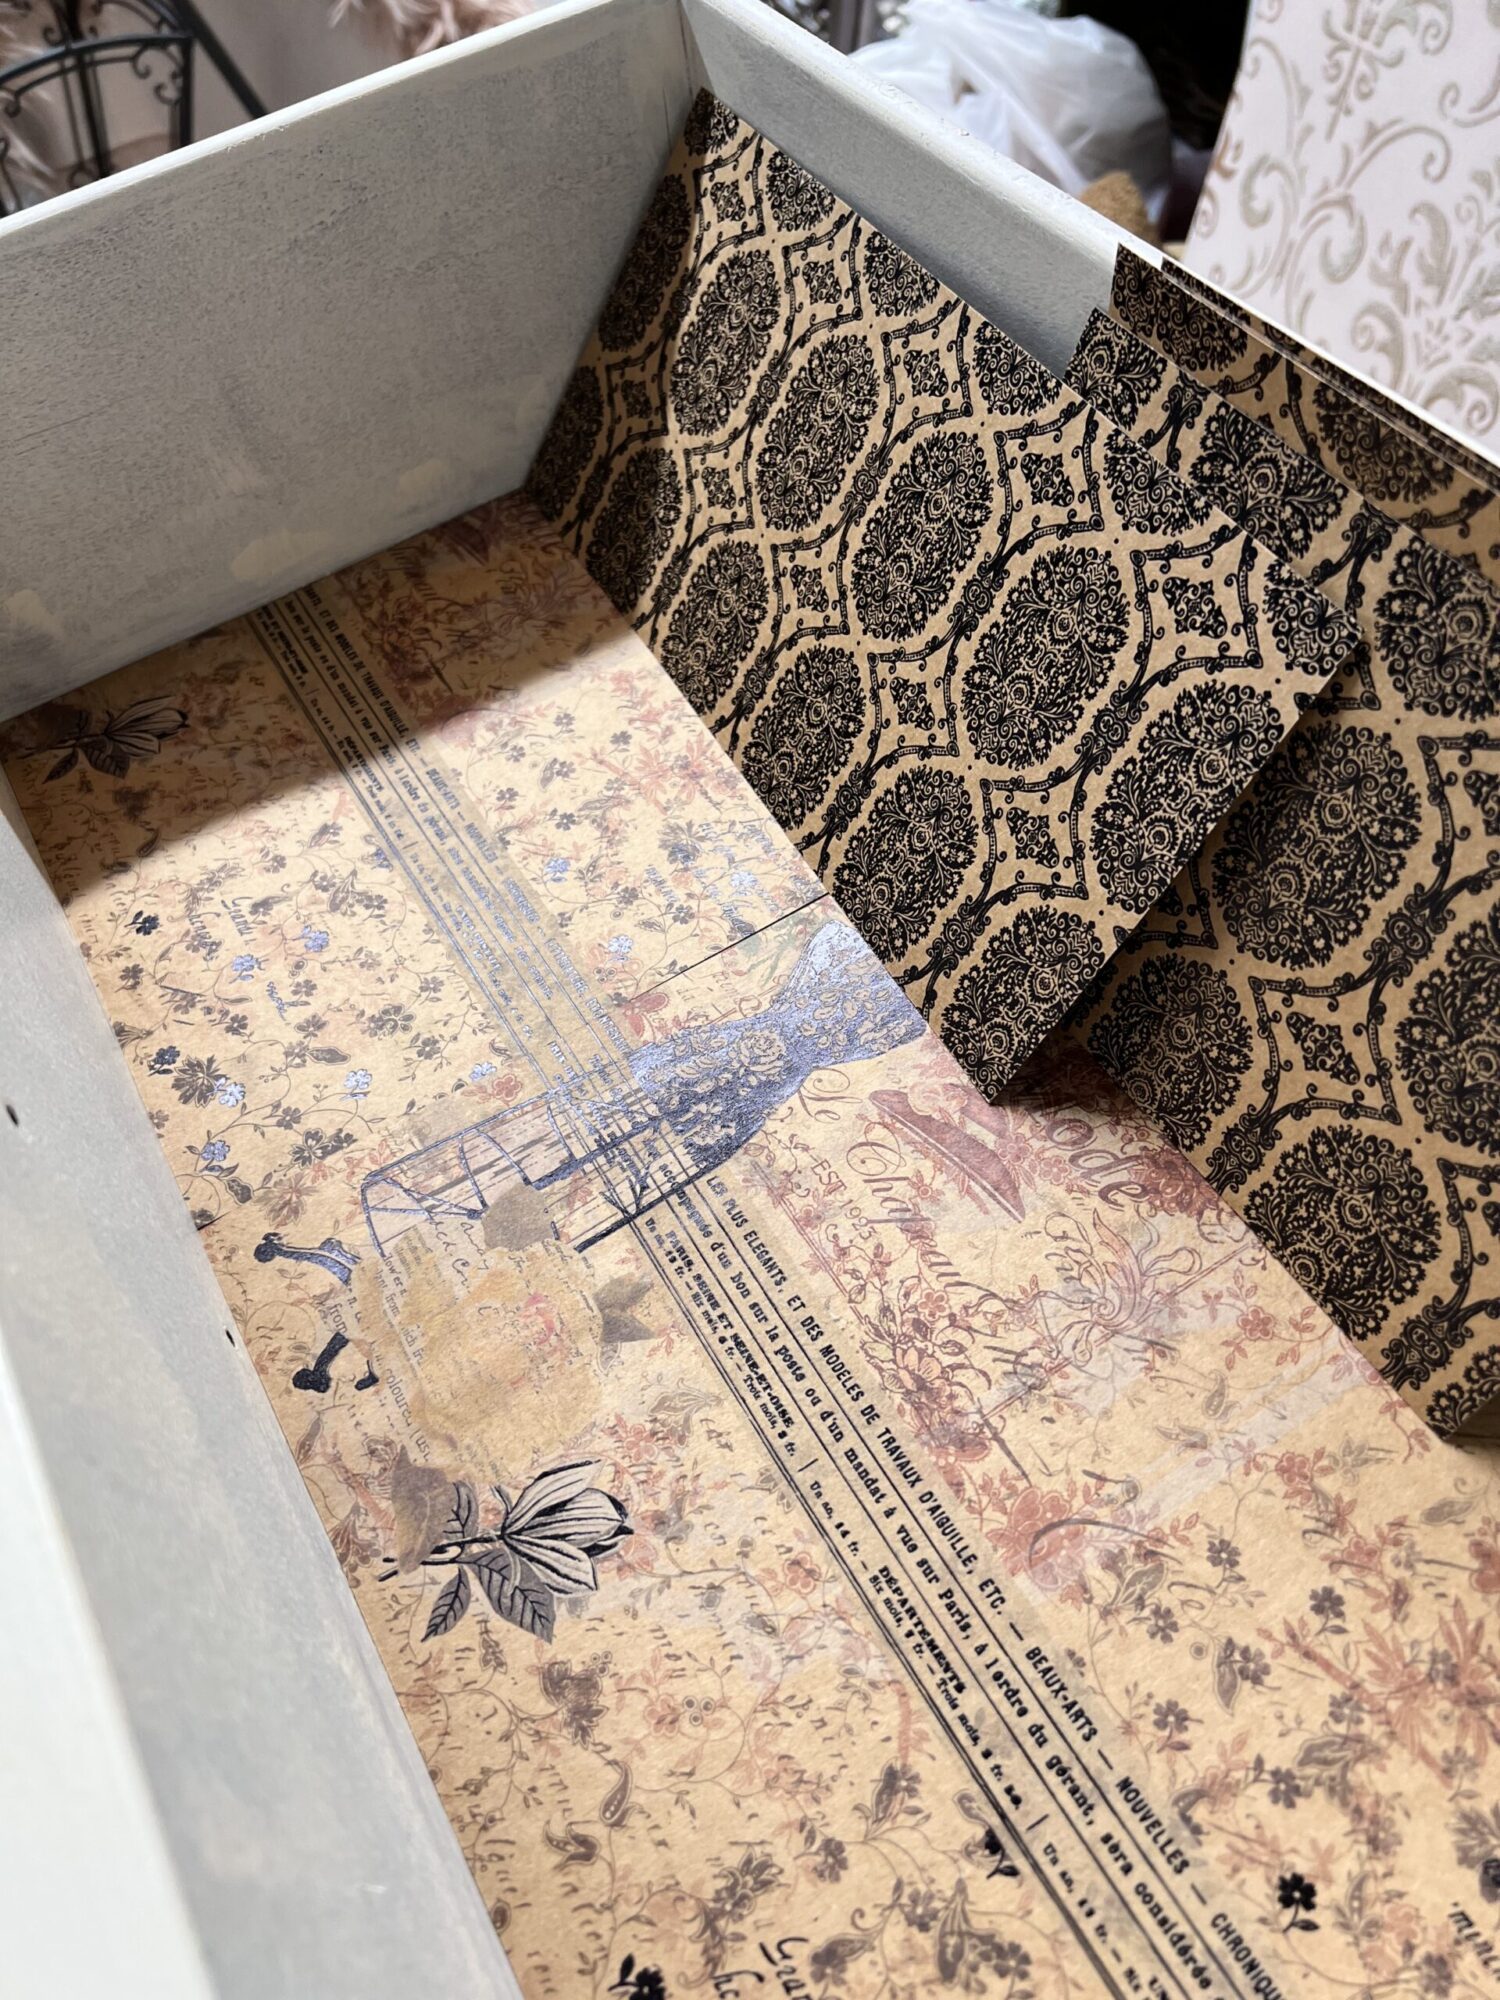
For each drawer it took 2 of one style for the each bottom (each set comes with 3 sheets each of each style).
The drawer sides took all 3 sheets to do all 4 sides (I was going for a coordinating pattern border with each one).
Lay them all out and put them into each drawer you want them in, then its assembly line time!
Tip: Get 2 sets of scrapbook page books for matching designs!
Let me just tell you the cutter helped a lot! Each drawer was a learning experience. I realized I liked the “drawer border” design better when it hit a hairline below the drawer edge, and when they lined up Perfectly!
There is nothing like a nice straight line, but in this case it makes it easier to Mod Podge each piece when they slide in and line up perfectly.
If you are curious about the ‘dark to white’ stage of the makeover process, you can check out the details in the early episodes: Episode 1 – the French County Bedroom makeover nightstand experiment & check out Episode 2 – Decoupaging the drawer sides with tissue paper. See Episode 4 – using gilding wax on hardware.

Decoupaging the insides of all the nightstand drawers really made a huge difference. Here is close up look at the inside of the drawers, check out this video!
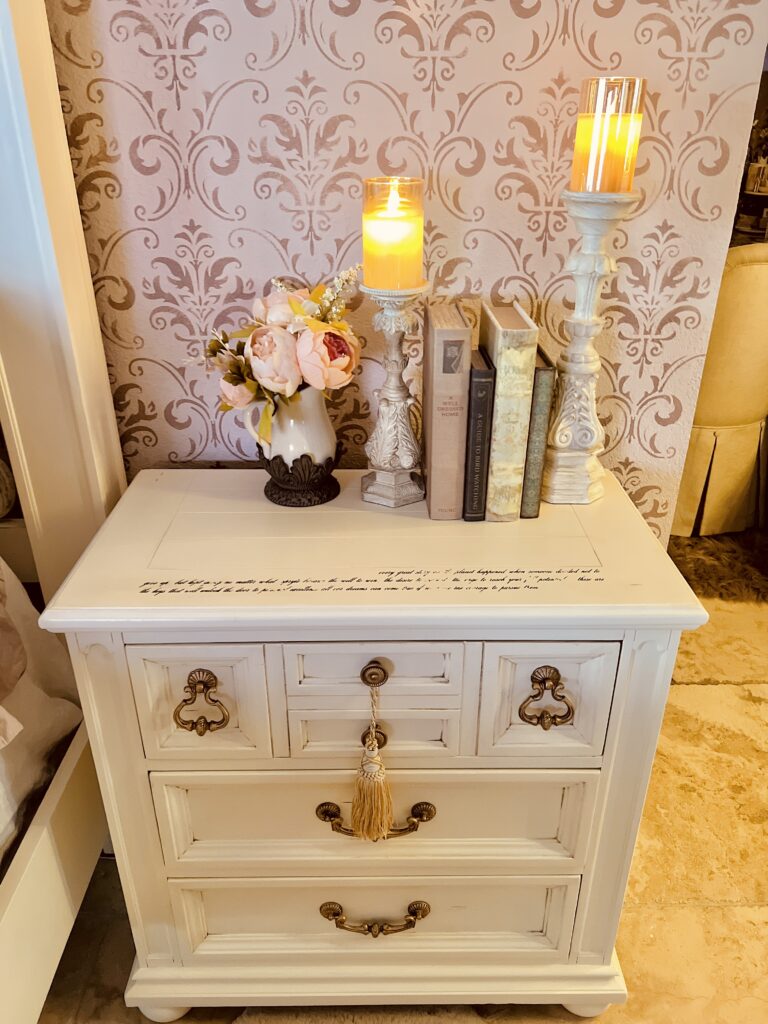
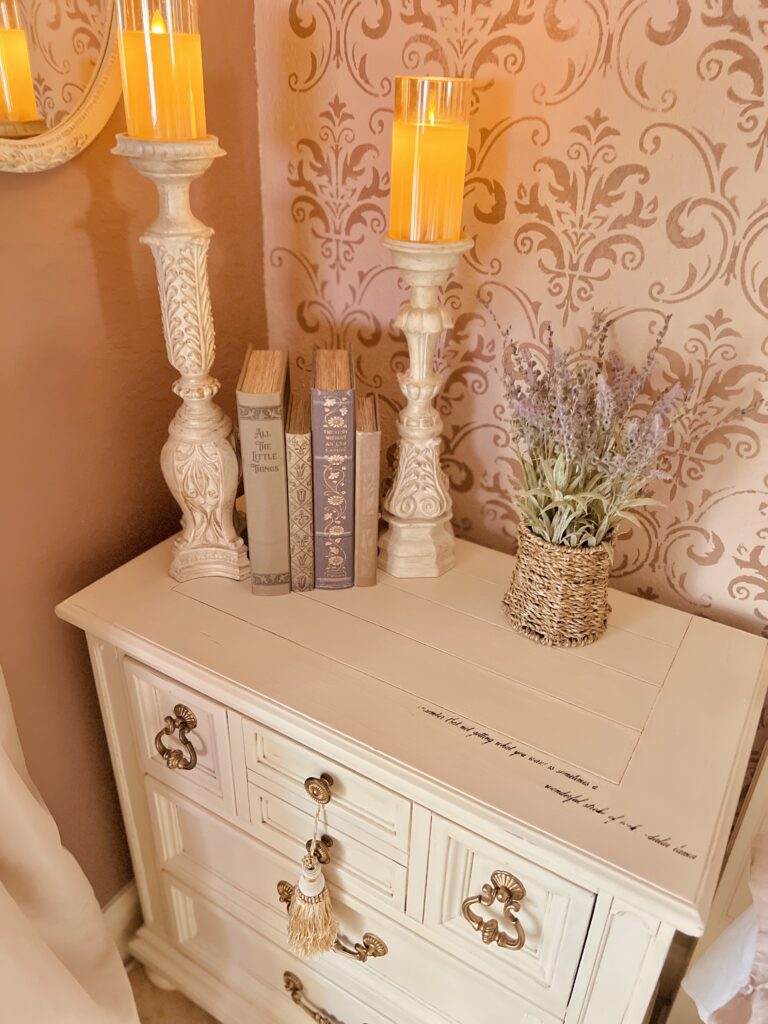
The drawer themes on the inside worked perfectly with my French Country Bedroom Makeover theme. The nightstands are truly a thing of beauty!
To date I have barely put anything back in these drawers! Ha - proof I have more crap than I even use! LOL Can I get an Amen for 'trying to declutter' but failing because we just love pretty things?! 🙂

- Make a template
- Plan your design
- Use a cutter for straight edges to line up
- Apply a THIN layer of Mod Podge to the drawer and back of the paper quickly
- Align and smooth out all air bubbles
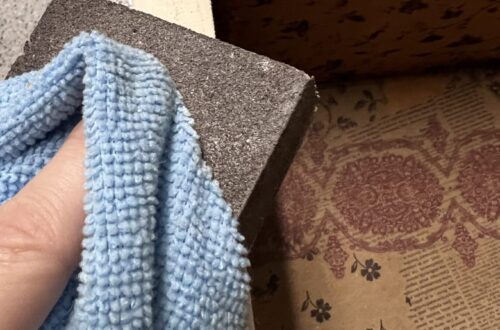
- Use dark antique wax to conceal seams where the edges meet
TIP: tissue paper is thin - if you use it, you get one shot at laying it down. Scrapbook paper you can pick up and move around more.

For the WHITE transformation, I tried this "All-in-one-paint", "Manor House" creamy off white color by "Heirloom Traditions". The color really worked well creating that French Country feeling.
Use dark wax to cover up seams where your scrapbook pages meet. You can give it even more of a vintage vibe and create a nice blended look!
I've uploaded some videos on YouTube to show you some of the steps along the way, check them out if you want an idea on how the process looks live.
I've also done some live video walk throughs so you can see things up close and personal!
I was really surprised at how much I loved the drawer sides and insides done! I don’t like to leave drawers open, or even see them slightly cracked, but I swear I will open them just to look at them now!
I hope you enjoyed Episode 3 of the French Country Bedroom Makeover Series - decoupaging the insides of the Nightstands! I truly enjoyed doing this entire project and I am so glad that I did!
I was searching for a feeling...and I gave myself exactly what I needed! There is no better miracle than that!
Check out ALL Episodes in this French Country Bedroom Makeover Series:
- The Nightstand Experiment
- Decoupaging the drawer sides
- Decoupaging inside drawers
- Hardware makeover – Getting a good Gilding!
- Painting the Wrought Iron Headboard & Footboard
- Dresser & Mirror with wrought iron
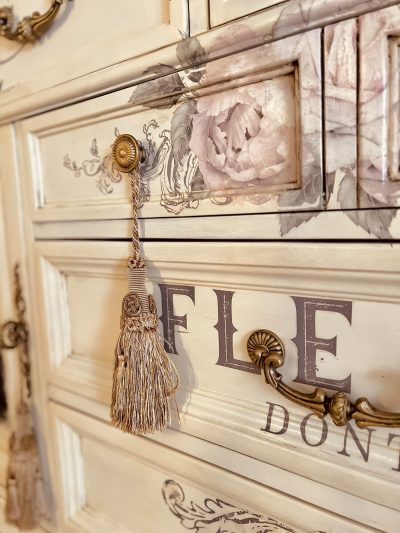
- Dresser – adding rub on furniture transfers
- Dresser – adding decoupage rice paper Artwork
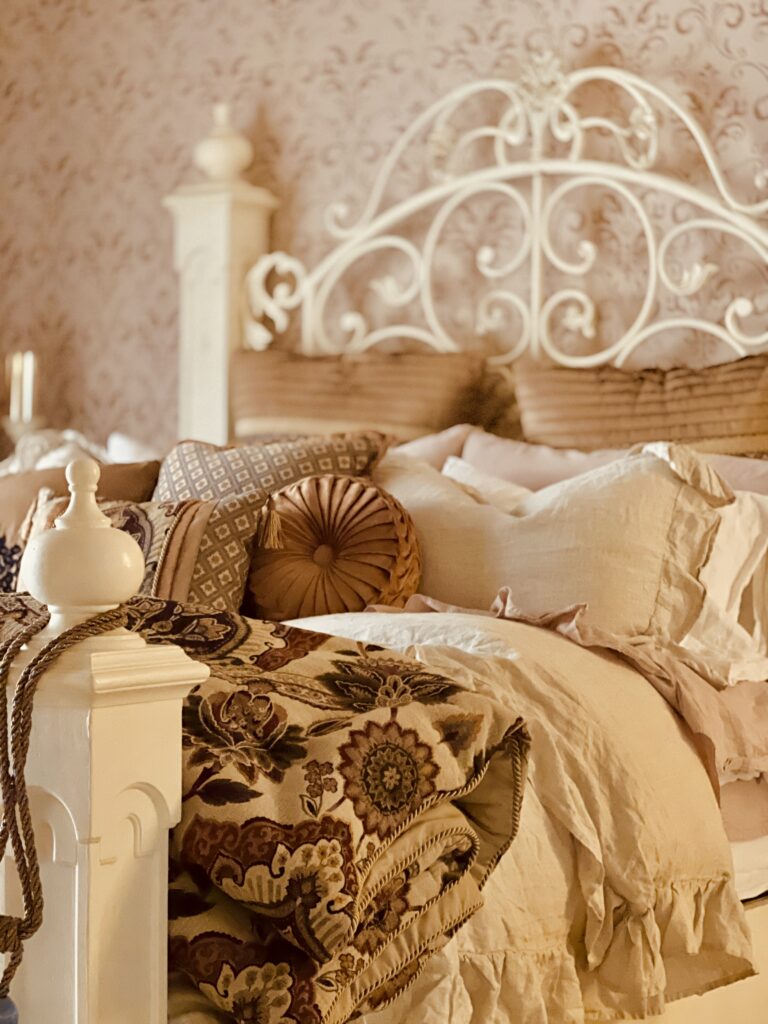
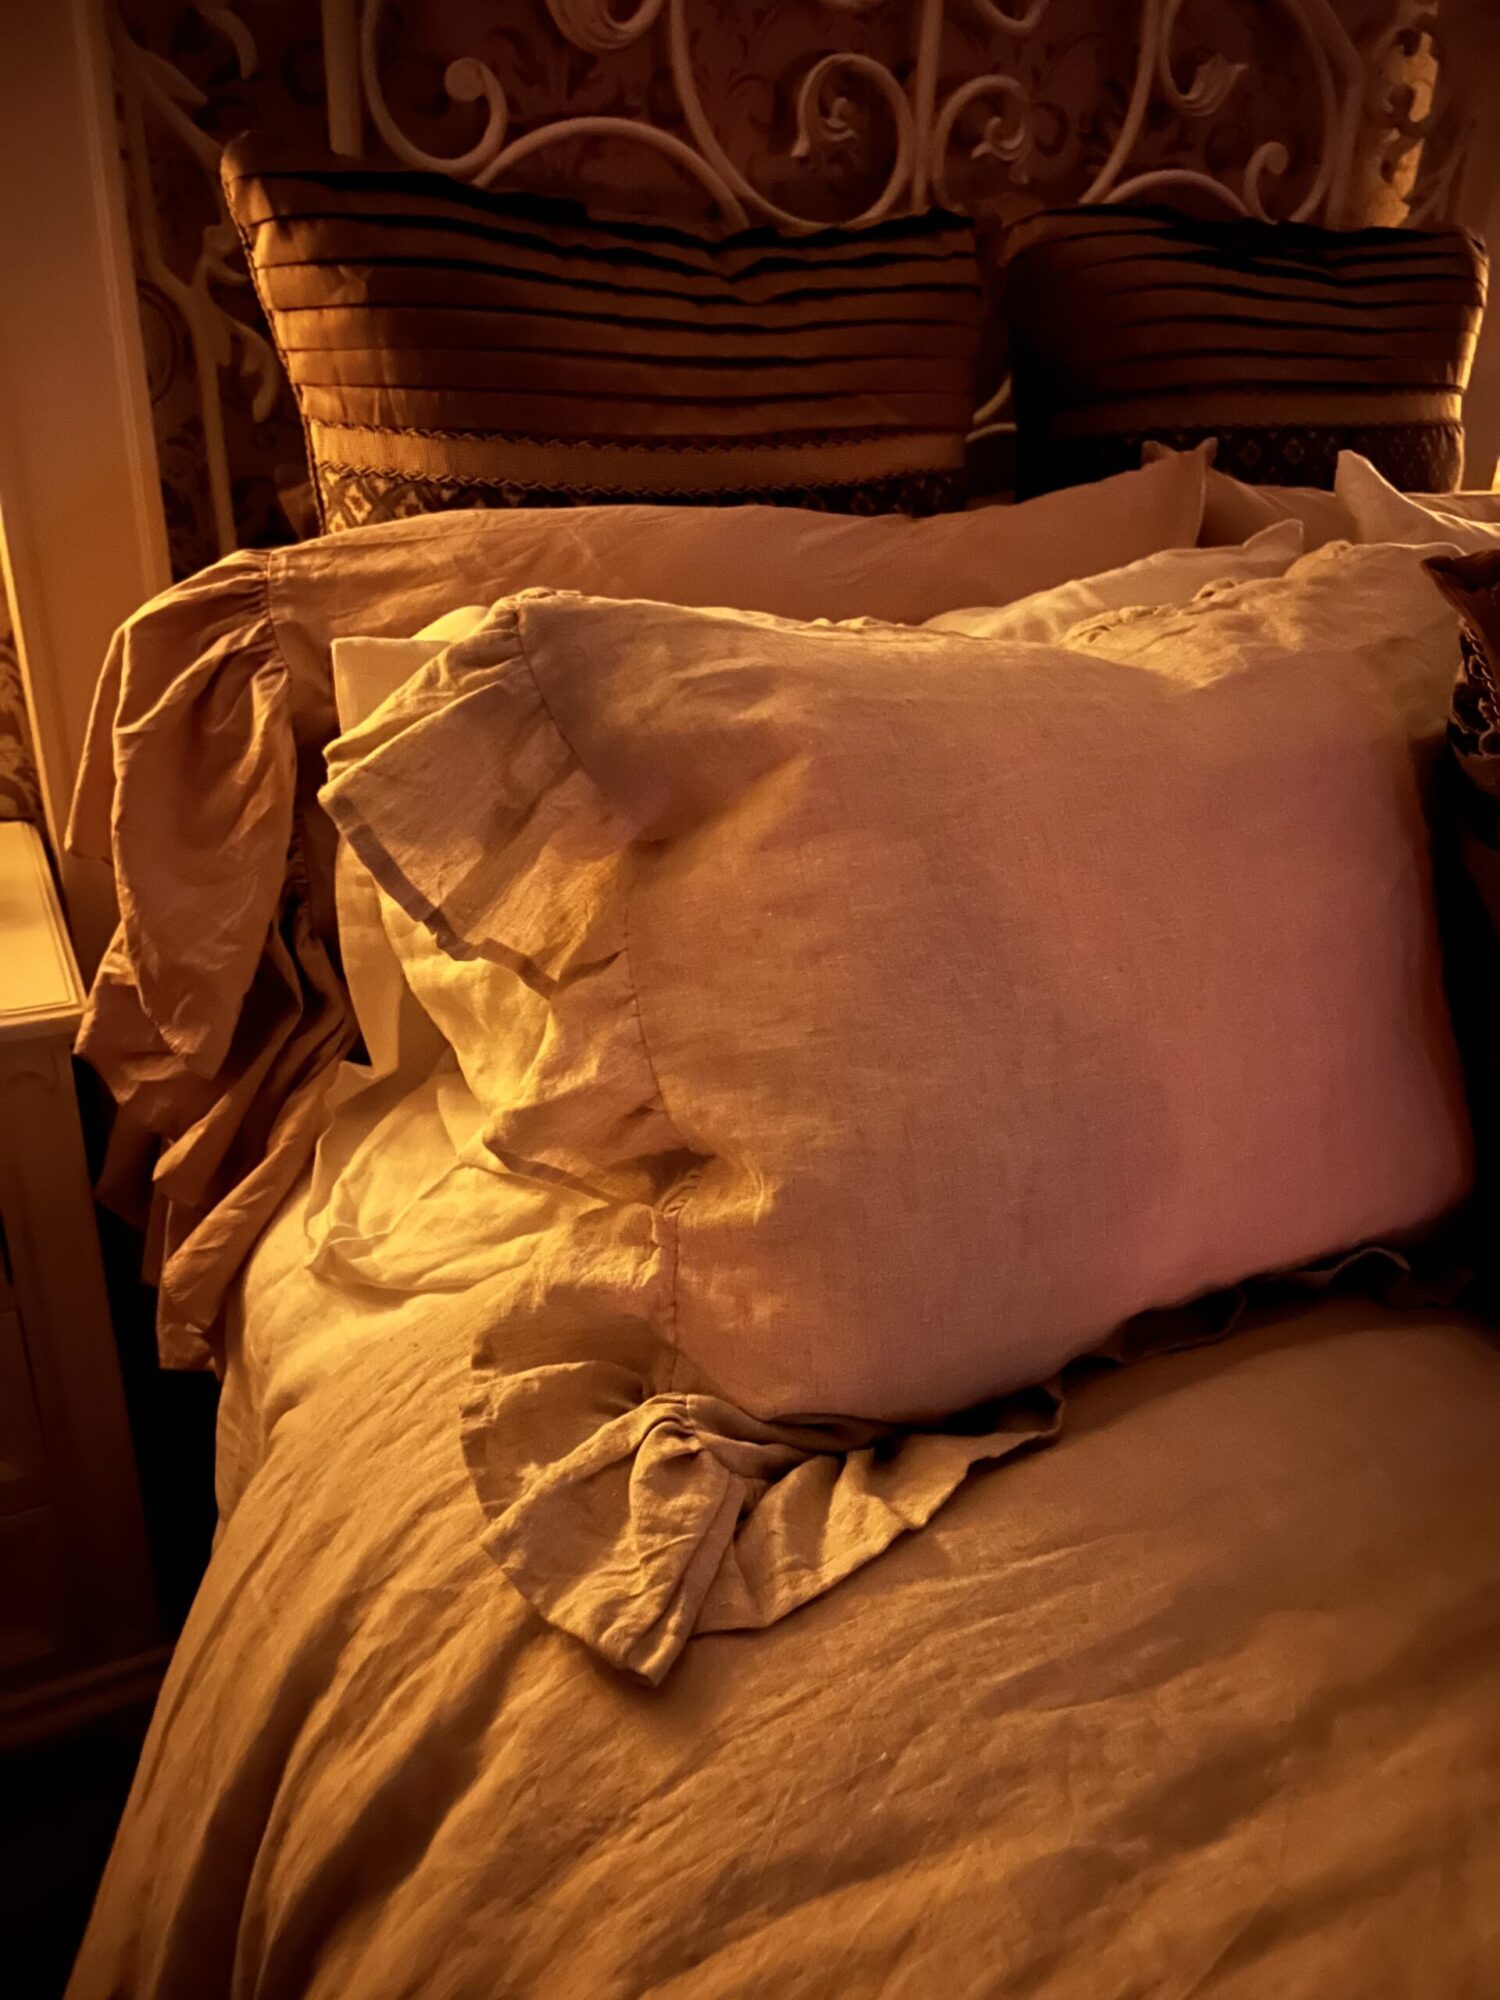
- Creating a French Country Cozy Bedroom – bedding and décor
- Dress Form makeover (COMING SOON)
- Armoire: my success and failure (COMING SOON)
Save & share!
Until next time…
Keep smiling, improve every day, and build a life you love!
Yours Truly,
January Ember
I had a look in my mind originally, inspired from a dresser I saw on Pinterest. I really loved how she did this so I started with this concept in mind…but it transformed and the vision changed! https://pin.it/p6bdbDu


You May Also Like
DIY Cinderella Sewing Book
February 16, 2024
Bedroom Makeover: Episode 7 – Adding rub on transfers
June 29, 2022

