French Country Bedroom: Episode 6 – Dresser makeover
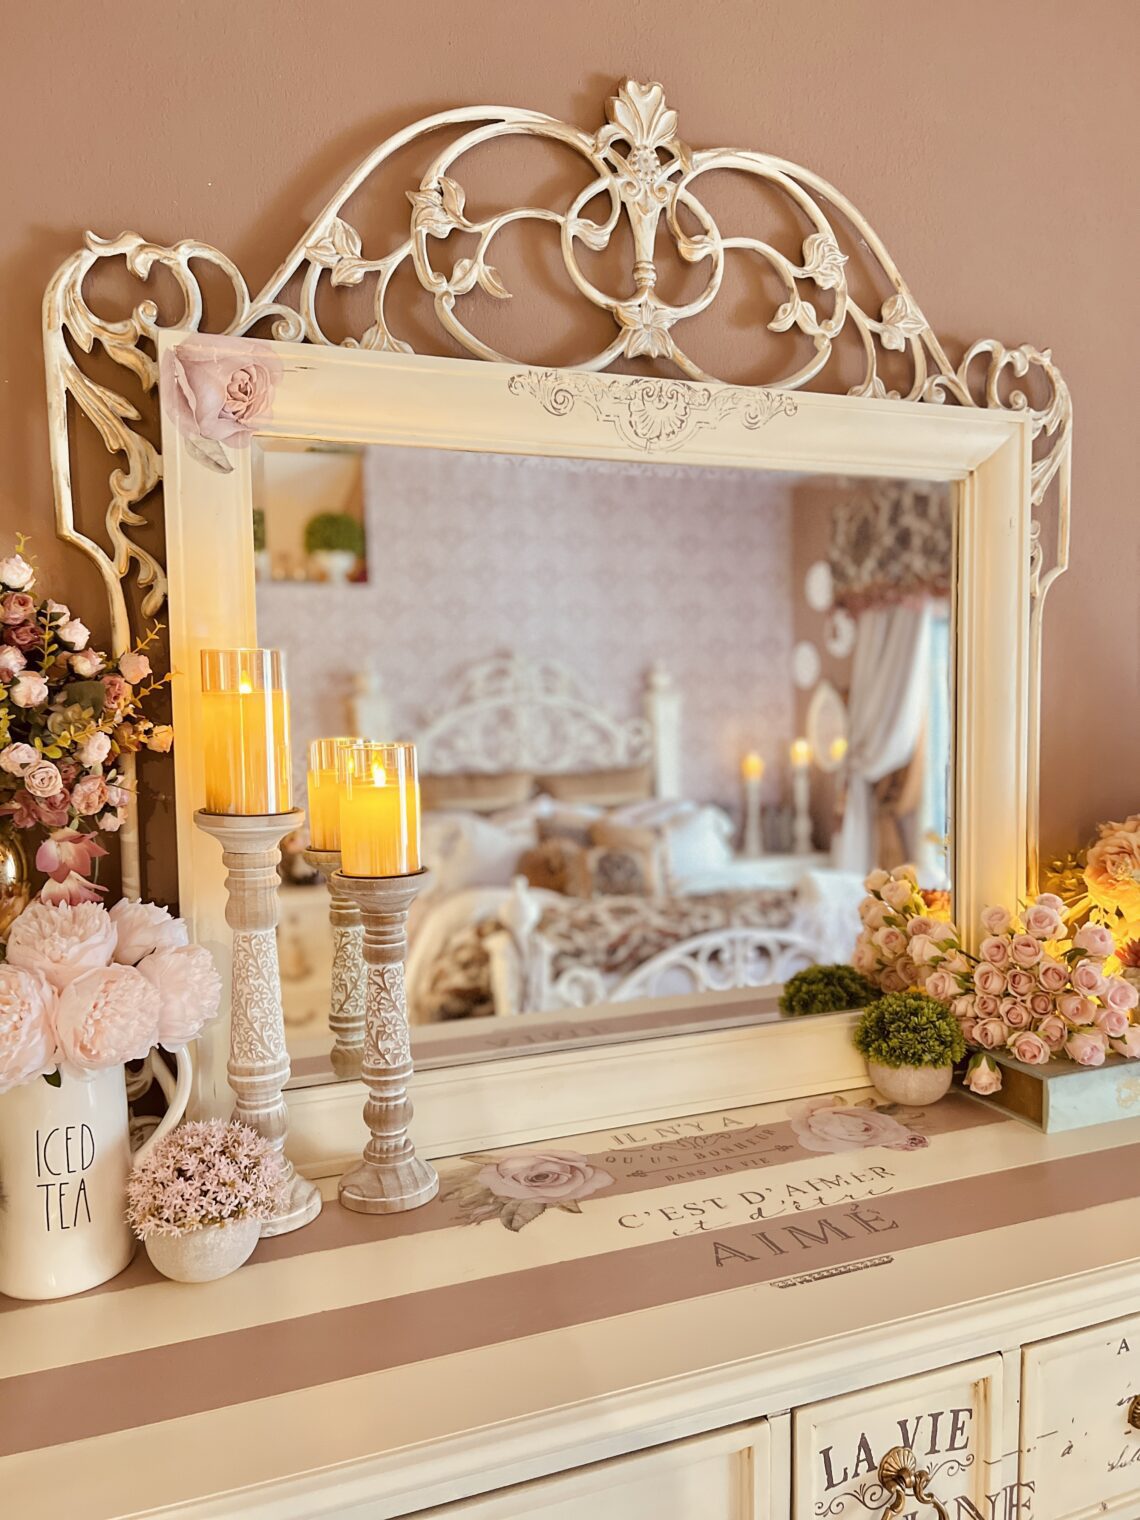
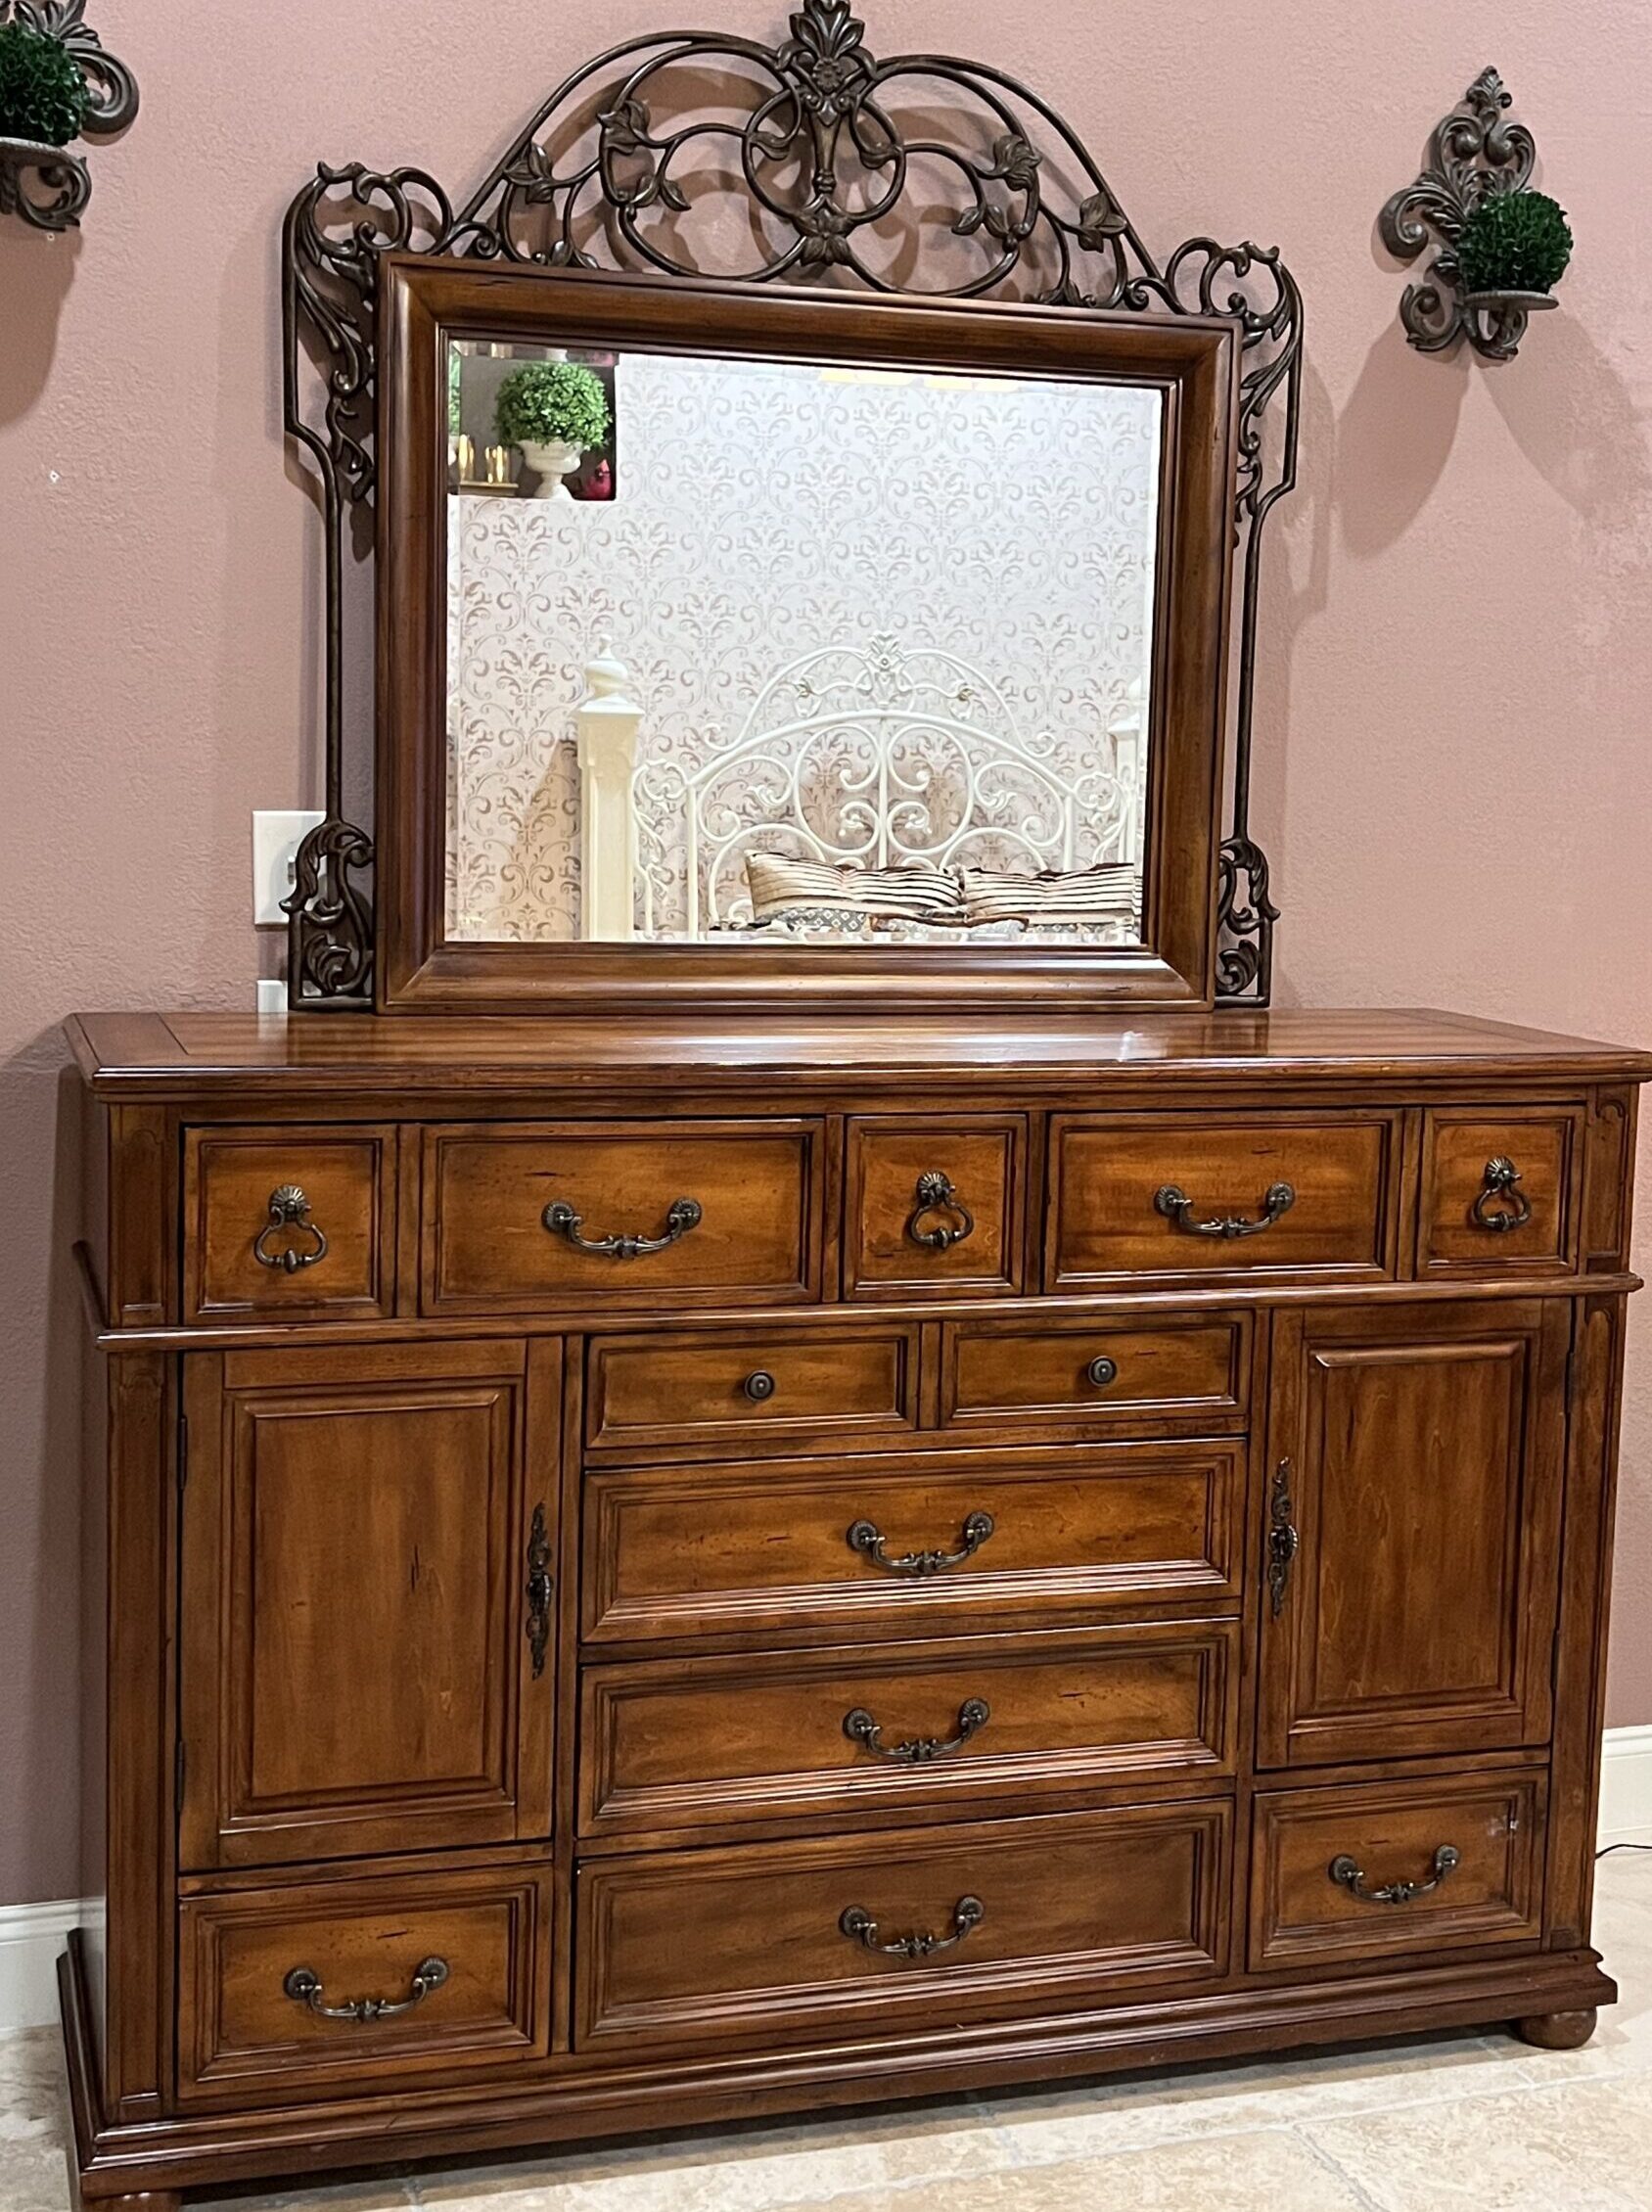
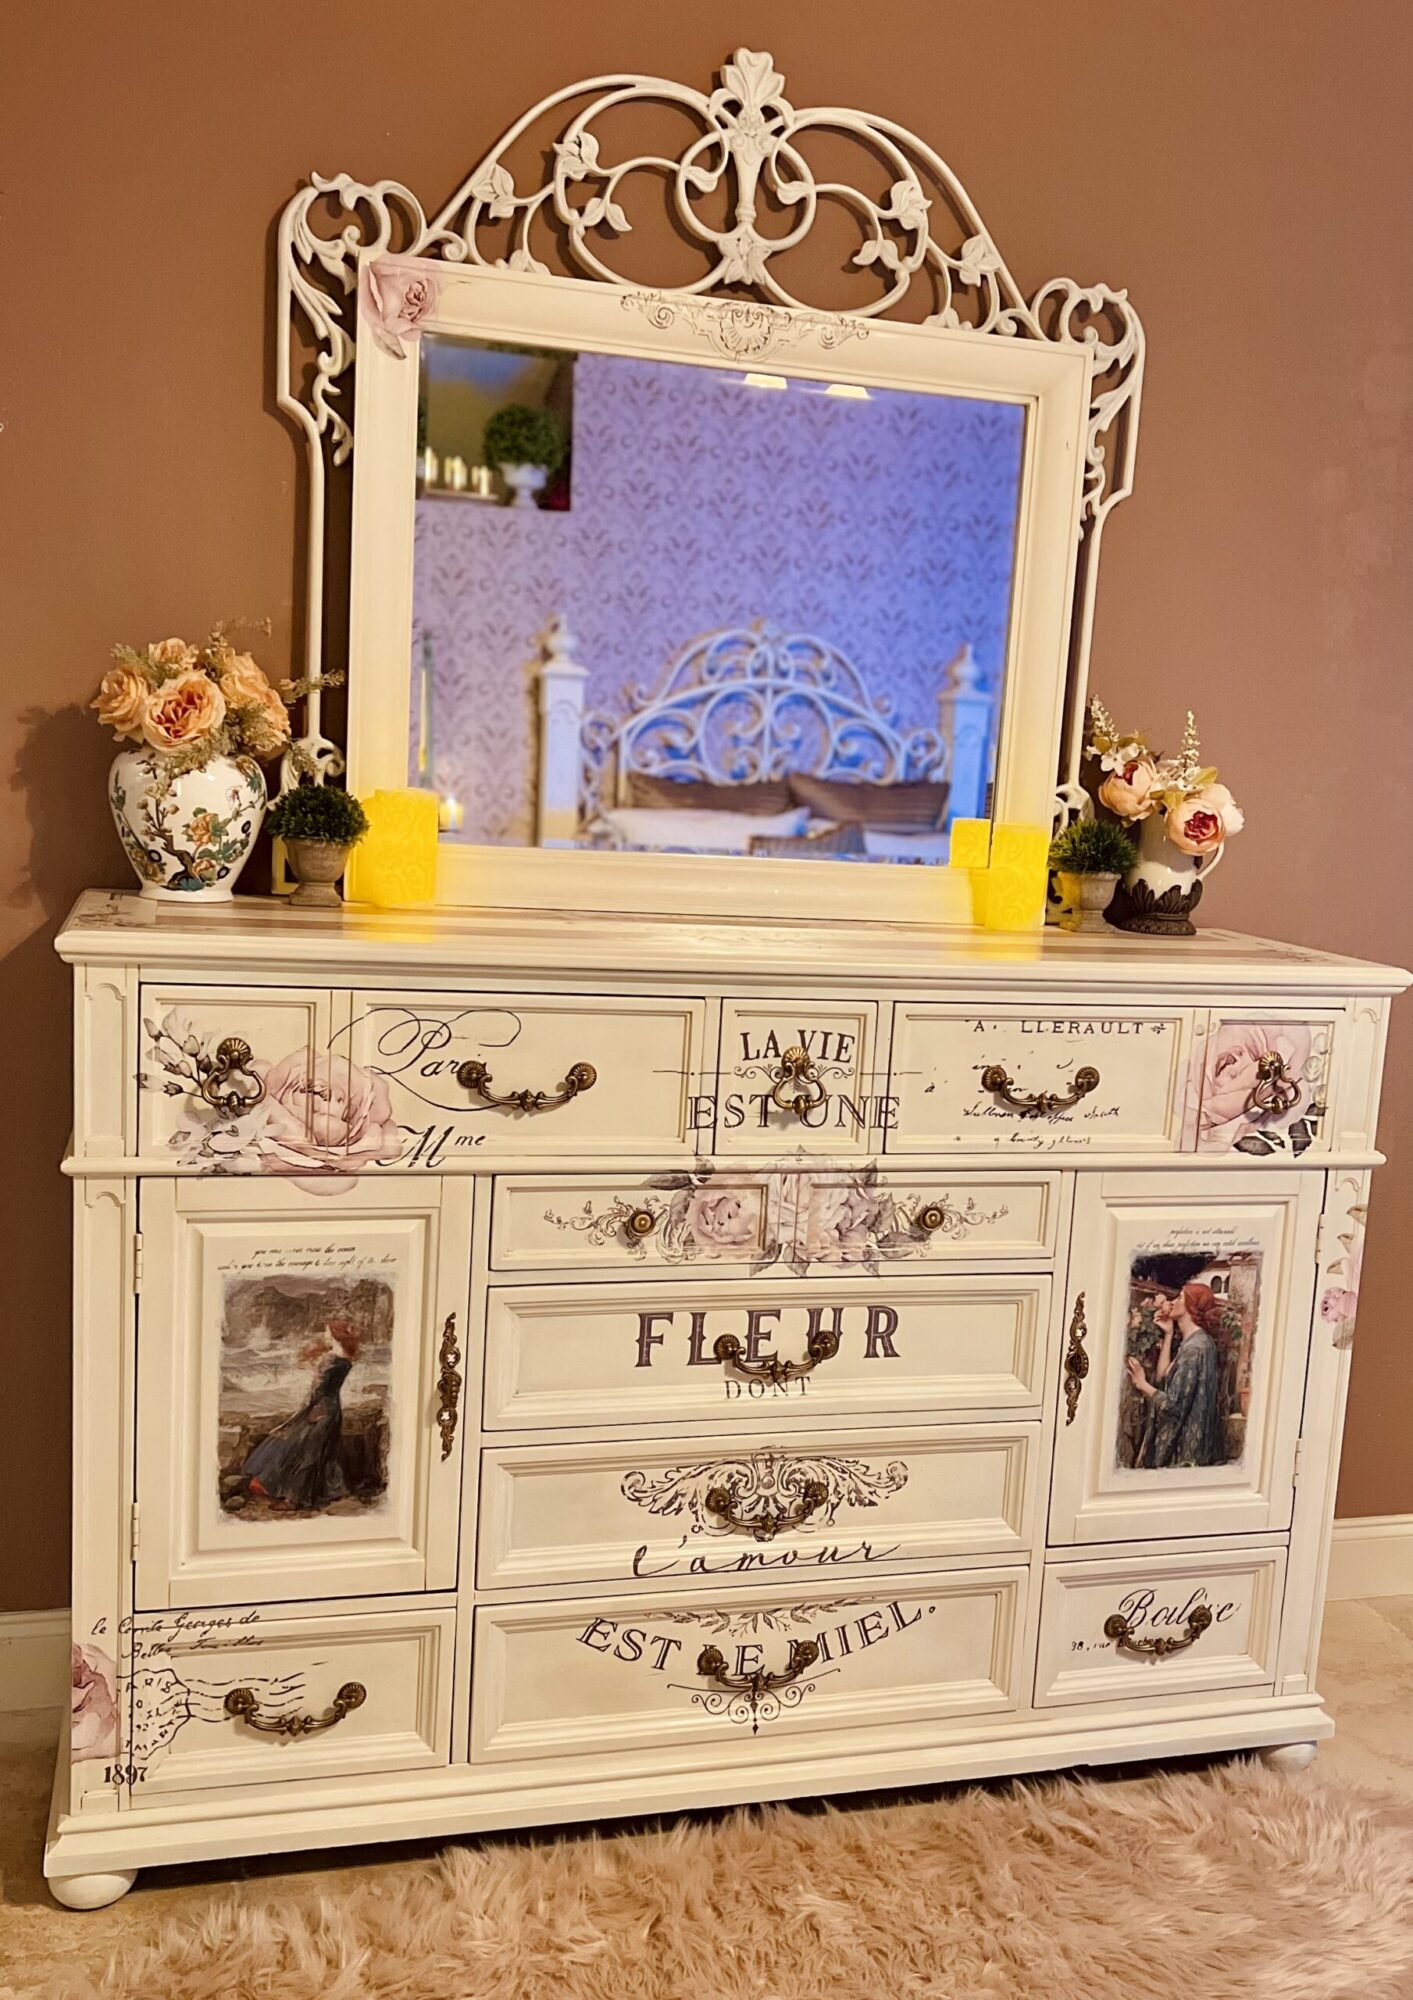
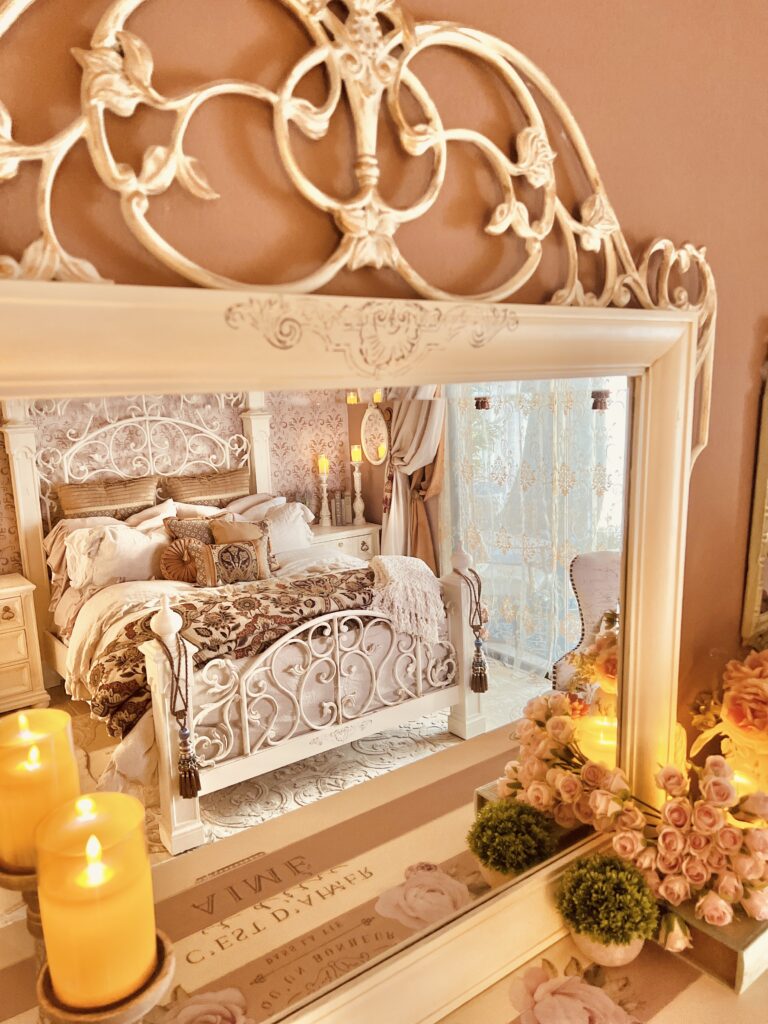
Welcome back for Episode 6 - the dresser makeover stage of my French country bedroom makeover DIY project. In this episode I'll walk you through how I transformed the dresser and wrought iron mirror into a true piece of art!
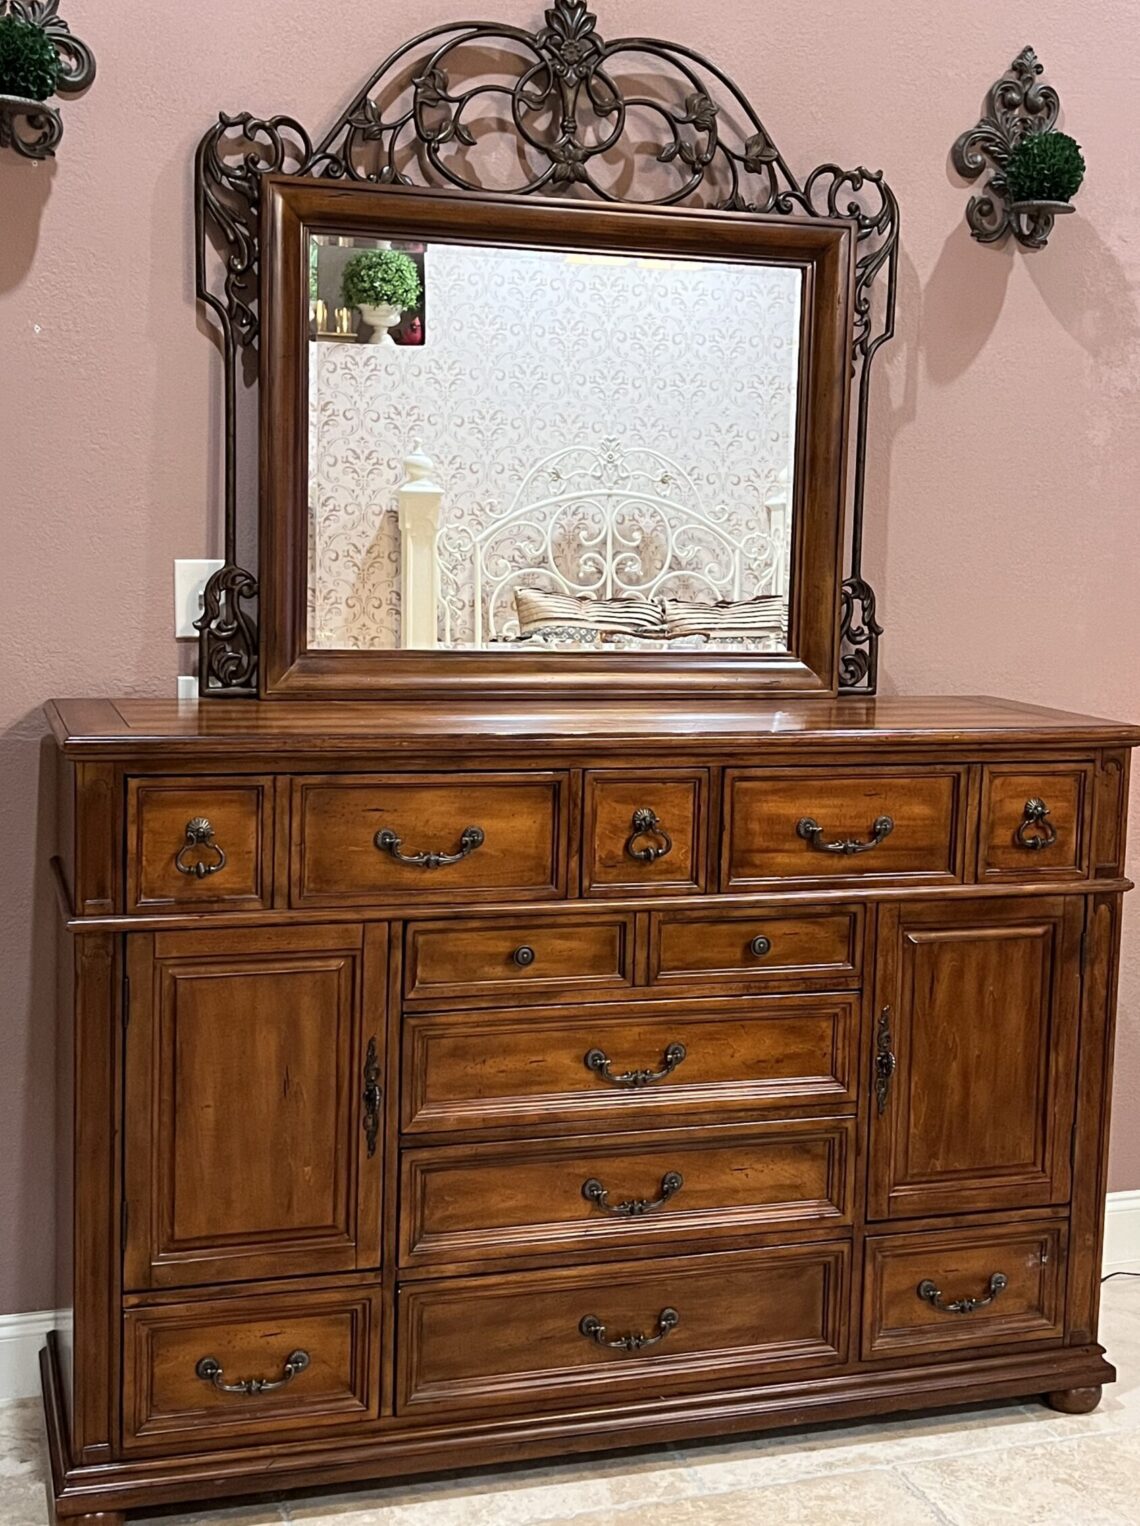
For some time I was craving new furniture! I couldn’t justify buying anything new, however, my furniture was already amazing. I could…paint it though…couldn’t I?
A white bedroom makeover, however, I knew would be no easy task…so I had to LOVE it before I committed. I experimented with my beat up nightstand…could I really mess it up after all?
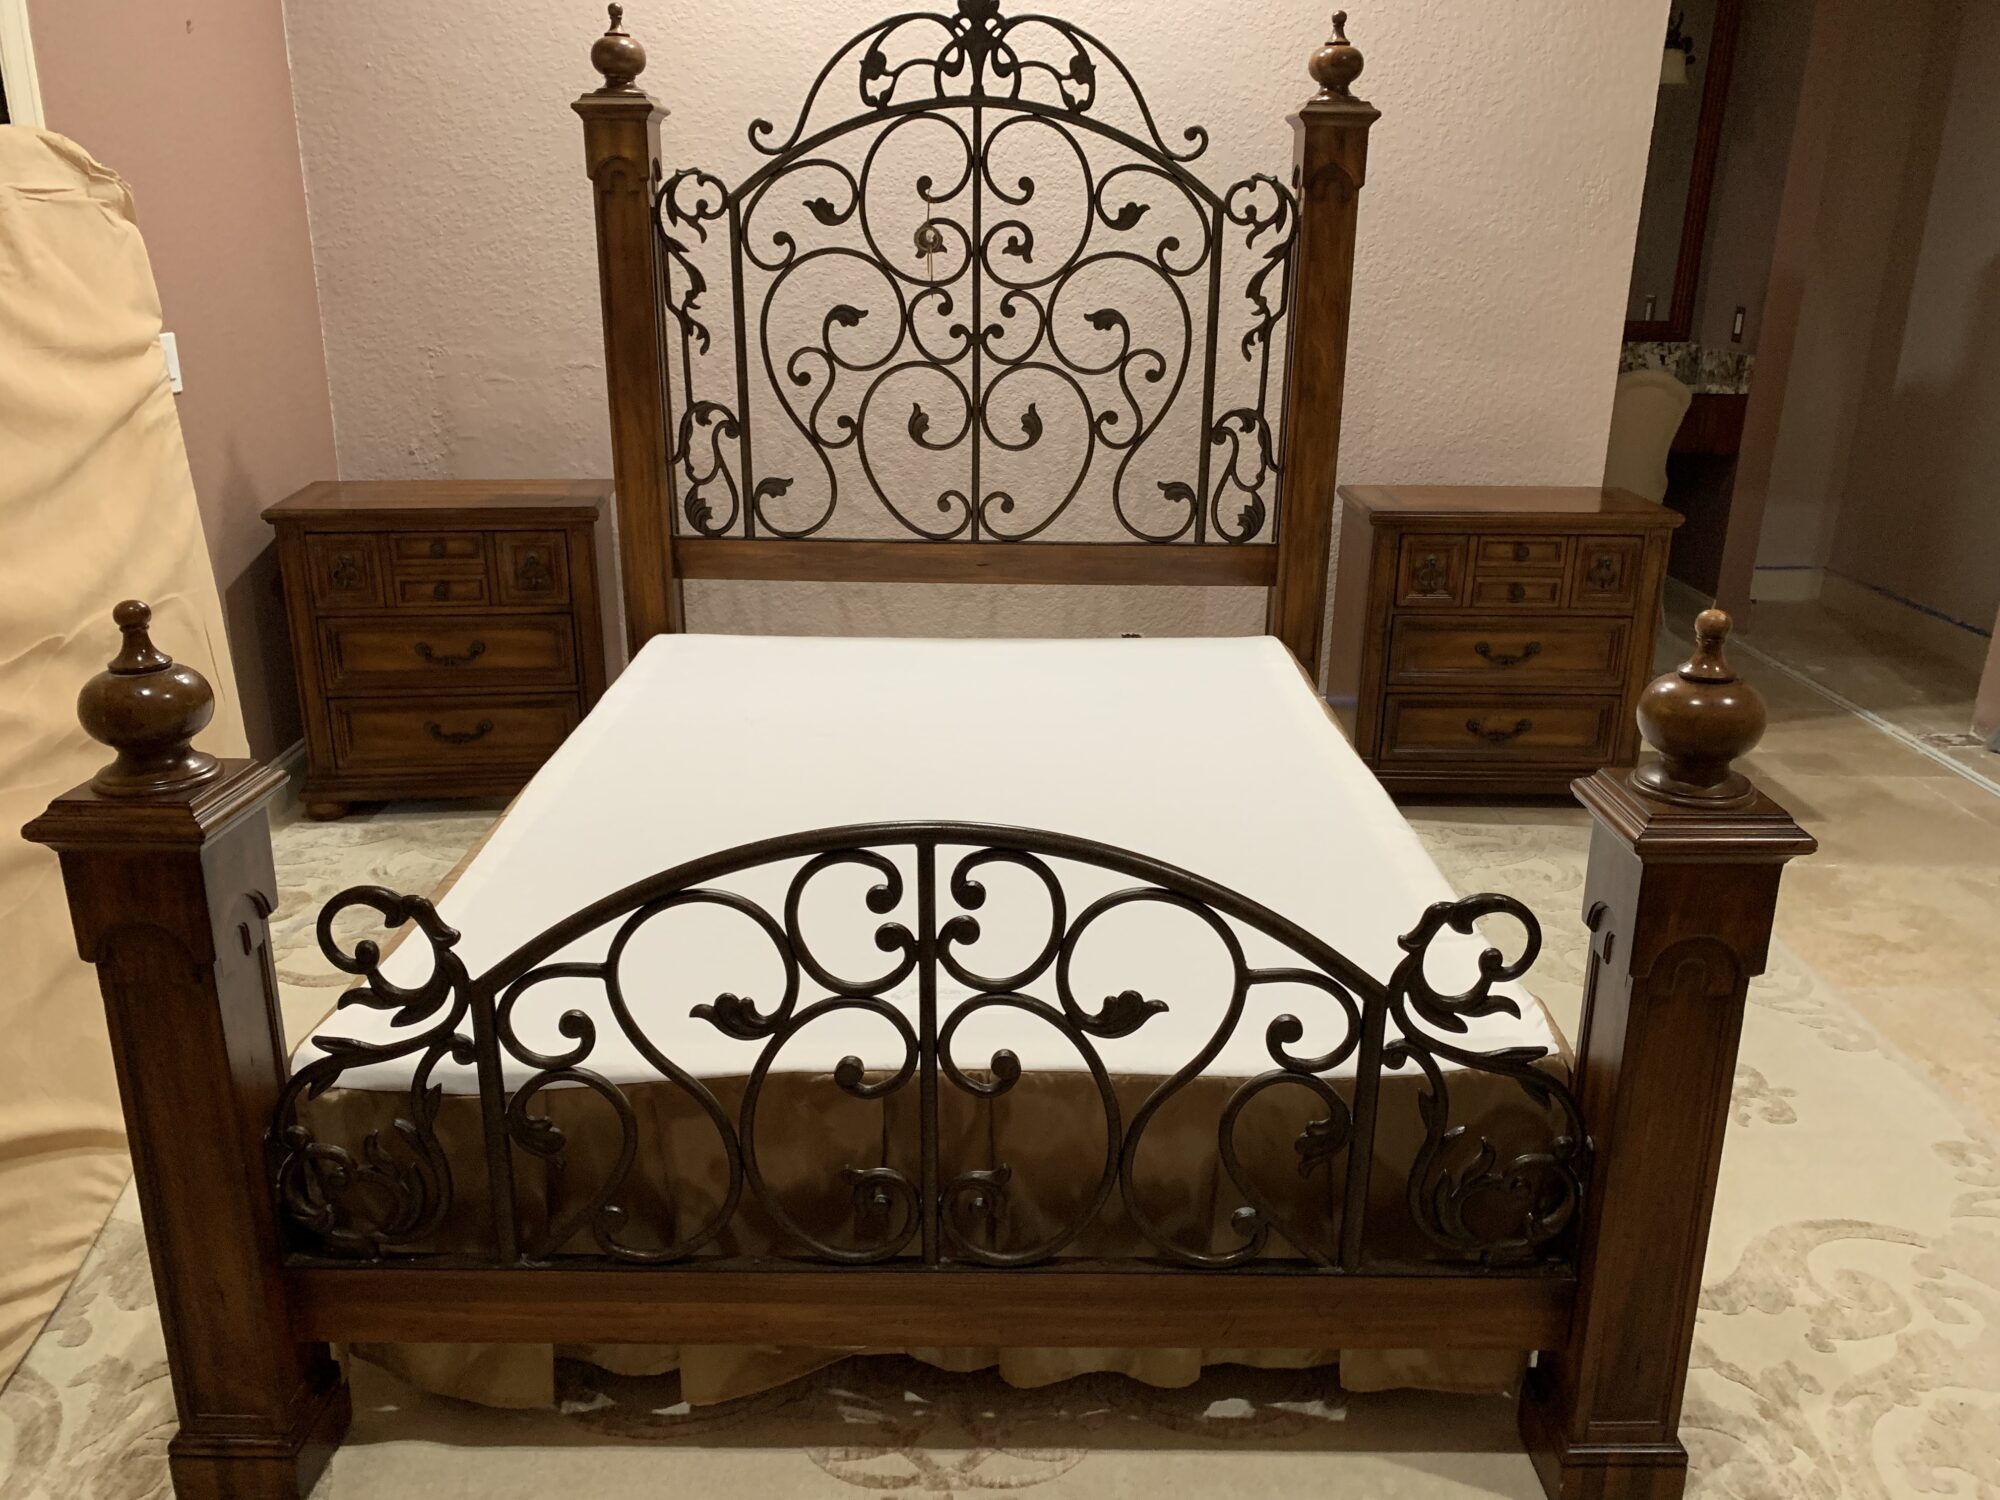
Once I finished the bed side of the room, I continued on to the BIG side! I wasn’t originally going to paint the wrought iron on the bed or mirror. I did a lot of research and didn’t find much help for painting wrought iron.
Regardless of finding little guidance and very few compelling before and after photos, I did it anyway! Thankfully it turned out great!
You’ll see I made some videos along the way to share my trials and tips with all of you so you may be not feel so scared to try some of these things. I was honestly really scared to paint the wrought iron, I thought I would ruin it!
This was my first time ever painting serious furniture and I was crazy enough to take on an entire bedroom set!
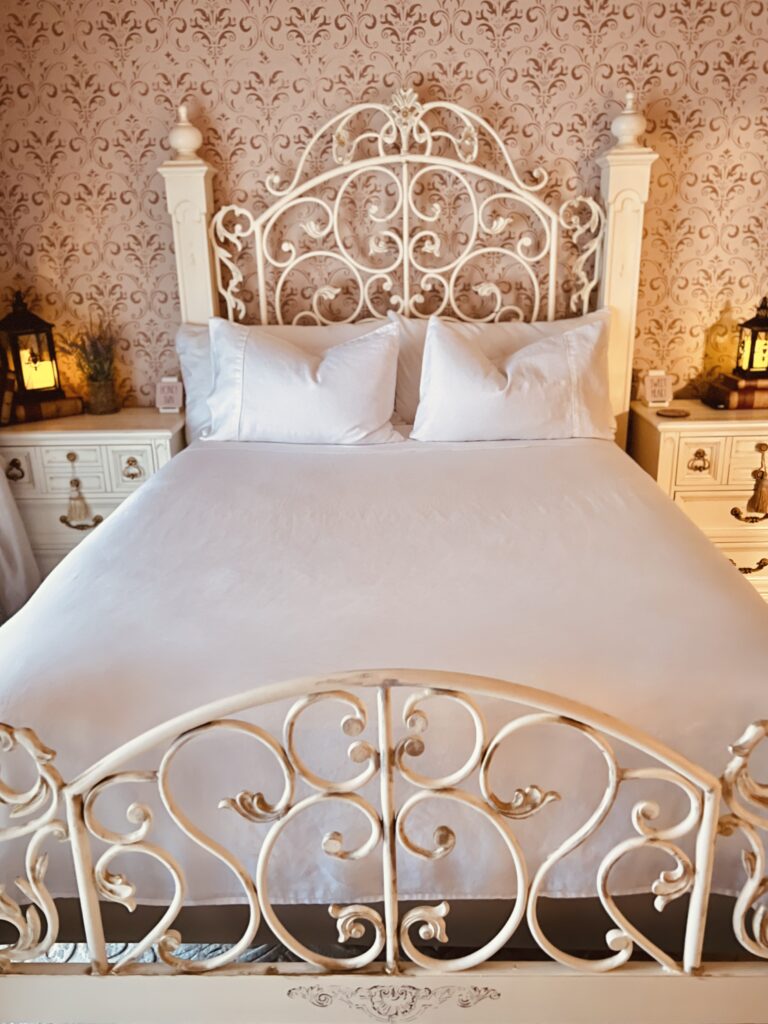
After I got through the nightstands and the bed, I had some confidence and felt better about my technique. The bed didn’t have much wood really so most of that was painting the wrought iron, which was a lot!
To give you an idea of how long it takes to cover a dresser of this size, I timed myself to see how long it took to paint each coat. The first coat was done in 2 hours flat! The second coat took a little longer as I put more detail into that one.
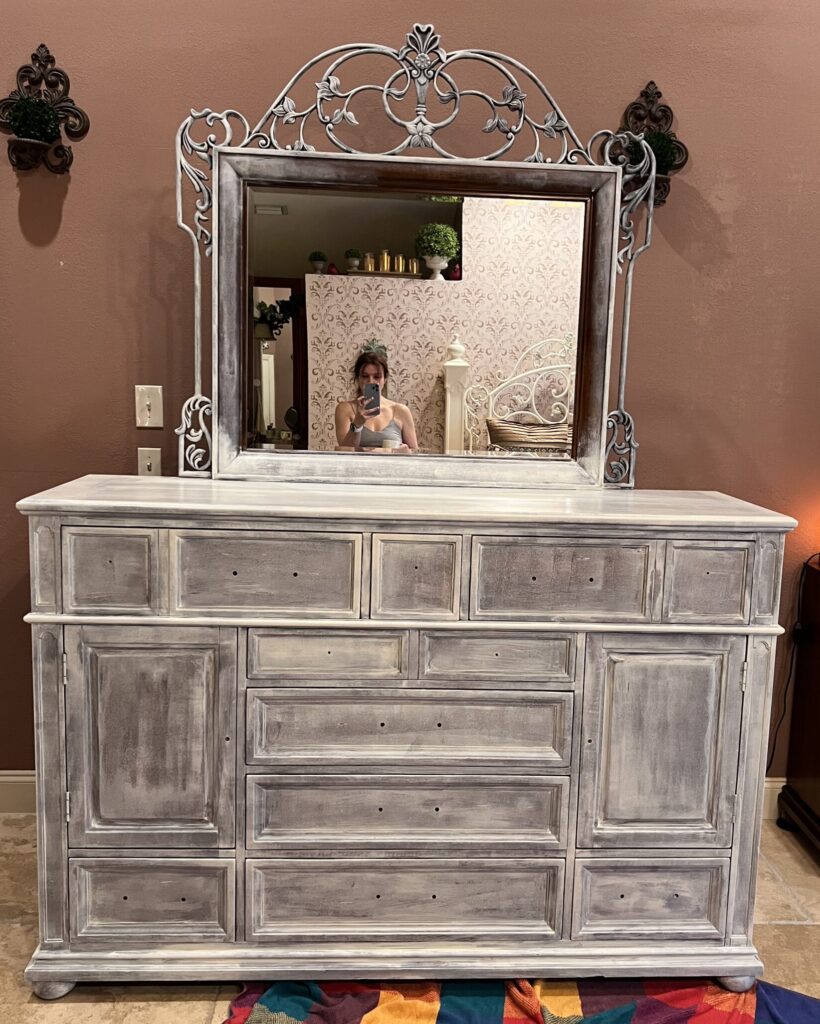
Sidebar: you know I have to mention fitness and health right?! Yes, here it is!

Painting is WORK guys! I was never a painter, flat out refused to paint as a matter of fact! Until 3 years ago, when my closet renovation project went terribly wrong and in the end, I had to take matters into my own hands. Now I paint!
I turn on my “yoga” workout on my I-watch to track my time and my calories burned! When I paint I do yoga, balance, squats, lunges, core engagement, muscle activation, I make it a double whammy and it is my workout too!
I am very conscious of my core in everything I do. Focusing my attention on my posture and core as I work, helps me protect myself and stay in great shape! I have my share of neck and back issues so trust me, protect yourself!
Focusing on engaging your core, arms, shoulders, keeping posture straight, etc., can help protect your body from injury and it is a great workout! This project has been a serious arm and shoulder workout.
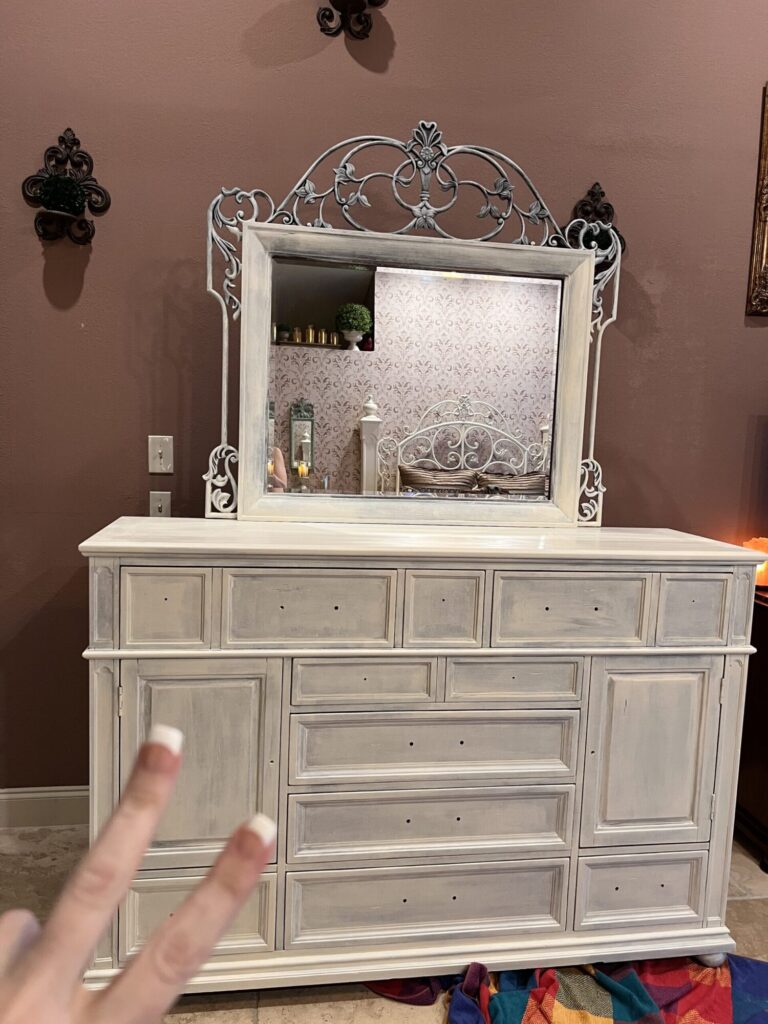
Ok I am back on topic now that you had my 'protect yourself and stay healthy speech'.
For the dresser makeover I decided I would only use the all-in-one paint so I could get a real “test” to see how well it:
- covers without a base coat,
- covers without sanding/degreasing/etc.,
- how many coats I would need to really cover the dark wood.
Here are my thoughts on this experiment:
- I do not recommend this!
- At the cost of this paint, it is not worth using as a first coat – in my opinion
- Chalk paint works better as a base coat and is cheaper!
- I DO recommend using chalk paint as a base coat/primer
- For GREAT coverage, especially painting WHITE over DARK WOOD
- Use a primer base coat and 2 coats of the all-in-one paint
- I do LOVE the finish of the all-in-one paint though! It is very smooth and has a nice glossy finish.
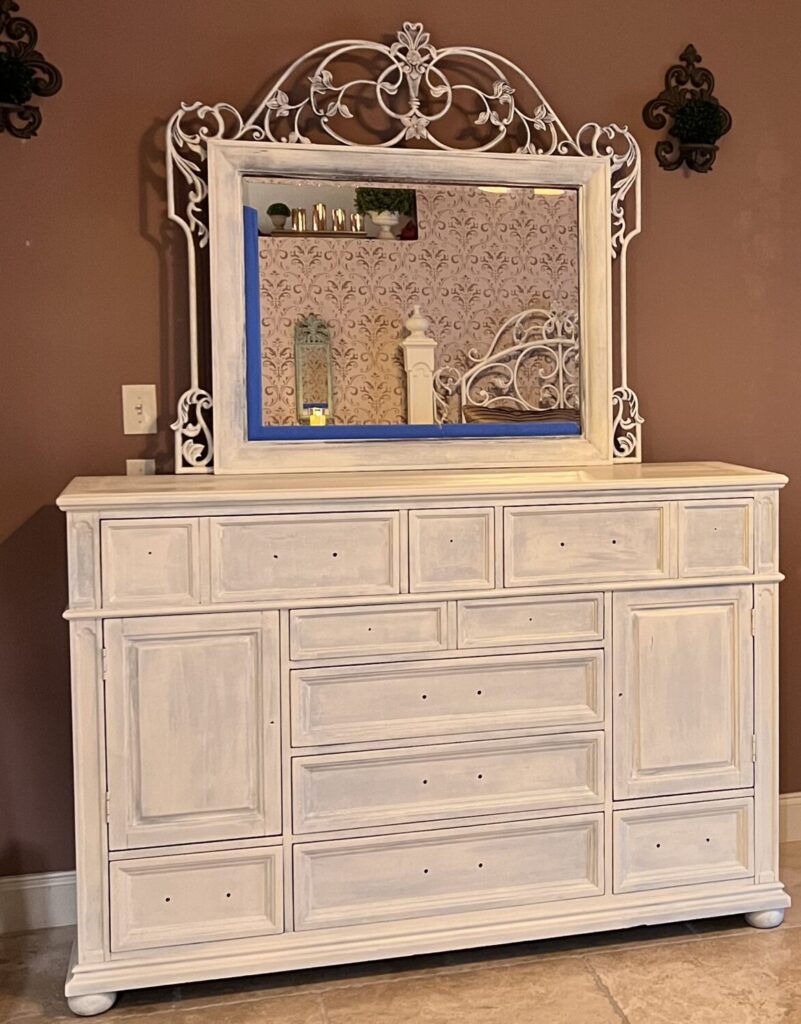
I experimented with a few different types of brushes along the way. I also used the sponge from the all in one paint set. While I do like that sponge, it can be a bit difficult to apply and the all-in-one paint goes on thick. It works great for “grabbing” though!
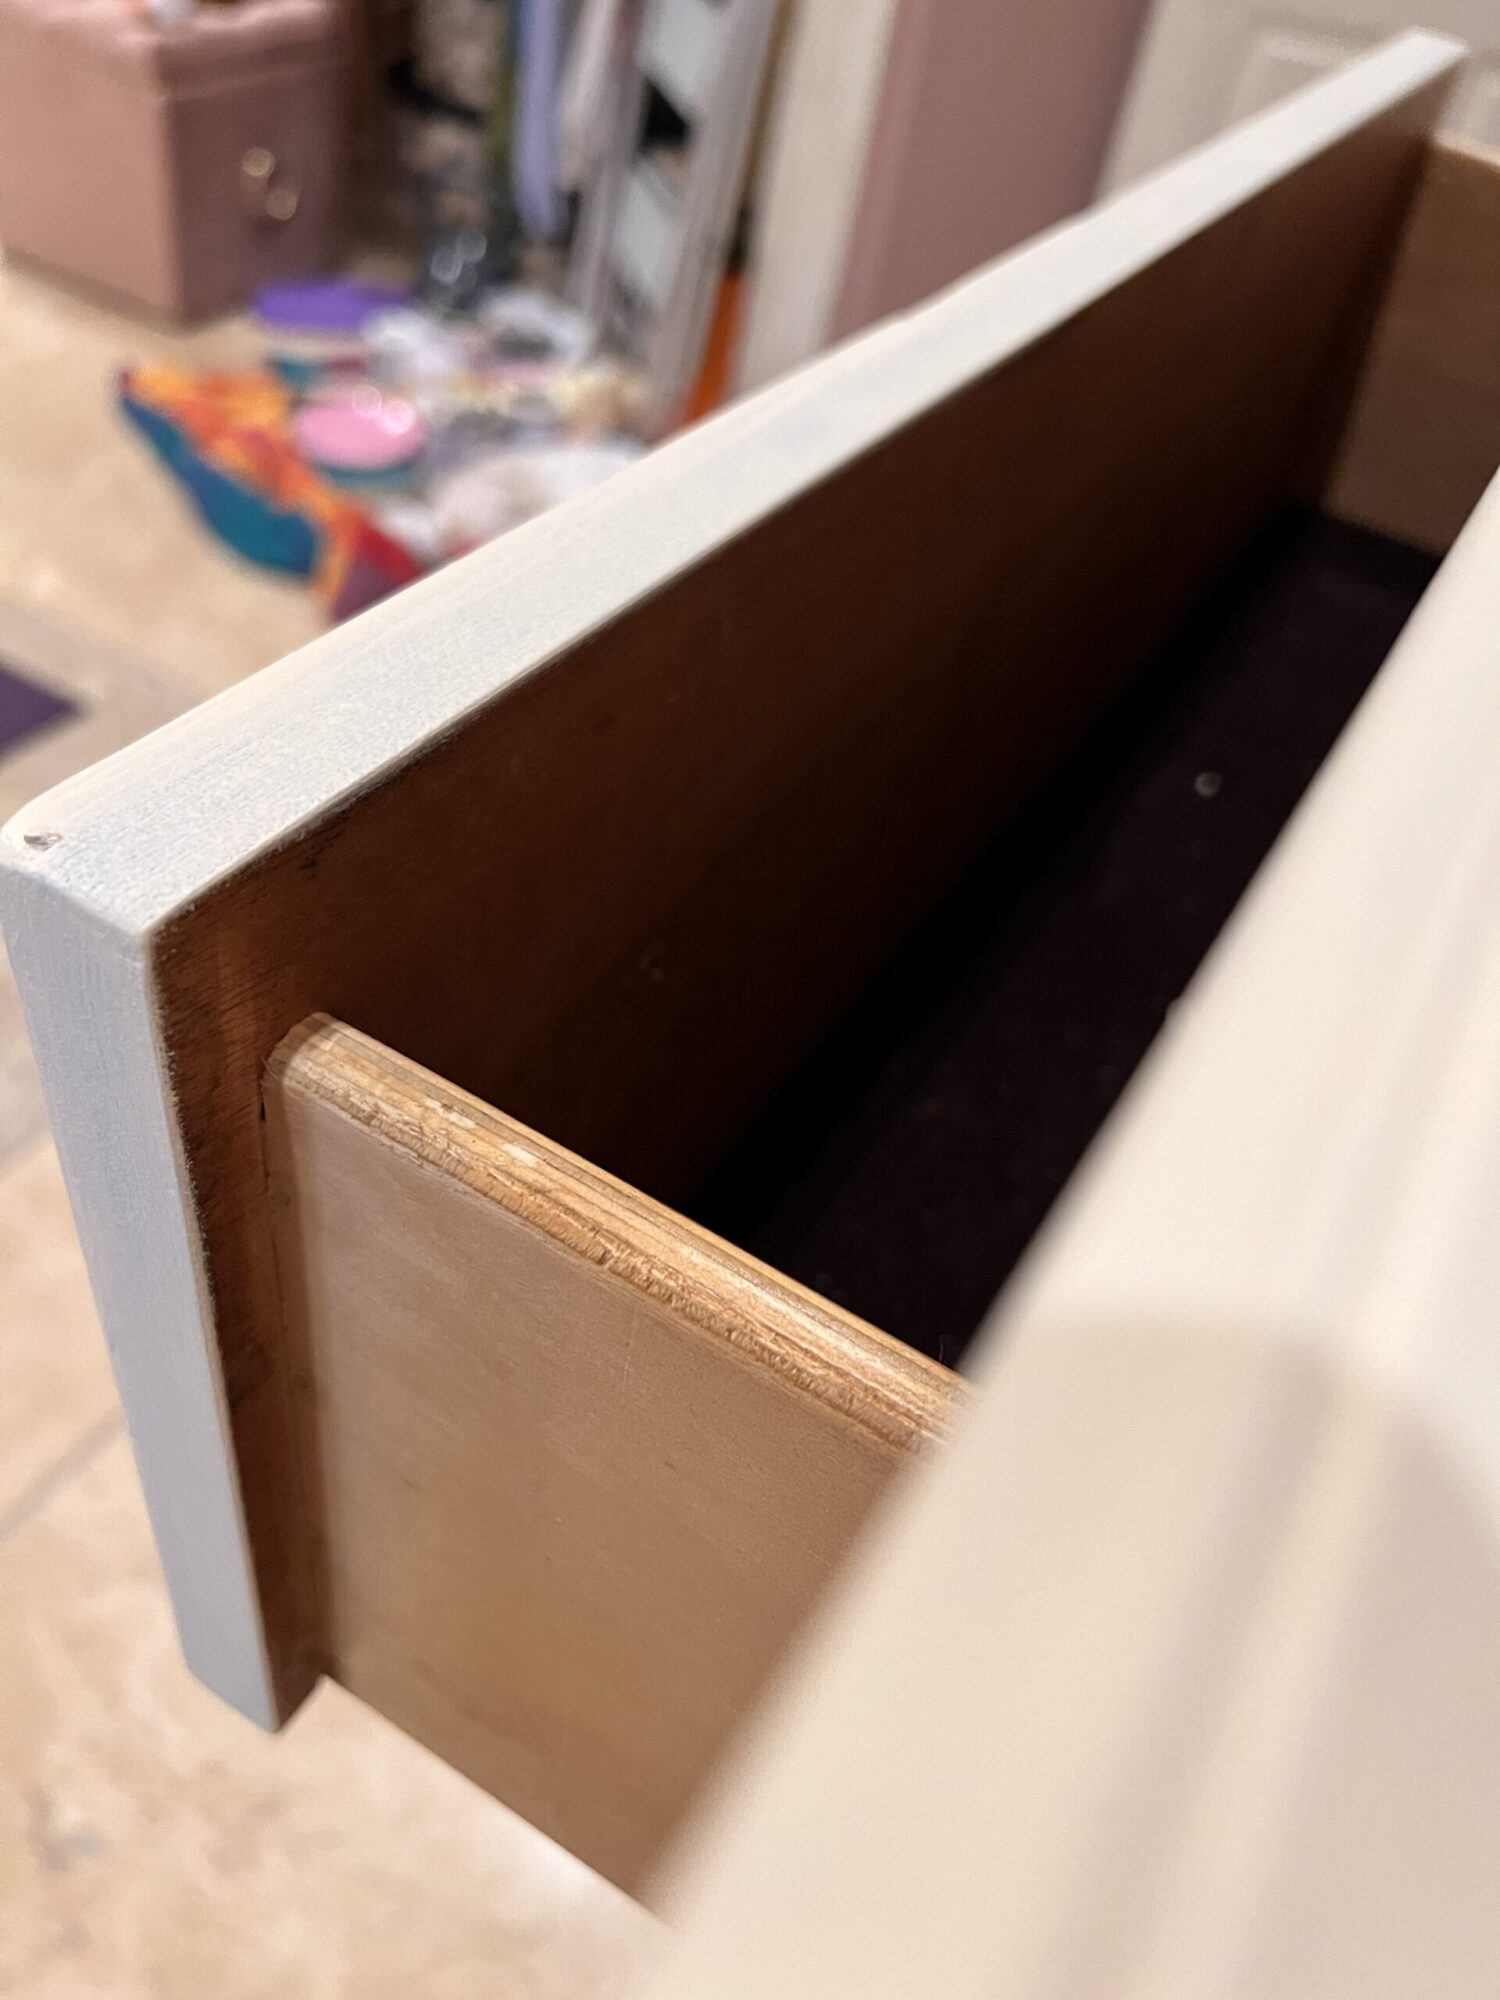
Note, I did not remove the drawers from the dresser for this project.
The mini roller is a great little tool for the drawer edges. In a dry brush roll fashion, just roll the mini roller over the edges. Use very little paint so there is no dripping. This method worked great for all of the drawers.
Although it can get a bit messy, the sponge is actually really quite awesome for going over the iron. With the sponge you can “grab” the iron and get into all the grooves – great for full coverage!
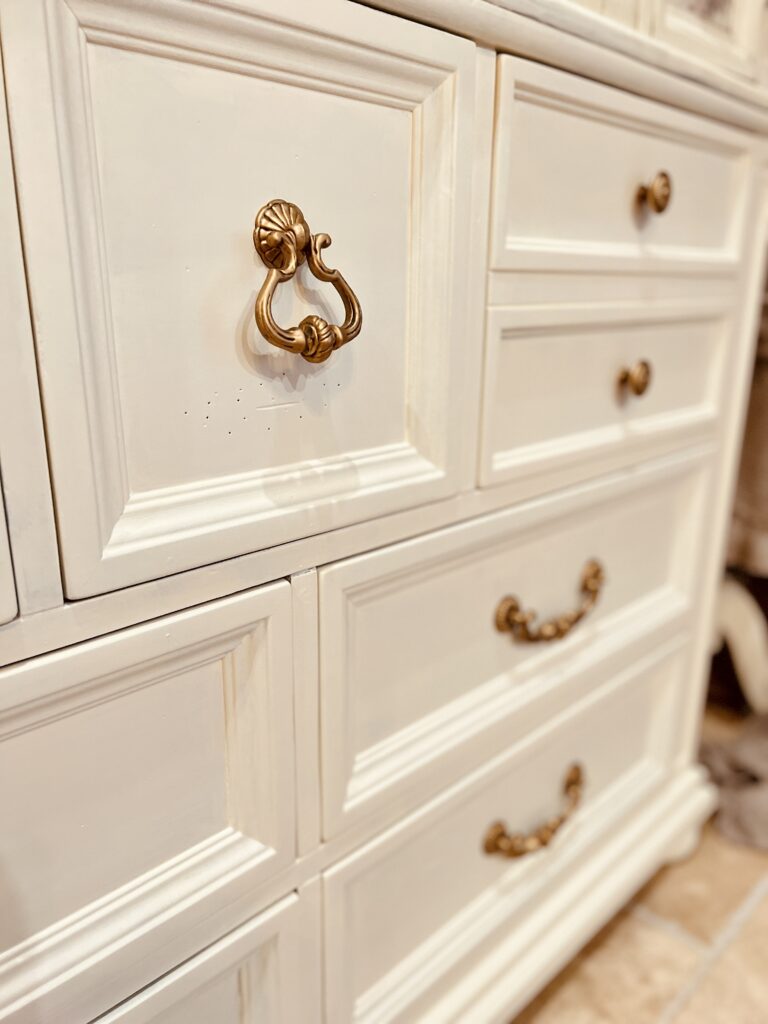
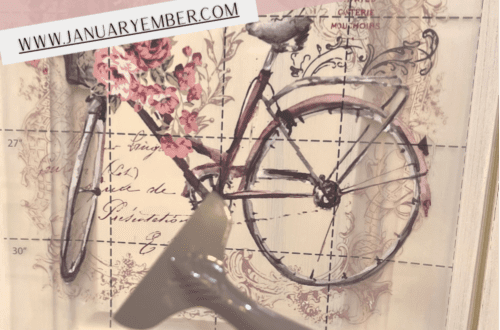
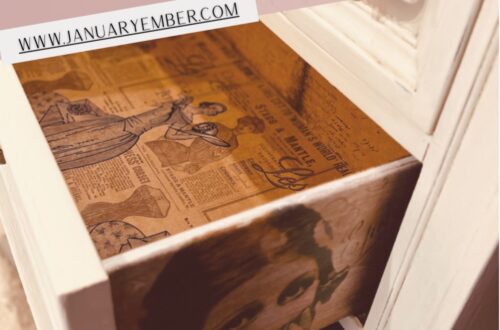
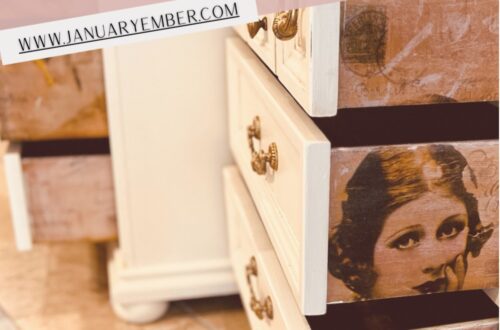
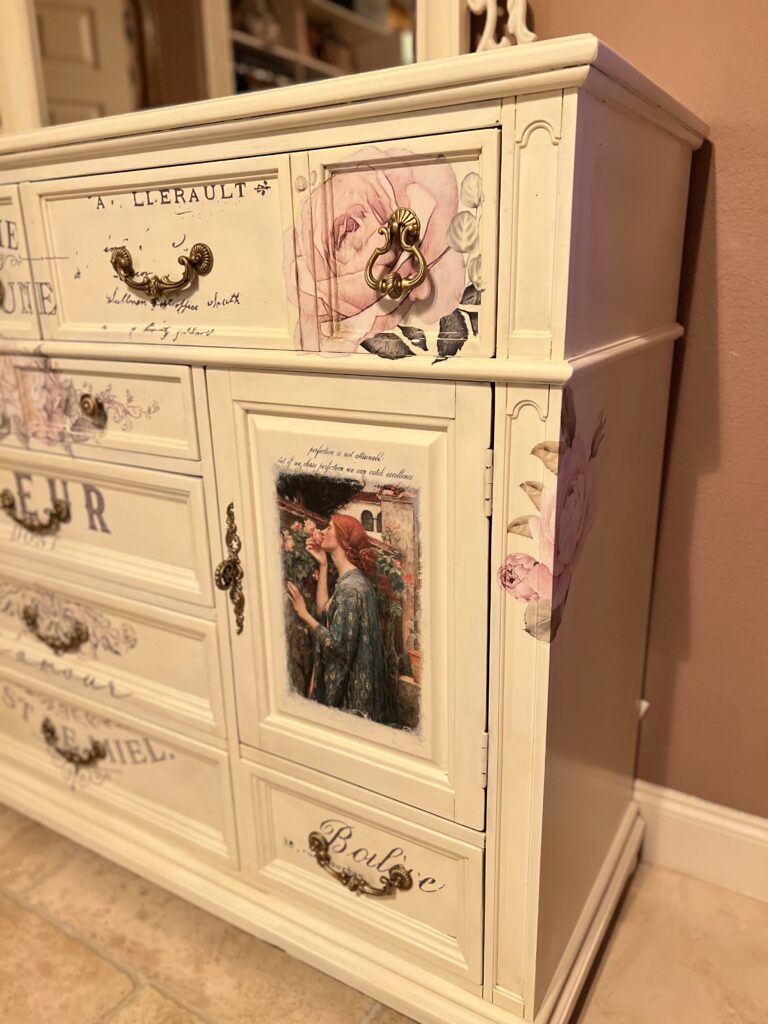
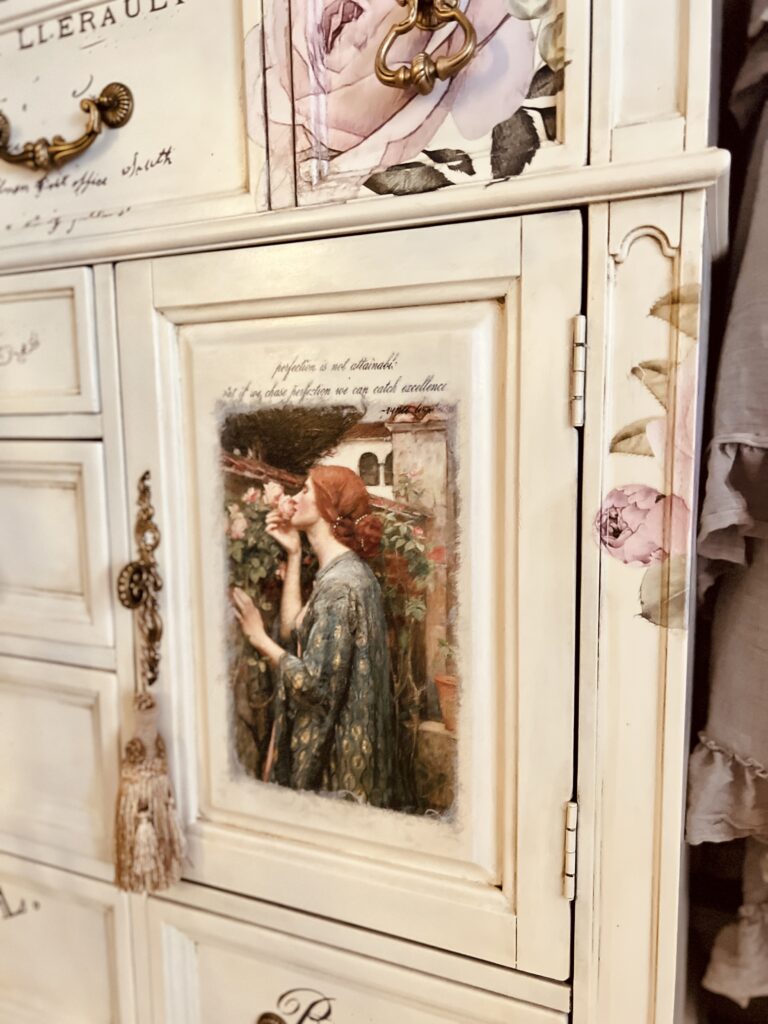
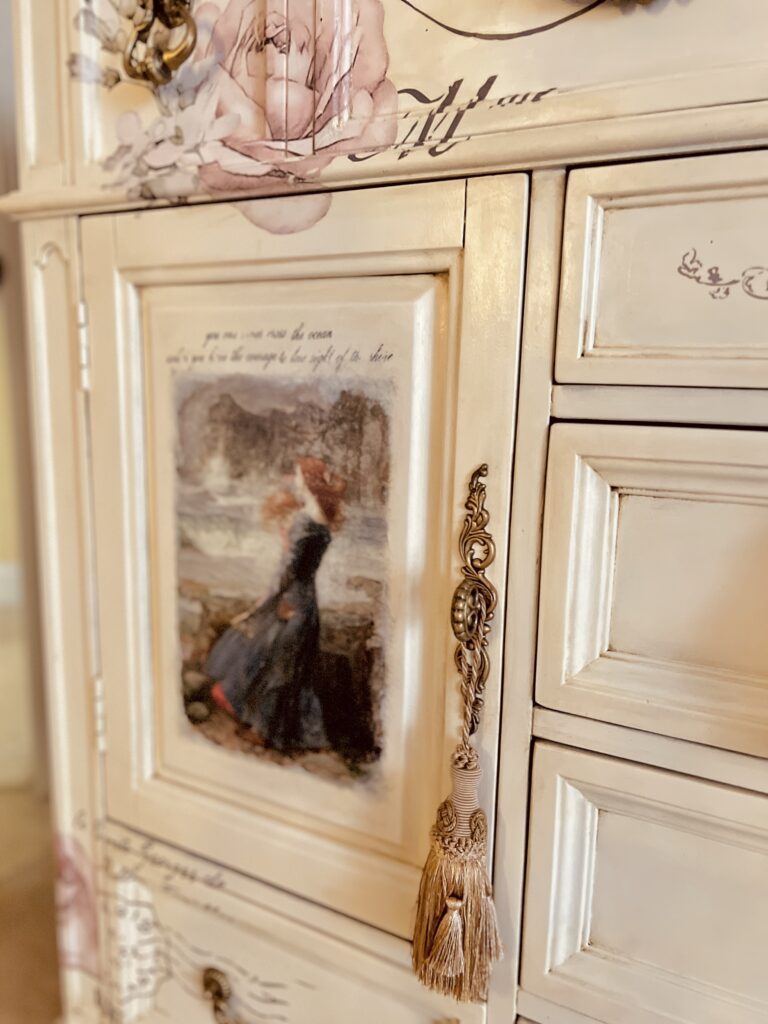
After I got the white paint job pretty much done, I added some decoupage rice paper art to the dresser doors (I didn’t want too much coverage on the doors so I intentionally didn’t paint them with another coat). Check out Episode 8 for the decoupage details: French Country Bedroom Makeover Episode 8 decoupage artwork.
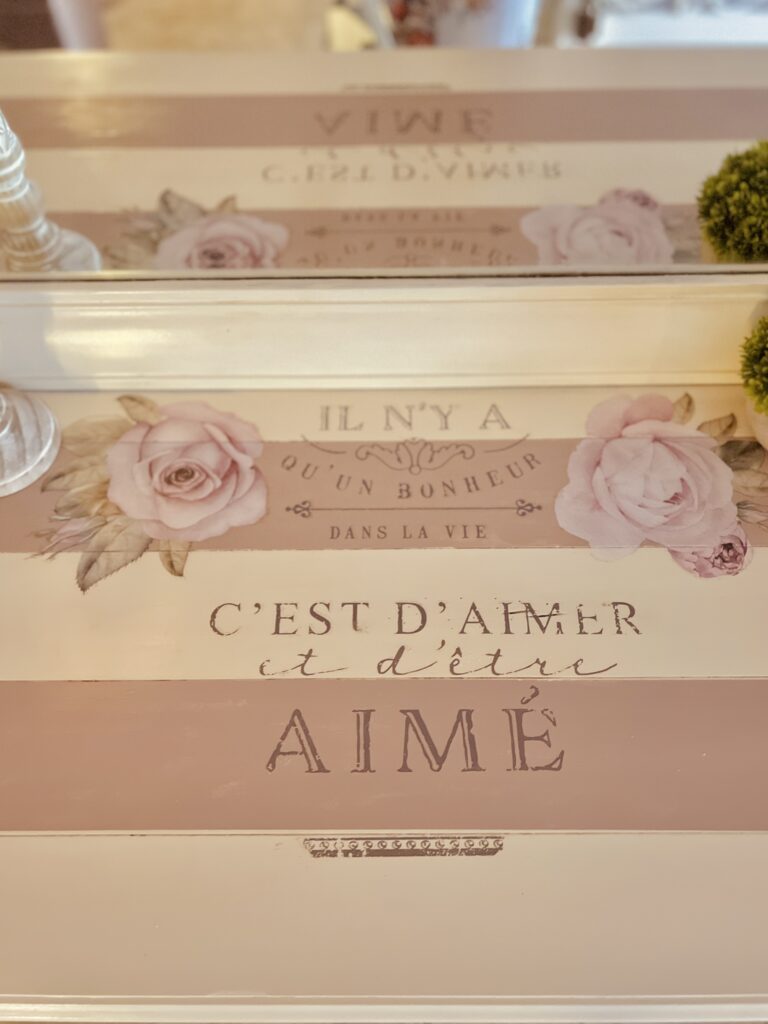
Next, I added some rub on transfers down the middle of the dresser, then along some of the side drawers. Check out Episode 7 for details on the rub on transfer process.
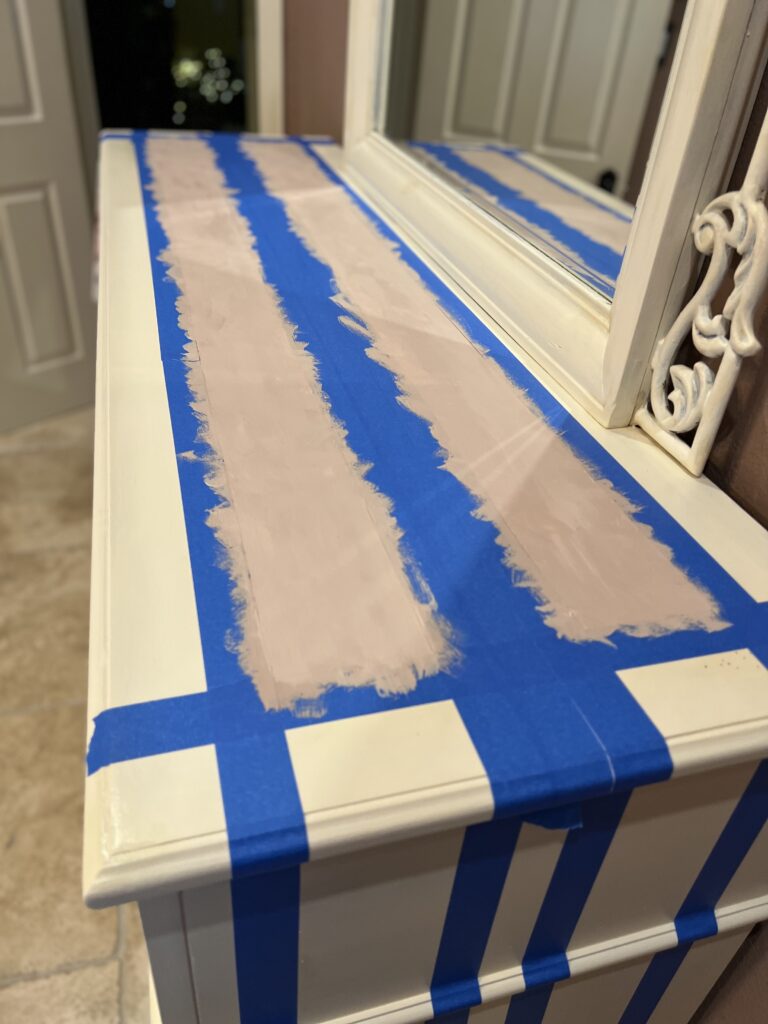
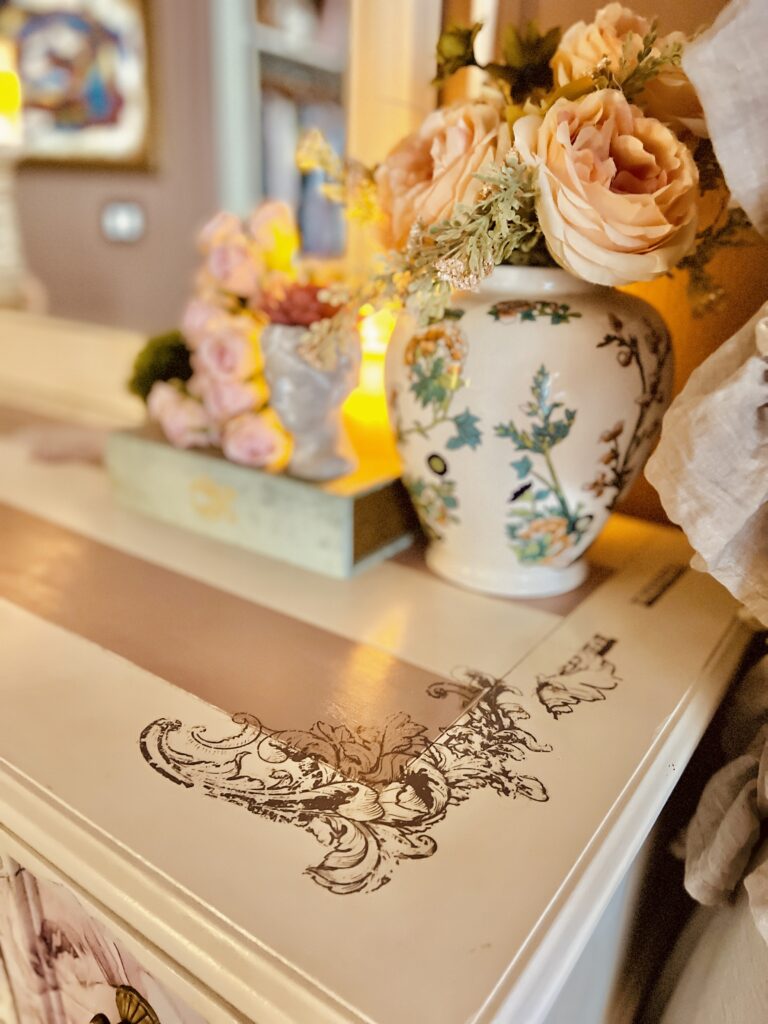
After I finished all of that, I sat back and admired my work! I loved the way it looked. But then I kept looking at the wood slats on the top of the dresser and I just thought, wouldn’t it be lovely if it had some matching pink stripes…
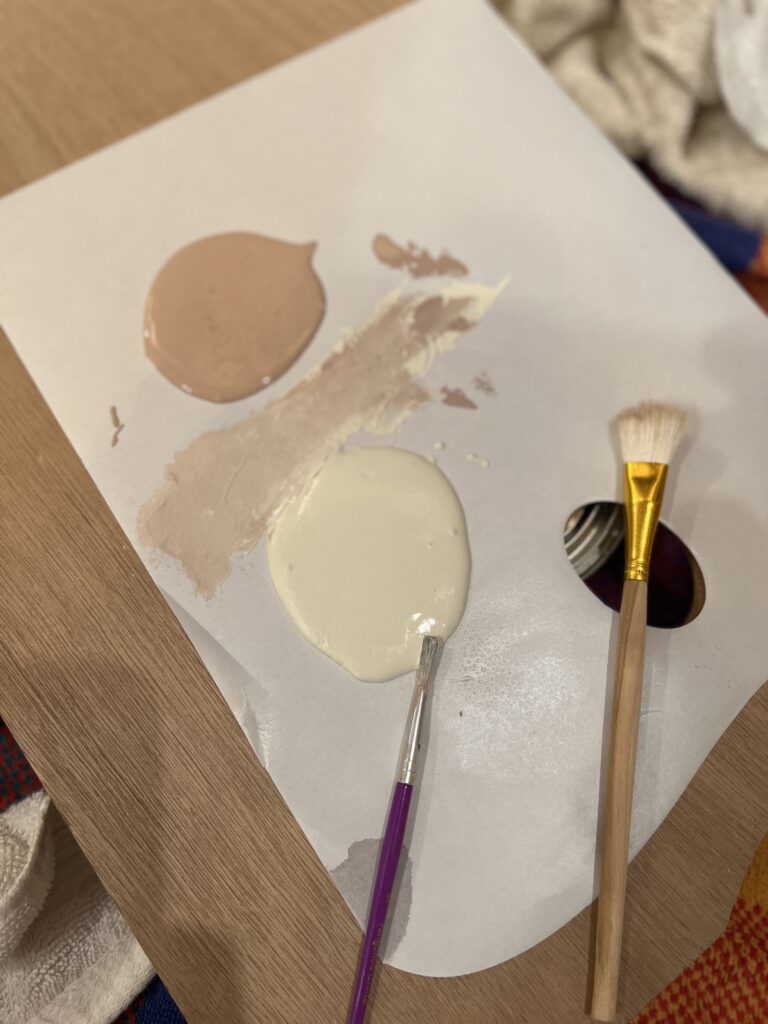
When I bought the ‘Manor House’ All-In-One Paint I saw a few other colors they had so I picked up two others to try once I used my first can up. I got a Tea Rose color and a French Toile blue. The Tea Rose color was exactly what I needed for this! It matched the color of the roses in the rub on transfers perfectly.
Yeah, the all-in-one paint stains and its hard to get off your skin, so I recommend gloves when using this paint as well.
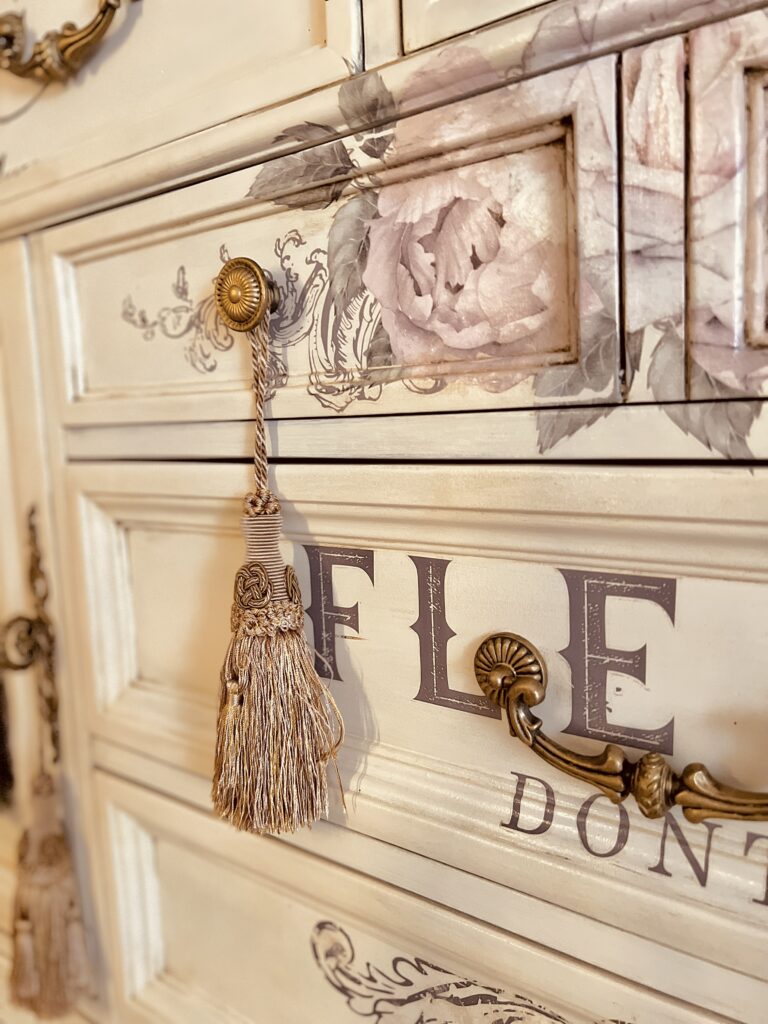
I actually mixed a little bit of it with some chalk paint to give it more of a matte finish and create a little bit more of a custom color. I even used this color to fill in a few spots on the drawers where the rub on transfer “tore” (I didn’t have the good tool yet). This color worked great to touch up those spots, so that was a bonus!
This was my first time using the all-in-one paint and I am not sure why, but I guess I just figured it was similar to chalk paint and would come off of the sheets…I must’ve been crazy that day!
FYI – this paint does not just wash off like chalk paint since it has the “top-coat-finish” in it!

- Wear disposable gloves!
- Layer paint colors for added dimension
- start with chalk paint (you can always use water to remove easier)
- for more coverage, use the all-in-one paint here as a 2nd coat
- Use the sponge if you want more coverage, and a smooth finish
- Use a bristle brush for a more “aged” look
- allow some areas to remain a bit exposed for an aged dimensional look
- Use gilding wax for added dimension
- Painting tools to try:
- chip brush
- sponge
- mini roller
TIP: Scatter some gilding wax spots on the iron to highlight the details
Tip: Use the mini roller to catch drips and smooth paint
Tip: Paint iron in a dry-brush fashion - very little paint
I hope you enjoyed Episode 6 of my French Country Bedroom Makeover project! The dresser makeover was really an amazing transformation. I love how the vision changes as you create art, even in painting furniture. I figure, I have paintings on my walls, why not make my furniture just as stunning to stare at!
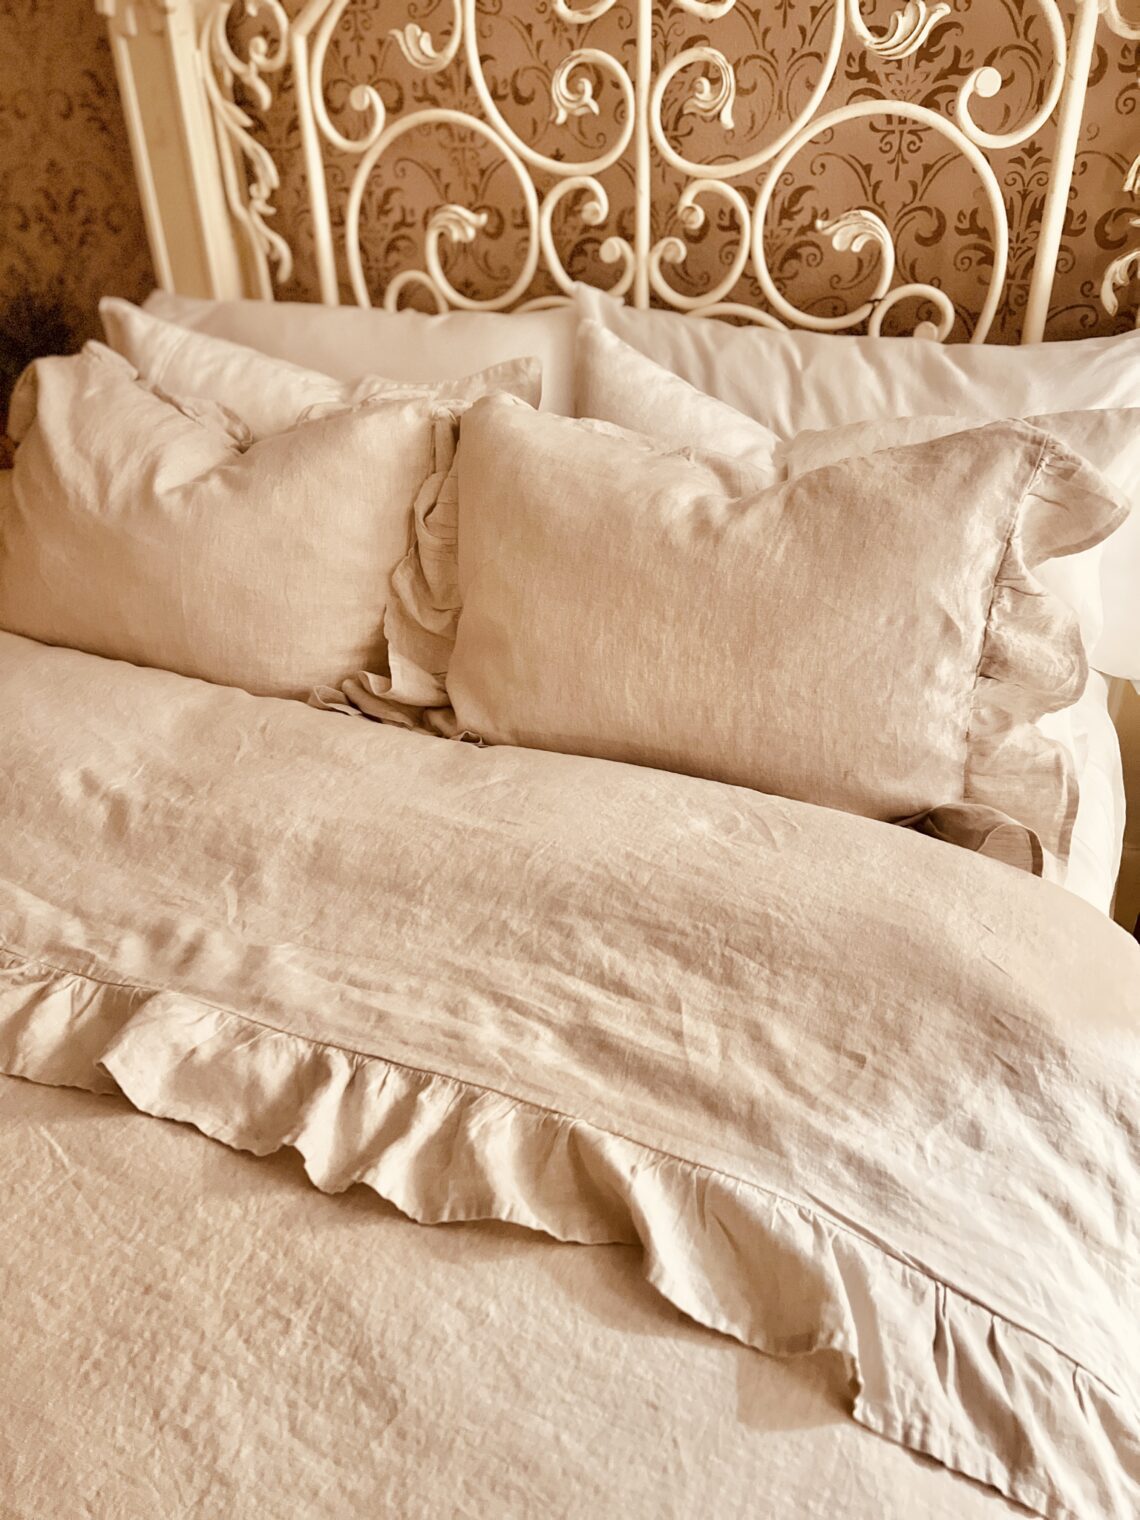
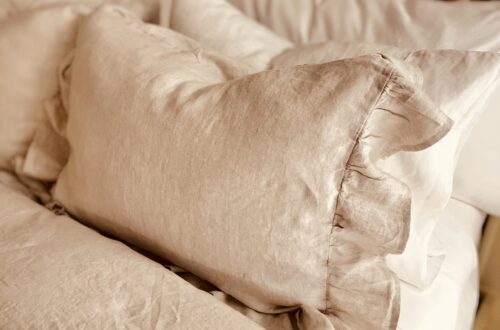
This set of white linen sheets I bought are quite lovely! Yes, they needed to be ironed, unless you have some miracle I haven’t found with linen. But even without ironing them, they have the natural “wrinkled linen” look and are quite lovely. They are very soft! Feels like your favorite pair of linen pants!
Check out ALL Episodes in this French Country Bedroom Makeover Series:
- The Nightstand Experiment
- Decoupaging the drawer sides
- Decoupaging inside drawers
- Hardware makeover – Getting a good Gilding!
- Painting the Wrought Iron Headboard & Footboard
- Dresser & Mirror with wrought iron
- Dresser – adding rub on furniture transfers
- Dresser – adding decoupage rice paper Artwork
- Creating a French Country Cozy Bedroom – bedding and décor
- Dress Form makeover (COMING SOON)
- Armoire: my success and failure (COMING SOON)
Save & share!
Until next time…
Keep smiling, improve every day, and build a life you love!
Yours Truly,
January Ember


You May Also Like
Creating a Cozy French Country Bedroom
July 21, 2022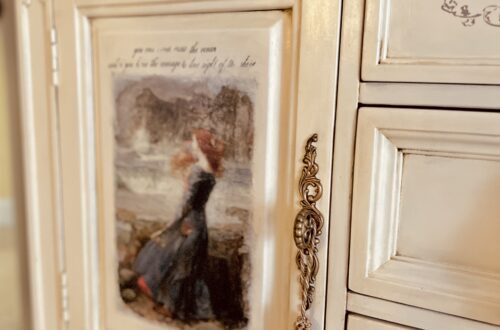
French Country Bedroom Makeover Episode 8 decoupage artwork
July 8, 2022